Friday, February 23, 2024

The Faces of Man: A Mini-Essay

     From Baccio Bandinelli’s untitled sixteenth-century sketch to Anne Bradstreet’s seventeenth-century poem “The Four Ages of Man,” humanity has continually reflected on the inevitability of aging.[1] Some, like Aristotle and Giles of Rome have taken more philosophical outlooks of the process, whereas others – such as Titian and Sir Anthony Van Dyck – have approached the topic from an artistic lens.[2] In Mesoamerican communities, the subject takes the form of las edades del hombre, ceramic masks where a skull symbolizing death breaks open to reveal the faces of old age and youth. Regularly seen in contemporary artwork, some of the earliest renditions come from the pre-Columbian culture of Teotihuacan, with one such artifact dating to roughly 1300 C.E. housed in the Universidad Nacional Autónoma de México.[3]

Works Referenced

González Gómes-Cásseres, Patricia. “La muerte/Death, Then and Now.” Death and Dying in Hispanic Worlds: The Nexus of Religions, Cultural Traditions, and the Arts. Ed. Debra Andrist. Eastbourne: Sussex Academic Press, 2021. 38-50.

Joannides, Paul. Titian to 1518. New Haven, CT: Yale University Press, 2001.

Lepore, Jill. The Mansion of Happiness: A History of Life and Death. New York: Vintage Books, 2013.

Price, David. History Made, History Imagined: Contemporary Literature, Poiesis, and the Past. Chicago, IL: University of Illinois Press, 1999.
____________________
[1] Lepore, 64.
[2] Price, 61; Joannides, 197.
[3] González Gómes-Cásseres, 49.

Friday, February 16, 2024

Industrial Monster

$25 - $30 (based on 2020 prices)
Makes one cloche

Every year, I have one prop which becomes my favorite build of the season. For 2020’s mad scientist theme, this industrial monster was that prop. I wanted to make something to accompany the heart cloche, using the same random assortment of bolts and screws. I was impressed with the outcome and, after a few slight modifications, entered the prop in the 2022 Colorado State Fair, where it lost the People’s Choice Award by only three votes.
  • One human-sized plastic skull
  • One plastic cloche with detachable base and handle (roughly fifteen inches tall)
  • One 10 oz. can of interior/exterior, fast-drying spray paint in flat black*
  • One 2 oz. bottle of acrylic paint in metallic bronze*
  • One 2 oz. bottle of acrylic paint in olive*
  • One sheet of white copy paper (8 ½” x 11”)
  • Four tablespoons of black tea (e.g. Darjeeling, Earl Gary, English Breakfast)
  • One pan large enough to soak the copy paper
  • One 4 oz. bottle of all-purpose tacky glue*
  • One 8 oz. can of oil-based interior wood stain in Jacobean*
  • A random assortment of bolts, caps, rollers, and screws
  • One 2 oz. bottle of acrylic paint in flat black*
1. Disassemble the cloche and, on a newspaper-lined surface in a well-ventilated area, apply an even coat of black spray paint to the base and handle. Although I only used one coat, you may want more depending on your desired coverage. Keep in mind, though, that this is the base coat and much of the black will be covered by the other paints.
2.  Once the paint dries, detail the base and handle by applying a layer of metallic bronze. You want to give the illusion of worn metal, so gently brush the paint along the raised portions in a quick, back-and-forth motion. It may work best to experiment with a scrap of cardboard first. Also, to enhance the aged patina, randomly smudge olive paint onto the surface with either a paper towel or sponge.
3.  Boil enough water to completely submerge the paper and pour it into the pan. Add the tea. The longer you allow the tea to brew, the darker the stain will become. Submerge the paper into the tea mixture and soak it until it reaches the color you desire. I soaked mine for eight hours and scattered the loose-leaf tea over the top of the paper to add spots. Remove the paper from the water and allow it to dry.
4.  Once the paper has dried, trace the outline of the base onto the sheet, cut it out, and glue it in place. To make the paper appear even more decrepit, crinkle it and create holes before adhering it to the base.
5.  To make the skull appear aged, paint it with the wood stain. Apply a thin coat, ensuring the liquid settles into all the cracks and fissures, and allow it to sit for a few minutes. Then, wipe it clean using paper towels.
6. Accent the skull with a variety of bolts, caps, rollers, and screws. To ensure they remain in place, use an industrial-strength glue and, for the bolts and screws, drill holes into the bone and glue the items in place.
7. To mask the glue and give the prop an additional level of grime, stipple black paint around the blots and screws. You could also use a deep brown for this process.
8. Center the skull on the base and glue it in place. Depending on the height of the cloche, you may need to adjust the skull’s position so it properly fits under the enclosure before permanently affixing it.  
9. On a newspaper-lined surface in a well-ventilated area, paint the cloche with the wood stain. I discovered that applying a thin coat and patting it with paper towels produces a hazed appearance. Likewise, brushing the rim with a swift downward motion creates the illusion of grime buildup.
10. Reattach the handle to the cloche and then reattach the cloche to its base. If you plan for a more permanent display, you can glue the cloche to the base; however, this will make it difficult to access the skull.  
11. To cater the prop to your haunt’s theme, the prop can be enhanced further with additional details, such as a specimen label or biohazard sign.
*You will not use the entire bottle’s content for this project.

Friday, February 9, 2024

"The City of Dreadful Night" (A Poem)

Originally published in the National Reformer in 1874, James Thomson’s lengthy poem “The City of Dreadful Night” paints a graphic image of a ruined city, where the narrator encounters tormented souls presided over by Melancolia.[1] Although the poem makes clear references to elements like German artist Albrecht Durers 1514 engraving Melencolia, what city Thomson alludes to is left vague, leading some scholars like Cheng Chu-Chueh to postulate it is a bleak image of industrial London.[2] Below is section four, where the narrator stands in the middle of the town’s square and surveys the horrors of its contents.
 
He stood alone within the spacious square
Declaiming from the central grassy mound,
With head uncovered and with streaming hair,
As if large multitudes were gathered round:
A Stalwart shape, the gestures full of might,
The glances burning with unnatural light:
 
As I came through the desert thus it was,
As I came through the desert: All was black,
In heaven no single star, on earth no track;
A brooding hush without a stir or note,
The air so thick it clotted in my throat;
And thus for hours; then some enormous things
Swooped past with savage cries and clanking wings:
But I strode on austere;
No hope could have no fear.
 
As I came through the desert thus it was,
As I came through the desert: Eyes of fire
Glared at me throbbing with a starved desire;
The hoarse and heavy and carnivorous breath
Was hot upon me from deep jaws of death;
Sharp claws, swift talons, fleshless fingers cold
Plucked at me from the bushes, tried to hold:
But I strode on austere;
No hope could have no fear. 
 
As I came through the desert thus it was,
As I came through the desert: Lo you, there,
That hillock burning with a brazen glare;
Those myriad dusky flames with points a-glow
Which writhed and hissed and darted to and fro;
A Sabbath of the Serpents, heaped pell-mell
For Devils roll-call and some fête of Hell:
Yet I strode on austere;
No hope could have no fear.
 
As I came through the desert thus it was,
As I came through the desert: Meteors ran
And crossed their javelins on the black sky-span;
The zenith opened to a gulf of flame,
The dreadful thunderbolts jarred earth's fixed frame:
The ground all heaved in waves of fire that surged
And weltered round me sole there unsubmerged:
Yet I strode on austere;
No hope could have no fear. 
 
As I came through the desert thus it was,
As I came through the desert: Air once more,
And I was close upon a wild sea-shore;
Enormous cliffs arose on either hand,
The deep tide thundered up a league-broad strand;
White foambelts seethed there, wan spray swept and flew;
The sky broke, moon and stars and clouds and blue:
And I strode on austere;
No hope could have no fear. 
 
As I came through the desert thus it was,
As I came through the desert: On the left
The sun arose and crowned a broad crag-cleft;
There stopped and burned out black, except a rim,
A bleeding eyeless socket, red and dim;
Whereon the moon fell suddenly south-west,
And stood above the right-hand cliffs at rest:
Still I strode on austere;
No hope could have no fear. 
 
As I came through the desert thus it was,
As I came through the desert: From the right
A shape came slowly with a ruddy light;
A woman with a red lamp in her hand,
Bareheaded and barefooted on that strand;
O desolation moving with such grace!
O anguish with such beauty in thy face.
I fell as on my bier,
Hope travailed with such fear. 
 
As I came through the desert thus it was,
As I came through the desert: I was twain,
Two selves distinct that cannot join again;
One stood apart and knew but could not stir,
And watched the other stark in swoon and her;
And she came on, and never turned aside,
Between such sun and moon and roaring tide:
And as she came more near
My soul grew mad with fear. 
 
As I came through the desert thus it was,
As I came through the desert: Hell is mild
And piteous matched with that accursèd wild;
A large black sign was on her breast that bowed,
A broad black band ran down her snow-white shroud;
That lamp she held was her own burning heart,
Whose blood-drops trickled step by step apart;
The mystery was clear;
Mad rage had swallowed fear. 
 
As I came through the desert thus it was,
As I came through the desert: By the sea
She knelt and bent above that senseless me;
Those lamp-drops fell upon my white brow there,
She tried to cleanse them with her tears and hair;
She murmured words of pity, love, and woe,
She heeded not the level rushing flow:
And mad with rage and fear,
I stood stonebound so near. 
 
As I came through the desert thus it was,
As I came through the desert: When the tide
Swept up to her there kneeling by my side,
She clasped that corpse-like me, and they were borne
Away, and this vile me was left forlorn;
I know the whole sea cannot quench that heart,
Or cleanse that brow, or wash those two apart:
They love; their doom is drear,
Yet they nor hope nor fear;
But I, what do I here?[3]
 
Works Referenced 
 
Drabble, Margaret, ed. The Oxford Companion to English Literature. 5th ed. New York: Oxford University Press, 1987. 
 
Chu-Chueh, Cheng. “The Importance of Being London: Looking for Signs of the Metropolis in James Thomson’s ‘City of Dreadful Night.’” Literary London: Interdisciplinary Studies in the Representation of London 3.1 (2005). 
 
Thomson, James. “The City of Dreadful Night.” The City of Dreadful Night and Other Poems. London: Bertram Dobell, 1899. 1-48.
____________________
[1] Drabble, 979-980.
[2] Chu-Chueh.
[3] Thomson, 10-15.

Friday, February 2, 2024

Biohazard and Radioactive Signs

$10 - $15 (based on 2020 prices)
Makes eight signs

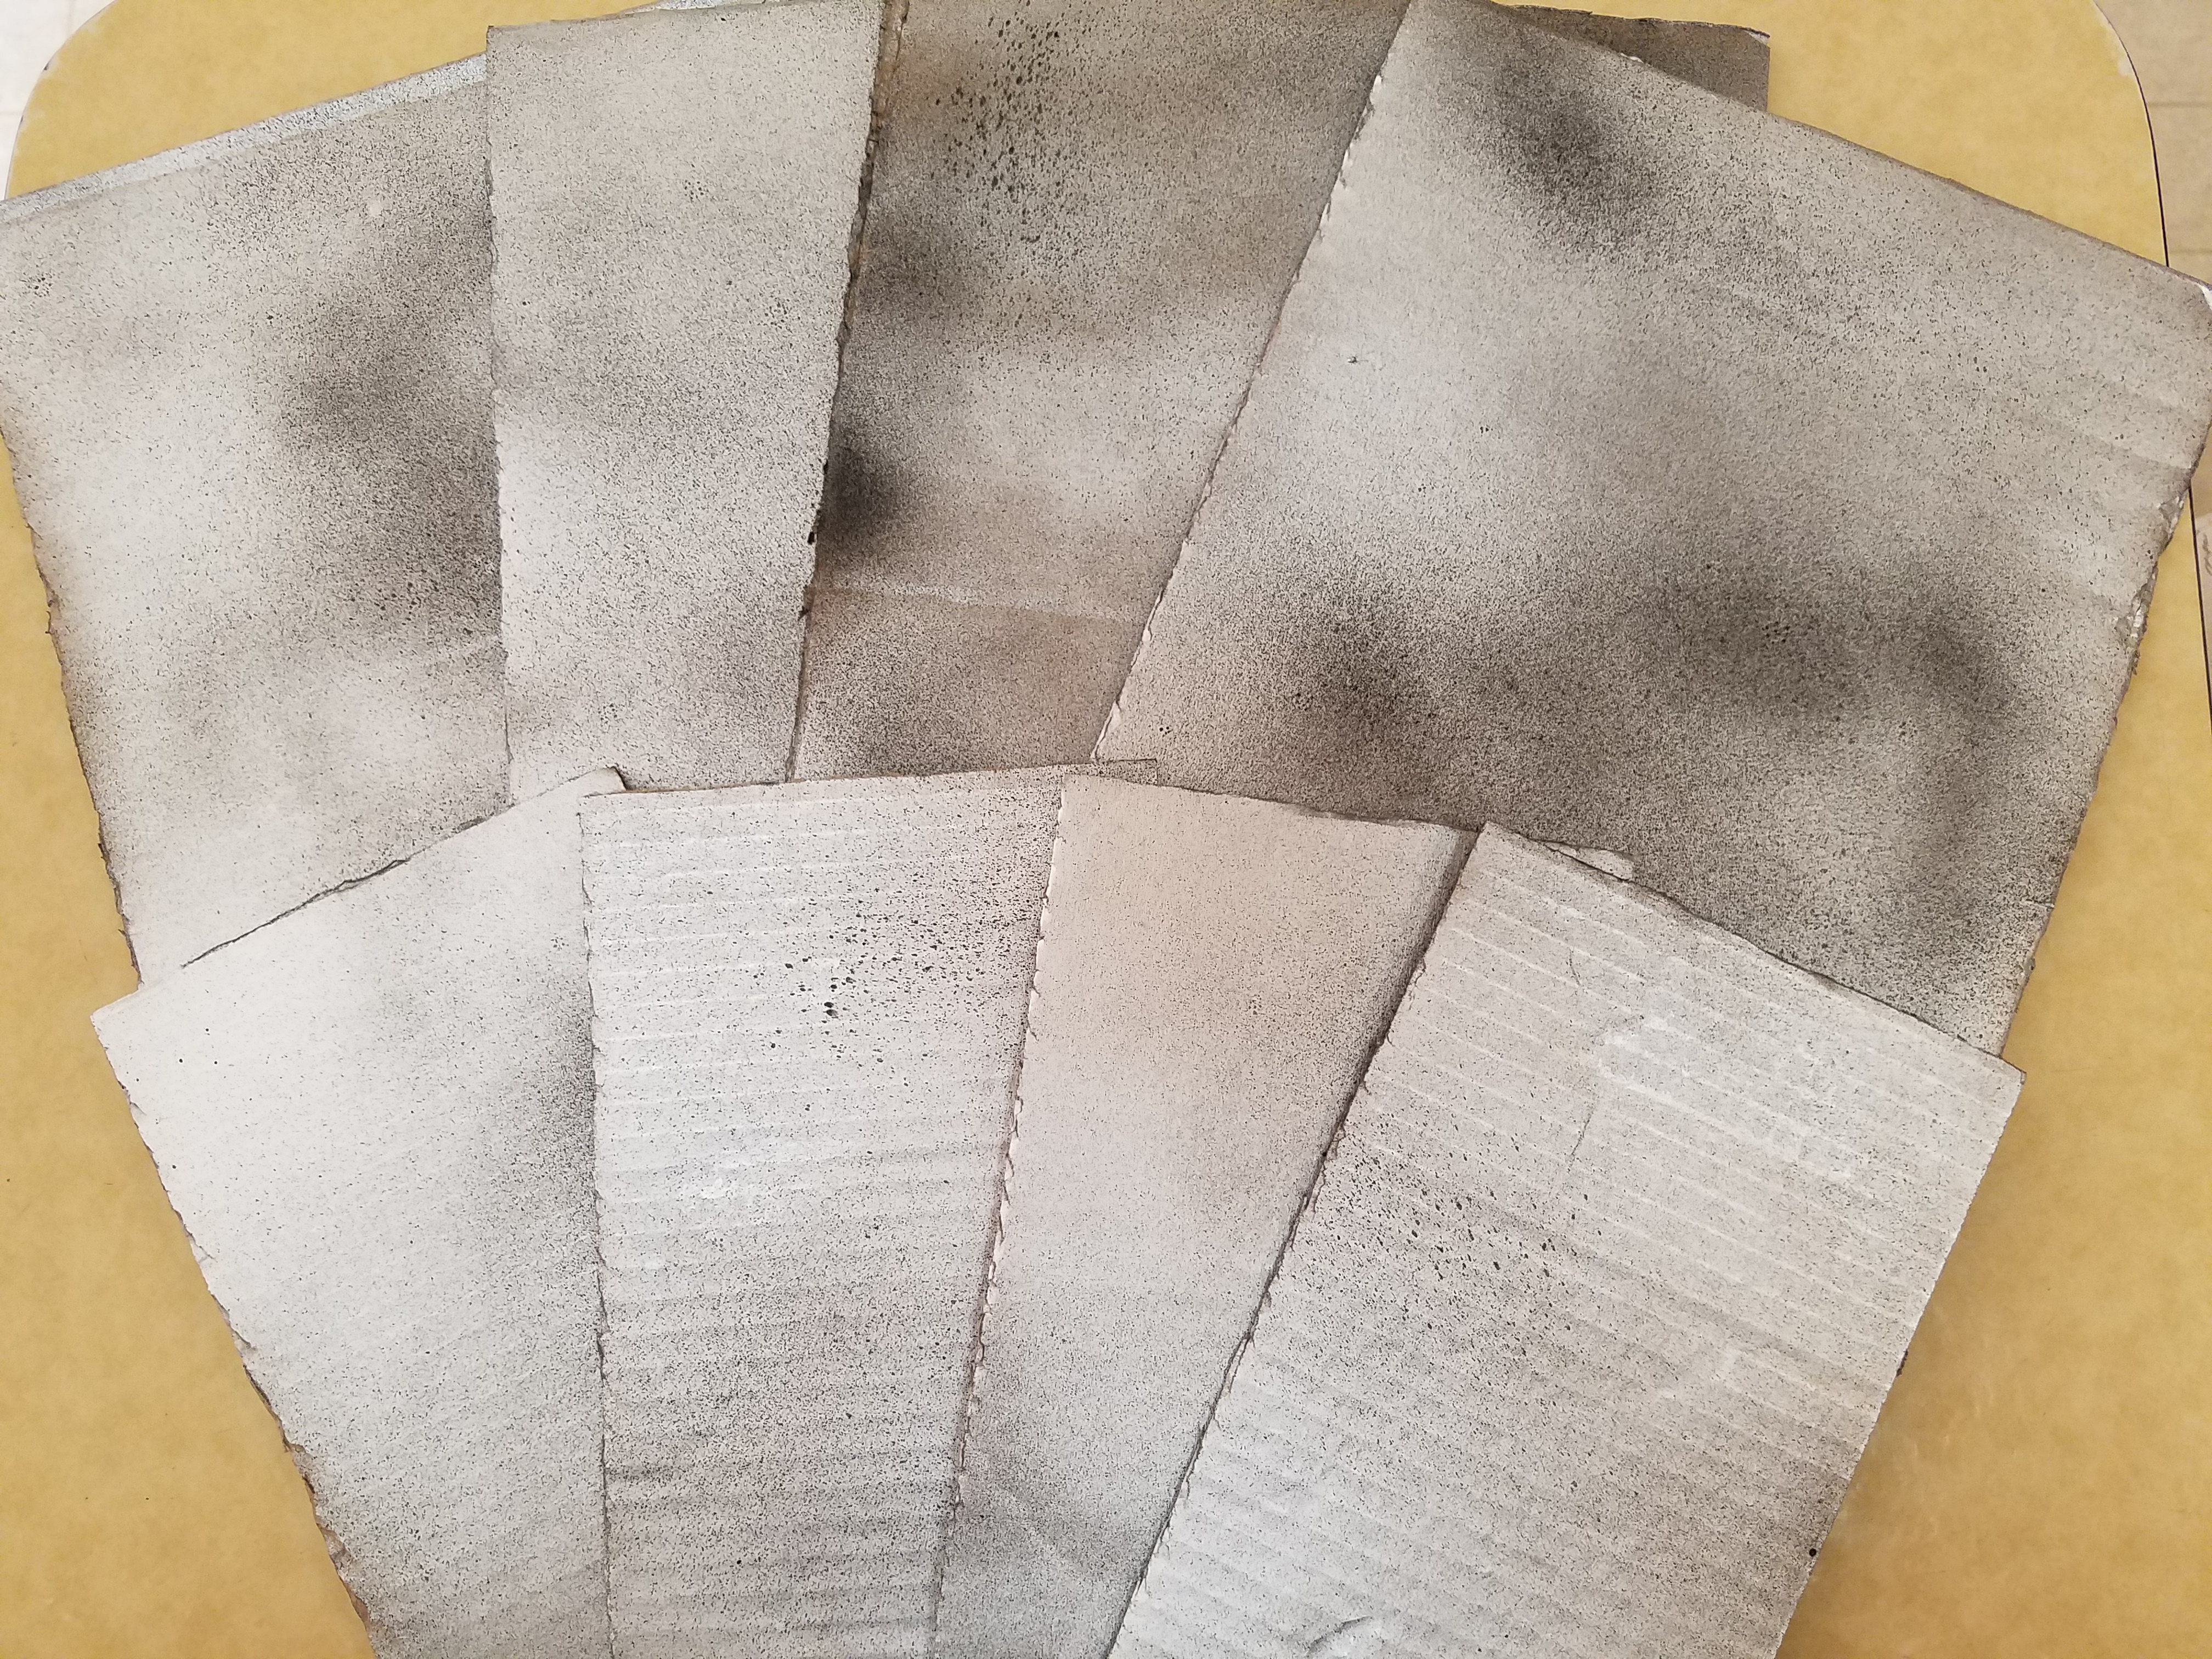
Simple details can have a huge impact when establishing the mood of a haunt, which is why I take time to build what some would consider trivial props to help tell the haunt’s story. For 2020’s laboratory, I made these eight signs to hang in random spots on the walls and nestle among the towers of equipment. To help keep costs down, I used sheets of cardboard; however, you can use plastic or even metal to create something more substantial.
  • One sheet of cardboard (roughly 8’ x 7’)
  • One 10 oz. can of interior/exterior, fast-drying spray paint in flat black
  • One 10 oz. can of interior/exterior, fast-drying spray paint in flat brown
  • One 10 oz. can of interior/exterior, fast-drying spray paint in flat green
  • One 10 oz. can of interior/exterior, fast-drying spray paint in metallic silver
  • Four sheets of pink copy paper with biohazard labels printed on them
  • Four sheets of yellow copy paper with radioactive labels printed on them
  • At least four tablespoons of dark roasted coffee grounds
  • One pan large enough to soak the copy paper
  • One 4 oz. bottle of all-purpose tacky glue*
  • One 6 oz. can of clear acrylic spray sealer
  • One 2 oz. bottle of acrylic paint in glossy red*
  • Eight feet of steel wire
1. Cut the cardboard into four sections that measure nine and a half inches by twelve inches and four sections which measure six inches by nine inches. These sizes can be altered to make the signs smaller or larger to correspond with your haunt’s needs.
2.  On a newspaper-lined surface in a well-ventilated area, build up layers of black and metallic silver spray paint to give the signs the look of steel. I found it works best to apply a base coat of black and then add the sliver, working in quick bursts to allow parts of the black to remain visible. You can also touch up portions with additional blasts of black if the silver becomes too heavy.
3. Boil enough water to completely submerge the copy paper and pour it into the pan. Add the coffee. The longer you allow the coffee to brew, the darker the stain will become. Likewise, greater amounts of coffee will produce a richer stain. Submerge the paper in the coffee mixture and soak it until it reaches the color you desire. I soaked mine for eight hours and scattered the coffee grounds over the top to add spots. Remove the paper from the water and allow it to dry. Although it can be time consuming, this process works best if you stain each sheet individually.
4. After the paper dries, cut out the labels, leaving a small border around their edges. To roughen the labels’ appearance, use sandpaper to fray their sides and create holes. You can also crumple the paper to produce creases. Once you have achieved your desired level of distress, center the labels on the signs and glue them in place. You can also use olive or vegetable oil to add further stains, applying a small amount of oil to your index finger and patting it onto the paper.  
5. On a newspaper-lined surface in a well-ventilated area, give each sign a coat or two of sealer. This will help protect the props from the elements and give them a glossy finish to mimic the look of metal. Although I used a glossy sealer, you can use mat to cater the signs to your haunt’s aesthetics.
6. To add additional detail, dust the radioactive signs with light coats of black, brown, and green spray paint. Then, dust the biohazard signs with black and brown spray paint and use glossy red paint to create blood splatters and handprints.
7. Cut the steel wire into eight twelve-inch sections and use them to create hanging hooks on the backs of the signs. This will make it easier to hang them in the display; however, you can also use adhesive strips.
8. The signs can be enhanced further with additional elements, such as swarms of insects or cryptic warnings scribbled across their surfaces.
*You will not use the entire bottle’s content for this project.

Friday, January 26, 2024

Mahafaly Funeral Totems: A Mini-Essay

     The Mahafaly in the south-western region of Madagascar honor the dead by placing aloalo on their graves.[1] These funeral totems are made of the sacred wood hazomanga and are either painted or carved to represent the life of the deceased, with a wealthy individual’s aloalo often depicting their worldly possessions and the aloalo of a person with many children sometimes being explicitly erotic to represent their virility.[2] Others possess images of men hunting zebu and become a means for the Mahafaly to pay homage to the deceased and their ancestors, representing how the living and the dead are closely linked.[3] Traditionally, aloalo were reserved only for Mahafaly chiefs and people with royal lineages, with their tombs located outside villages in the forests believed to be the domain of ancestral spirits.[4]

Works Referenced

Magnin, Andre, and Jacques Soulillou. Contemporary Art of Africa. New York: Abrams Books, 1996.

McElroy, Colleen. Over the Lip of the World: Among the Storytellers of Madagascar. Seattle, WA: University of Washington Press, 1999.
____________________
[1] Magnin and Soulillou, 24.
[2] McElroy, 29-30.
[3] McElroy, 30.
[4] Magnin and Soulillou, 24.

Friday, January 19, 2024

Creepy Doll with Candles

$10 - $15 (based on 2023 prices)
Makes one prop

In 2023, I was commissioned by a local theater to serve as a consultant and prop builder for their production of The Haunting of Hill House, which was based on Shirley Jackson’s novel. Being a fan of the books since I was a teenager, I jumped at the opportunity and spent several months creating a collection of items to decorate both the house depicted on the stage and the cemetery created in the lobby to greet patrons before they entered the theater. For this prop, I used a series of recycled items, including a lid from a food container, to fashion a creepy doll surrounded by several candles which was nestled on a bookcase within the set.
  • One 5” x 5” sheet of plastic
  • One 5 oz. tube of siliconized caulk*
  • One 10 oz. can of interior/exterior, fast-drying spray paint in flat black*
  • One 2 oz. bottle of acrylic paint in flat beige*
  • One 2 oz. bottle of acrylic paint in flat brown*
  • One 2 oz. bottle of acrylic paint in flat gray*
  • One 2 oz. bottle of acrylic paint in flat olive*
  • One 2 oz. bottle of acrylic paint in flat white*
  • One 2 oz. bottle of acrylic paint in glossy white*
  • Three LED candles in varying sizes
  • One hot glue gun and glue sticks
  • One vinyl doll’s head
1. Thoroughly wash and dry the sheet of plastic. If there is any sticker residue, use rubbing alcohol to remove it (soak a paper towel in the solution, let it sit over the area for a few minutes, and wipe away the remaining glue). Then, use a paper towel to pat the caulking onto the sheet. Apply a small dollop to the towel and gently dab it onto the surface to create a stone-like texture. Do not overthink your application because a random pattern produces a more natural look.
2. Allow the caulking to dry for at least twenty-four hours and then, on a newspaper-lined surface in a well-ventilated area, give the sheet one or two even coats of black spray paint. You can apply additional layers; however, keep in mind that this is the base coat and much of it will be covered by the other colors.
3. Use a stippling brush to build up layers of gray and white paint, working from dark to light to give the sheet the look of stone. If one color becomes too overpowering, you can always apply more of the other color to dial it back.
4. To age the prop, water down brown paint and brush it along the sheet’s surface, allowing it to settle in the fissures. Then, use the stippling brush to pat olive paint randomly onto the sheet to mimic moss. How much of both colors you apply depends on the level of weathering you want.
5. Determine where the candles will sit, trace their outlines, and cut them out, ensuring the holes are slightly smaller than the outlines to prevent the candles from falling through. This will allow access to the power switch and battery compartment. Because this process can damage the paint job, it might be better to perform this step before steps one through four.
6. Glue two of the three candles to their corresponding holes and use hot glue to build up layers of wax. The process works best if you move in stages, applying one layer at a time and allowing the glue to dry between each application. Also, I found that pumping the glue along the top of the candle and allowing it to naturally run downward creates the best results.
7. Give the candles two to three coats of glossy white paint. You can always use an alternate color to cater the prop to your haunt’s chosen aesthetic or use multiple hues to make it look like a random assortment of candles.
8. Use a sharp knife to remove the doll’s eyes and the top of its head. For visual interest, make jagged edges. Also, purchase a doll made from thin plastic or vinyl to make this process easier.
9. Trace the outline of the third candle onto the base of the head and cut it out, ensuring the candle fits snuggly into the opening but not gluing it in place (this will occur during step thirteen).
10. On a newspaper-lined surface in a well-ventilated area, give the inside and outside of the head one to two even coats of black spray paint. As with step two, this is just the base coat and will be covered with other paints, so you may not want to apply too many coats.
11. Use a stippling brush to build up layers of beige paint, allowing parts of the black to remain visible in order to give the head the look of aged porcelain. For an alternate look, you can apply a crackle paint effect.
12. To give the head a layer of age, gently brush brown paint long the edges of the openings and the creases of the face, focusing your efforts on places where dirt would naturally accumulate.
13. Insert the candle into the opening at the base of the head, glue it in place, and then build up layers of hot glue around it to make it appear like a melted candle. Following this, give the glue two or three coats of glossy white paint (or any other color you choose for the candle).
14. Attach the head to the base, guaranteeing the candle rests above the opening to make the power switch and battery compartment accessible. For added stability and visual interest, build up puddles of glue around the base of the head and paint these with glossy white paint to look like melted wax.
15. The prop can be enhanced further to correspond with your haunt’s theme. For instance, clusters of Spanish moss can be woven between the candles or swarms of spiders can be glued to the sides of the face.
*You will not use the entire bottle’s content for this project.