
$10 - $15 (based on 2020 prices)
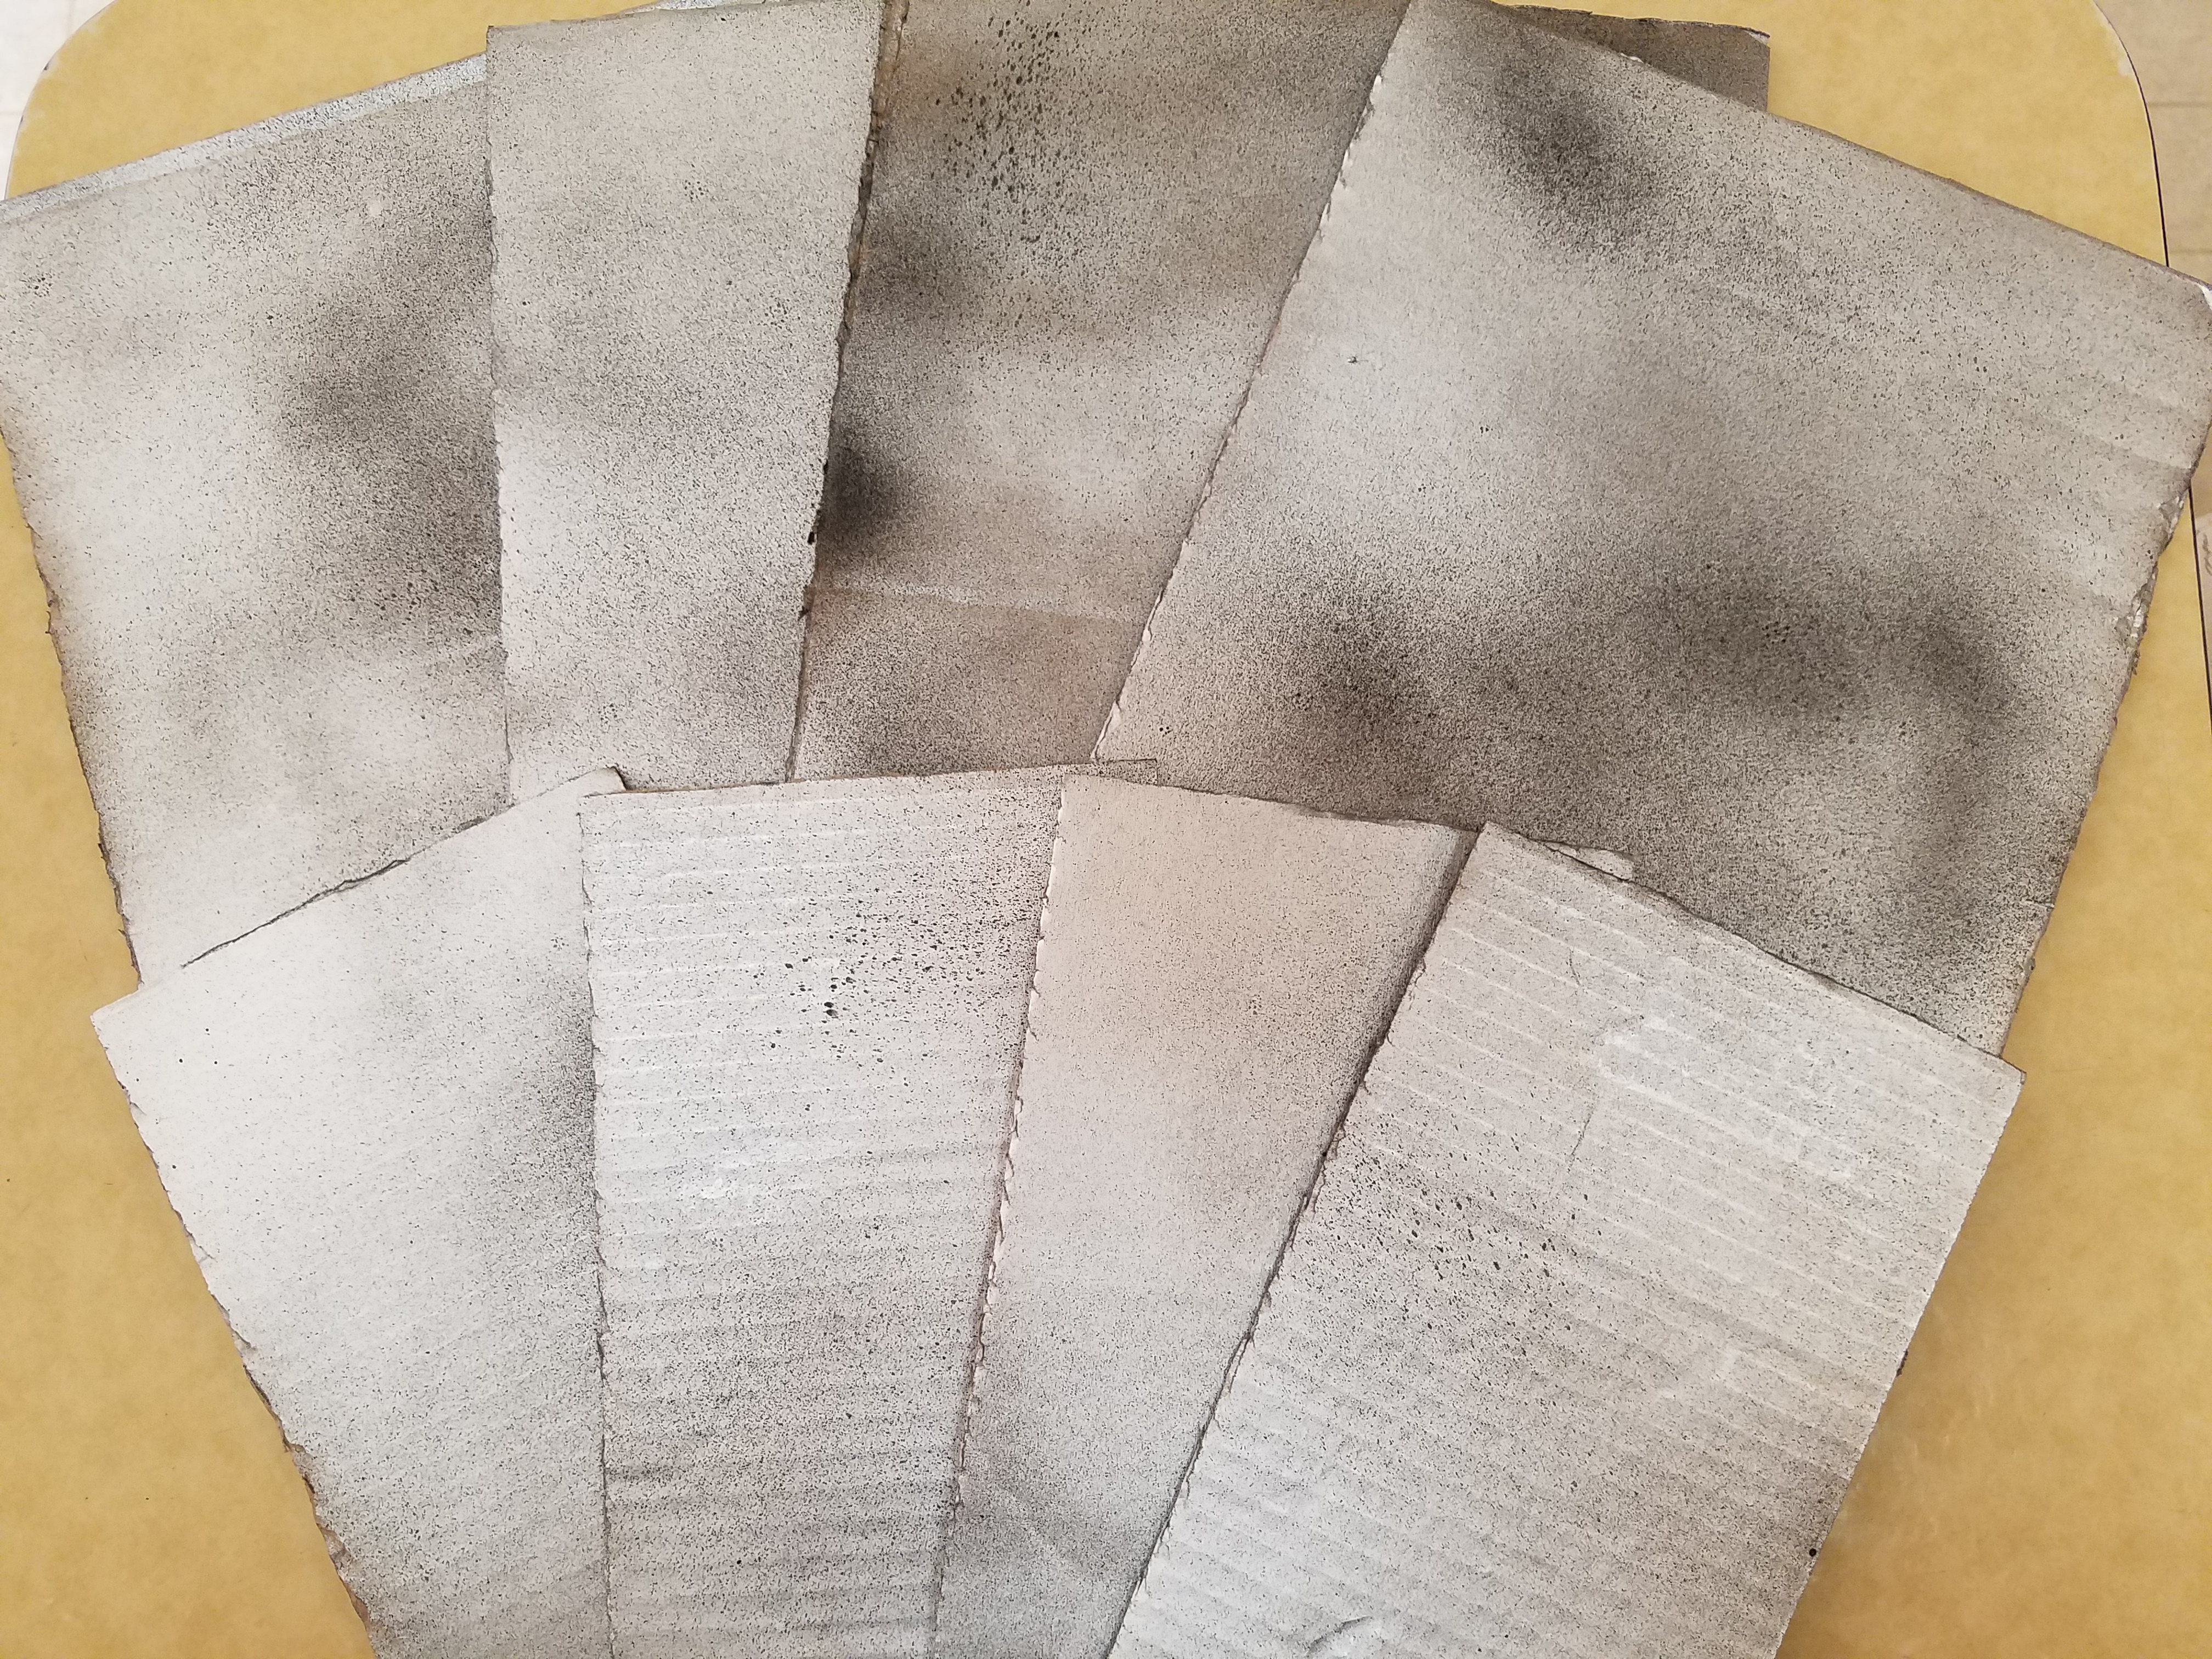
Makes eight signs
Makes eight signs
Simple details can have a huge impact when establishing the mood of a haunt, which is why I take time to build what some would consider trivial props to help tell the haunt’s story. For 2020’s laboratory, I made these eight signs to hang in random spots on the walls and nestle among the towers of equipment. To help keep costs down, I used sheets of cardboard; however, you can use plastic or even metal to create something more substantial.
- One sheet of cardboard (roughly 8’ x 7’)
- One 10 oz. can of interior/exterior, fast-drying spray paint in flat black
- One 10 oz. can of interior/exterior, fast-drying spray paint in flat brown
- One 10 oz. can of interior/exterior, fast-drying spray paint in flat green
- One 10 oz. can of interior/exterior, fast-drying spray paint in metallic silver
- Four sheets of pink copy paper with biohazard labels printed on them
- Four sheets of yellow copy paper with radioactive labels printed on them
- At least four tablespoons of dark roasted coffee grounds
- One pan large enough to soak the copy paper
- One 4 oz. bottle of all-purpose tacky glue*
- One 6 oz. can of clear acrylic spray sealer
- One 2 oz. bottle of acrylic paint in glossy red*
- Eight feet of steel wire

2. On a newspaper-lined surface in a well-ventilated area, build up layers of black and metallic silver spray paint to give the signs the look of steel. I found it works best to apply a base coat of black and then add the sliver, working in quick bursts to allow parts of the black to remain visible. You can also touch up portions with additional blasts of black if the silver becomes too heavy.
3. Boil enough water to completely submerge the copy paper and pour it into the pan. Add the coffee. The longer you allow the coffee to brew, the darker the stain will become. Likewise, greater amounts of coffee will produce a richer stain. Submerge the paper in the coffee mixture and soak it until it reaches the color you desire. I soaked mine for eight hours and scattered the coffee grounds over the top to add spots. Remove the paper from the water and allow it to dry. Although it can be time consuming, this process works best if you stain each sheet individually.

4. After the paper dries, cut out the labels, leaving a small border around their edges. To roughen the labels’ appearance, use sandpaper to fray their sides and create holes. You can also crumple the paper to produce creases. Once you have achieved your desired level of distress, center the labels on the signs and glue them in place. You can also use olive or vegetable oil to add further stains, applying a small amount of oil to your index finger and patting it onto the paper.

5. On a newspaper-lined surface in a well-ventilated area, give each sign a coat or two of sealer. This will help protect the props from the elements and give them a glossy finish to mimic the look of metal. Although I used a glossy sealer, you can use mat to cater the signs to your haunt’s aesthetics.

6. To add additional detail, dust the radioactive signs with light coats of black, brown, and green spray paint. Then, dust the biohazard signs with black and brown spray paint and use glossy red paint to create blood splatters and handprints.

7. Cut the steel wire into eight twelve-inch sections and use them to create hanging hooks on the backs of the signs. This will make it easier to hang them in the display; however, you can also use adhesive strips.

8. The signs can be enhanced further with additional elements, such as swarms of insects or cryptic warnings scribbled across their surfaces.

*You will not use the entire bottle’s content for this project.
No comments:
Post a Comment