$50 - $60 (based on 2022 prices)
Makes one sign
At the end of 2022, I was asked to make a set of props for a local theater’s production of Christmas Belles. Being unable to make many props for the Halloween season, I jumped at the opportunity to do something creative. For this prop, I used PVC pipes and a foam board to fashion a North Pole sign to decorate the Santa’s workshop scene of the play. - One seventeen-inch wooden disk
- One 1 ¼” cap socket
- Three 1 ¼” coupling joints
- Four ½” wood screws
- One 1 ¼” x 6’ PVC pipe
- One roll of 1 ½” painter’s tape
- One 10 oz. can of interior/exterior, fast-drying spray paint in glossy red
- One 10 oz. can of interior/exterior, fast-drying spray paint in glossy white
- One sheet of white glittery drape (roughly 32” x 40”)
- Twelve to fourteen feet of faux evergreen garland
- One sheet of foam (at least 12” x 17”)
- One 8 oz. can of exterior paint in flat white*
- One 4 oz. bottle of all-purpose tacky glue*
- Two strings of white battery-powered LED lights
- Twenty light covers in the shape of green leaves
- Four feet of steel wire
- One piece of 8”x 11.5” copy paper with North Pole printed on it
- Four feet of plaid ribbon
- A random assortment of bells and pinecones
- One 1.48 oz. bag of large, white glittery snow
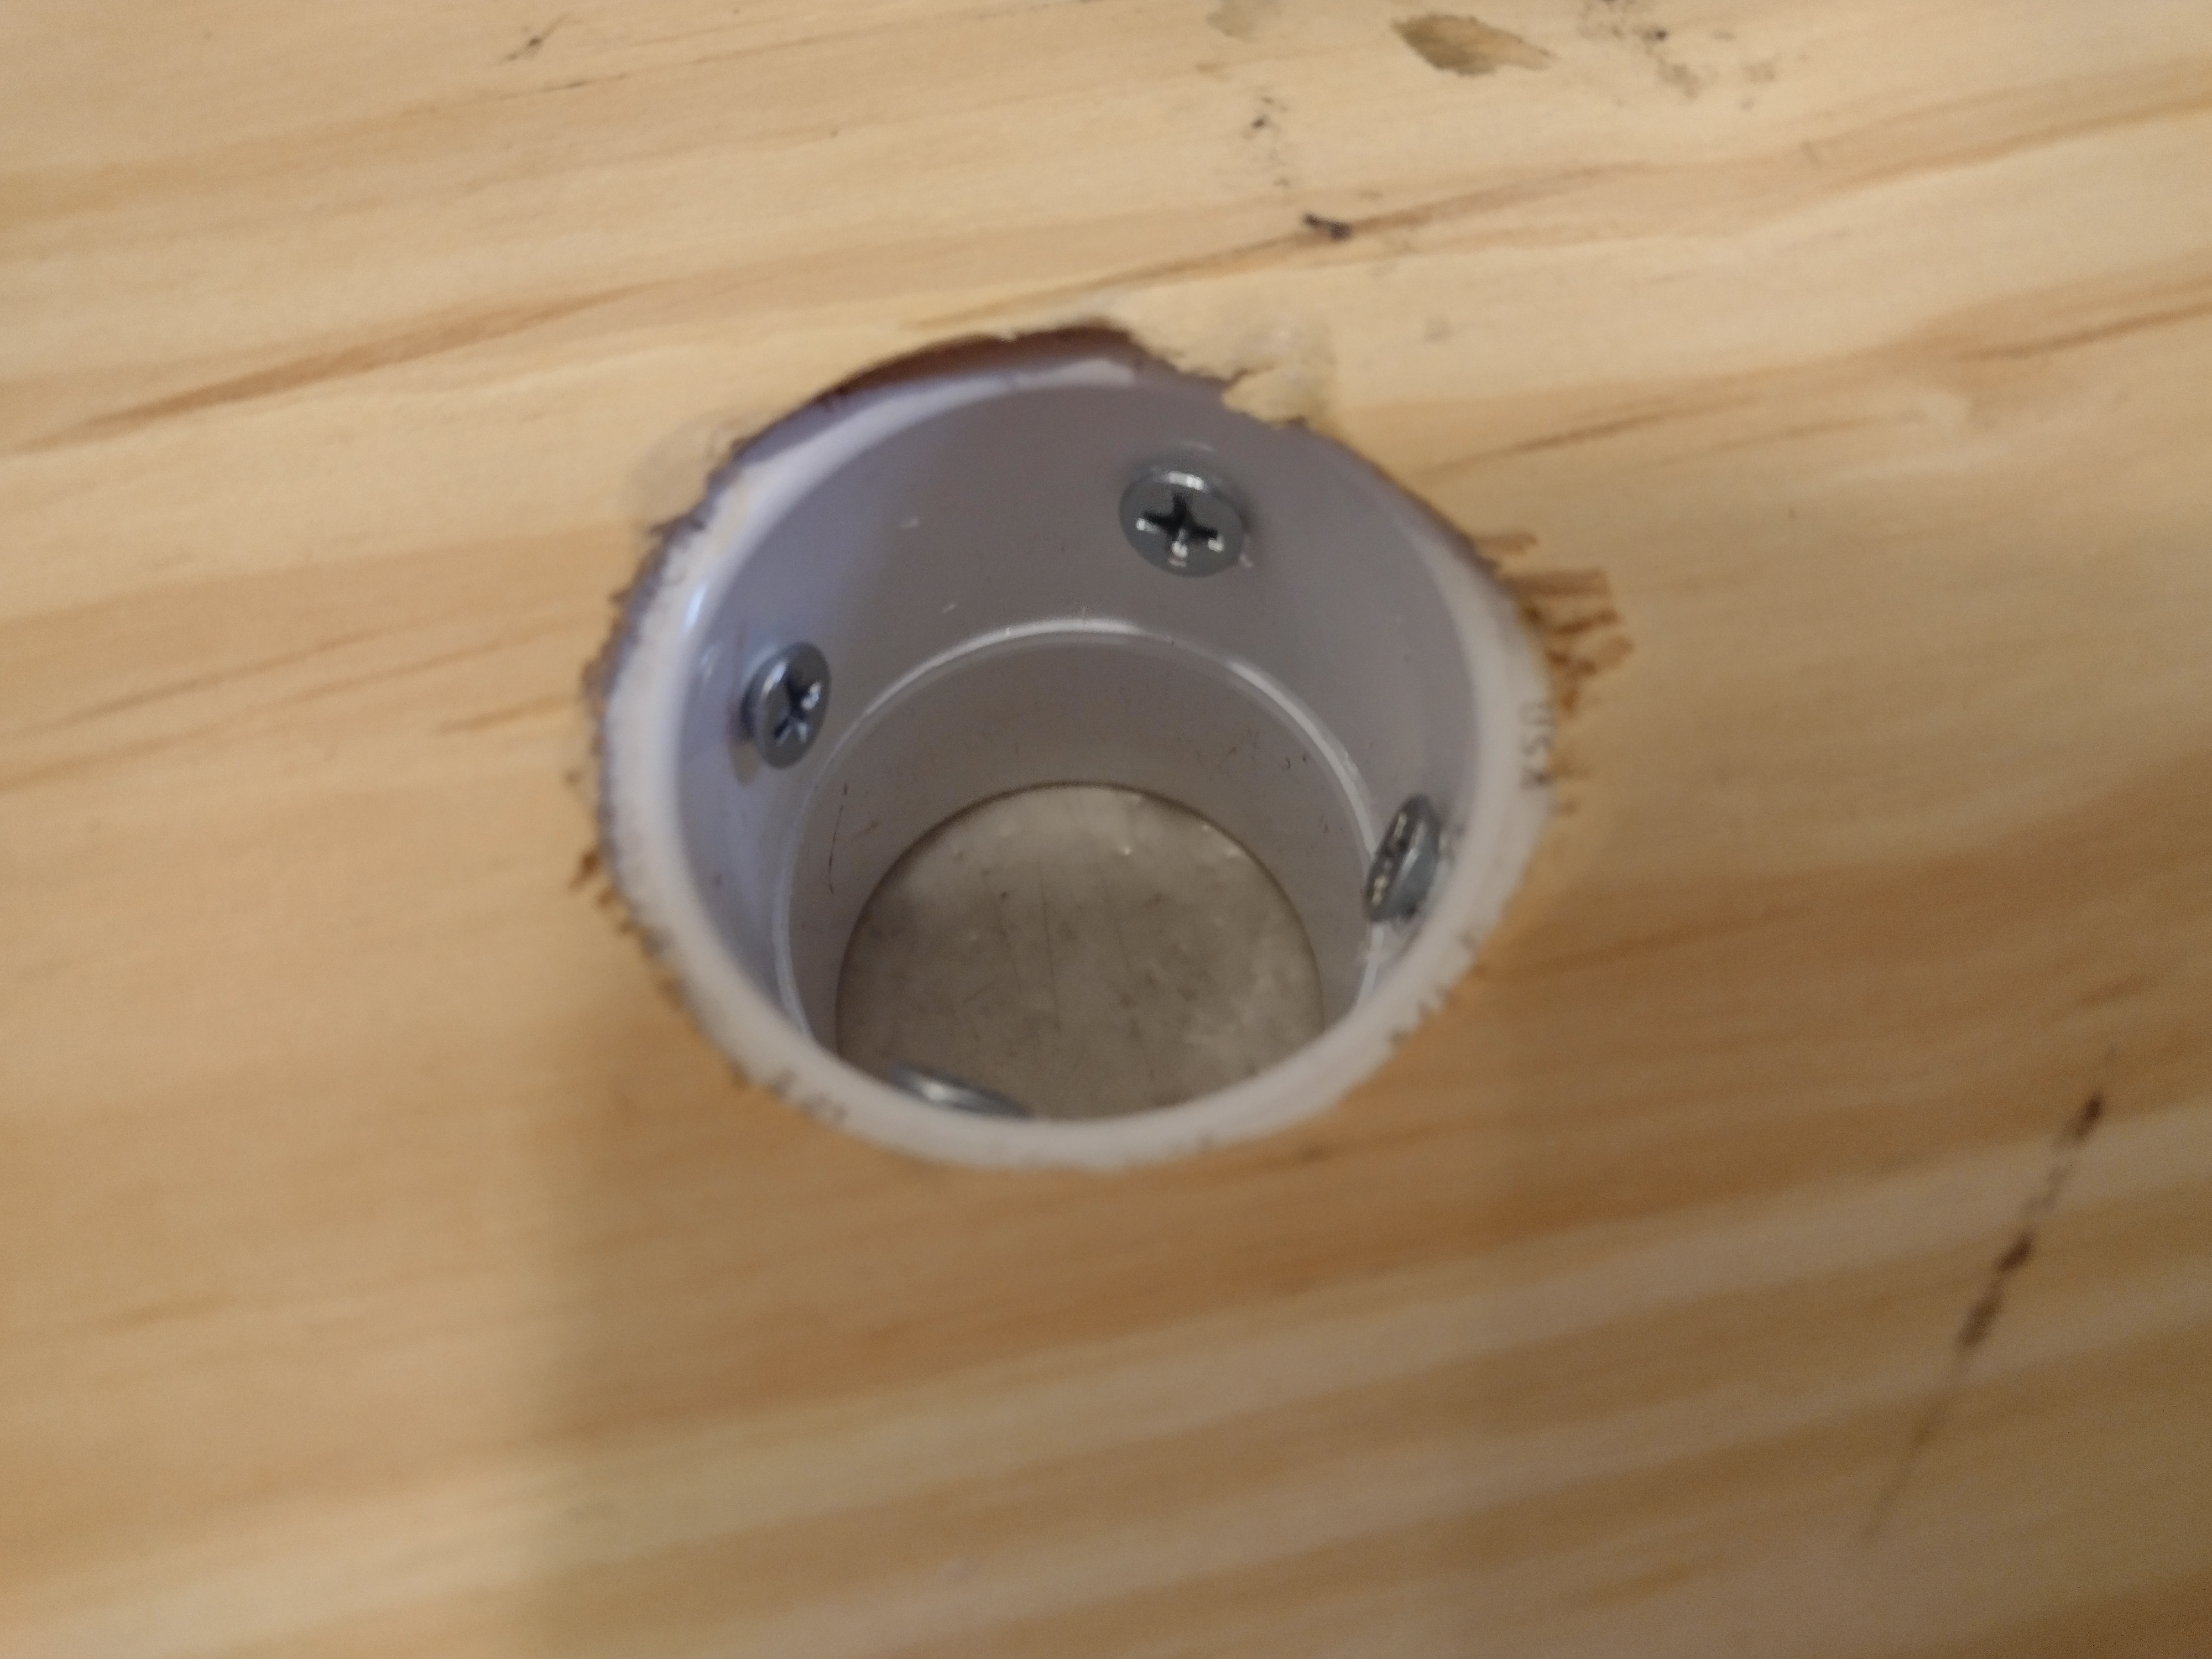
1. Measure and mark the center of the wooden disk and then use a two-inch bit to drill a hole into the wood. Because this will serve as the sign’s base, I drilled all the way through for additional stability; however, depending on your sign’s weight, you can go just halfway through the disk. 2. Use a 1/8 bit to drill four holes into one of the coupling joints. You want to ensure they are evenly spaced and about half an inch from the edge. Following this, coat the portion that will rest inside the hole with glue and gently hammer it into the opening, guaranteeing the joint rests level in the hole.
3. Drill the wood screws into the four holes made in step two. This will help lock the coupler into the hole and stabilize it. Although this may seem excessive, I wanted the prop as secure as possible because it was going to be moved on an off stage during each performance.
4. Measure, mark, and cut the PVC pipe into three two-foot sections and, with the remaining two couplers, join them together, adding them to the base to form the sign’s pole and topping it with the cap socket. This will produce a pole roughly seven feet high (for a shorter or taller pole, you can adjust the measurements of each section).
5. On a newspaper-lined surface in a well-ventilated area, give the pole one or two even coats of glossy white paint. After allowing the paint to fully dry, use the painter’s tape to form the stripes, starting at the top and carefully wrapping it downward in a corkscrew motion. How thick you want the stripes depends on the size of the tape that you use.
6. Once the pole is wrapped, apply one or two even coats of glossy red paint to the exposed areas. After letting the paint fully dry, carefully remove the tape. Since this prop was meant to be seen from afar, I didn’t worry too much if the contrast between the red and white stripes was not perfect. You, though, can clean this up with a black line if the prop is going to be seen up close.
7. Utilize the remaining white spray paint to coat the wooden base. Then, cut a 24” x 24” square of glittery drape, bunch it up around the base, and glue it down. For visual interest, I created folds and mounds to make it look like fake snow, but you can leave it smooth if that adheres to your chosen aesthetic.
8. Beginning at the top of the pole, wrap the evergreen garland around it and utilize small dabs of hot glue to hold it in place. How much greenery you will need is dependent on how dense you want the coverage. I went with something relatively minimal to not overpower the prop, which means I used eight feet of garland. If you plan for a thicker coverage, you will need even more.
9. Cut a sheet of foam into a 12” x 17” rectangle to form the sign. These dimensions, of course, can always be altered to cater the prop to your needs. Because I liked the details it gave without having to shape them myself, I used the lid to a Styrofoam cooler.
10. Coat the board with at least one layer of white exterior paint to protect it from melting when applying the spray paint. After this, use copy paper and painter’s tape to section off what will become the space for the sign’s lettering and, on a newspaper-lined surface in a well-ventilated area, use the remaining red spray paint to color the sign’s back and outer edges.
11. Trace the outlines of the battery packs for the LED lights onto the back of the sign and then form two rectangular holes about half an inch deep to accommodate them. After gluing the packs in place, make a hole on either side and use them to feed the lights through.
12. String the lights around the border of the sign, applying small dabs of hot glue to hold them in place. Because the strings I used were rather short, I had to employ two to cover the entire border, but you can streamline this process (and step eleven) by using just one long strand.
13. Cover the cords for the lights with the remaining garland (roughly three to four feet). One of the major reasons I used the cooler lid was because it had a nice trench where I could nestle the garland and lights. This can also be achieved by cutting a half-inch border around the sign using a sharp blade or soldering tool. Also, to soften the lights’ glow and enhance the sign’s visual appeal, I covered each bulb with green leaf-shaped covers.
14. Cut the wire into two twenty-four-inch sections, make four small holes in the center of the sign, and feed the wires through them to create loops which will be used in step seventeen to attach the sign to the pole.
15. Cut a 9” x 14” rectangle of glittery drape and glue it to the inner section of the sign. Following this, center the North Pole printout on the drape and glue it in place.
16. Cut the ribbon into two eight-inch sections and two twelve-inch sections and glue them around the copy paper to form a border. After this, adhere clusters of bells and pinecones in the corners of the sign. Lastly, lightly coat the draping on either side the copy paper with glue and sprinkle large glitter on it for additional detail.
17. Once all the decorative elements are attached to the sign, slide the pole through the wire loops and, once the sign is at your desired height, glue it in place, tightening the loops to help secure it. I used hot glue for this process, but you can use superglue for a sturdier hold.
18. Because the sign needed to be easy to move between scenes, I did not want to weigh it down with additional details, like ornaments or fake present; however, if you plan to make it a stationary prop, you can add these elements to elevate the festive theme.
*You will not use the entire bottle’s content for this project.