
$10 - $15 (based on 2022 prices)
Makes one lantern
At the end of 2022, I was asked to make a set of props for a local theater’s production of Christmas Belles. Being unable to make many props for the Halloween season, I jumped at the opportunity to do something creative. For this prop, I used the six lanterns I purchased on clearance in August (they were originally meant to be distressed and used to line the haunt’s walkway, but these plans never transpired). I transformed them into wintery displays and they were scattered throughout the lobby to set the tone before the audience entered the theater.
- One fifteen-inch LED lantern
- One sheet of white glittery drape (roughly 32” x 40”)
- One 4 oz. bottle of clear, all-purpose tacky glue gel*
- A random assortment of Christmas ornaments in varying colors and sizes
- One 1.48 oz. bag of large, white glittery snow
- One 2 oz. bottle of acrylic paint in flat white*
- One yard of plaid ribbon
- One yard of faux evergreen garland
- A random assortment of bells, artificial berries, and pinecones

2. Unscrew the lantern’s base, measure its surface, and cut a swatch of white glittery drape large enough to cover the area (mine was 5” by 6”). You want to make the square an inch or two larger than the base, since you will need extra fabric to create billows. Once this is done, glue the drape to the base, bunching it up in parts to fashion folds.

3. Position the ornaments on the base and glue them in place. Depending on the size of the ornaments and how low the LED light hangs in the lantern, you may need to play with their arrangement to prevent them from striking.

4. Lightly brush a coat of glue over the tops of the ornaments and the surface of the drape and then sprinkle the large, white glitter snow over them. Do not cover them too much, though, since they still need to be visible.

5. Using a brush with splayed bristles, stipple white paint along the edges of the glass panels to create the look of frost. As with step four, you do not want to overdo this process, since it will make the contents of the lantern indiscernible.
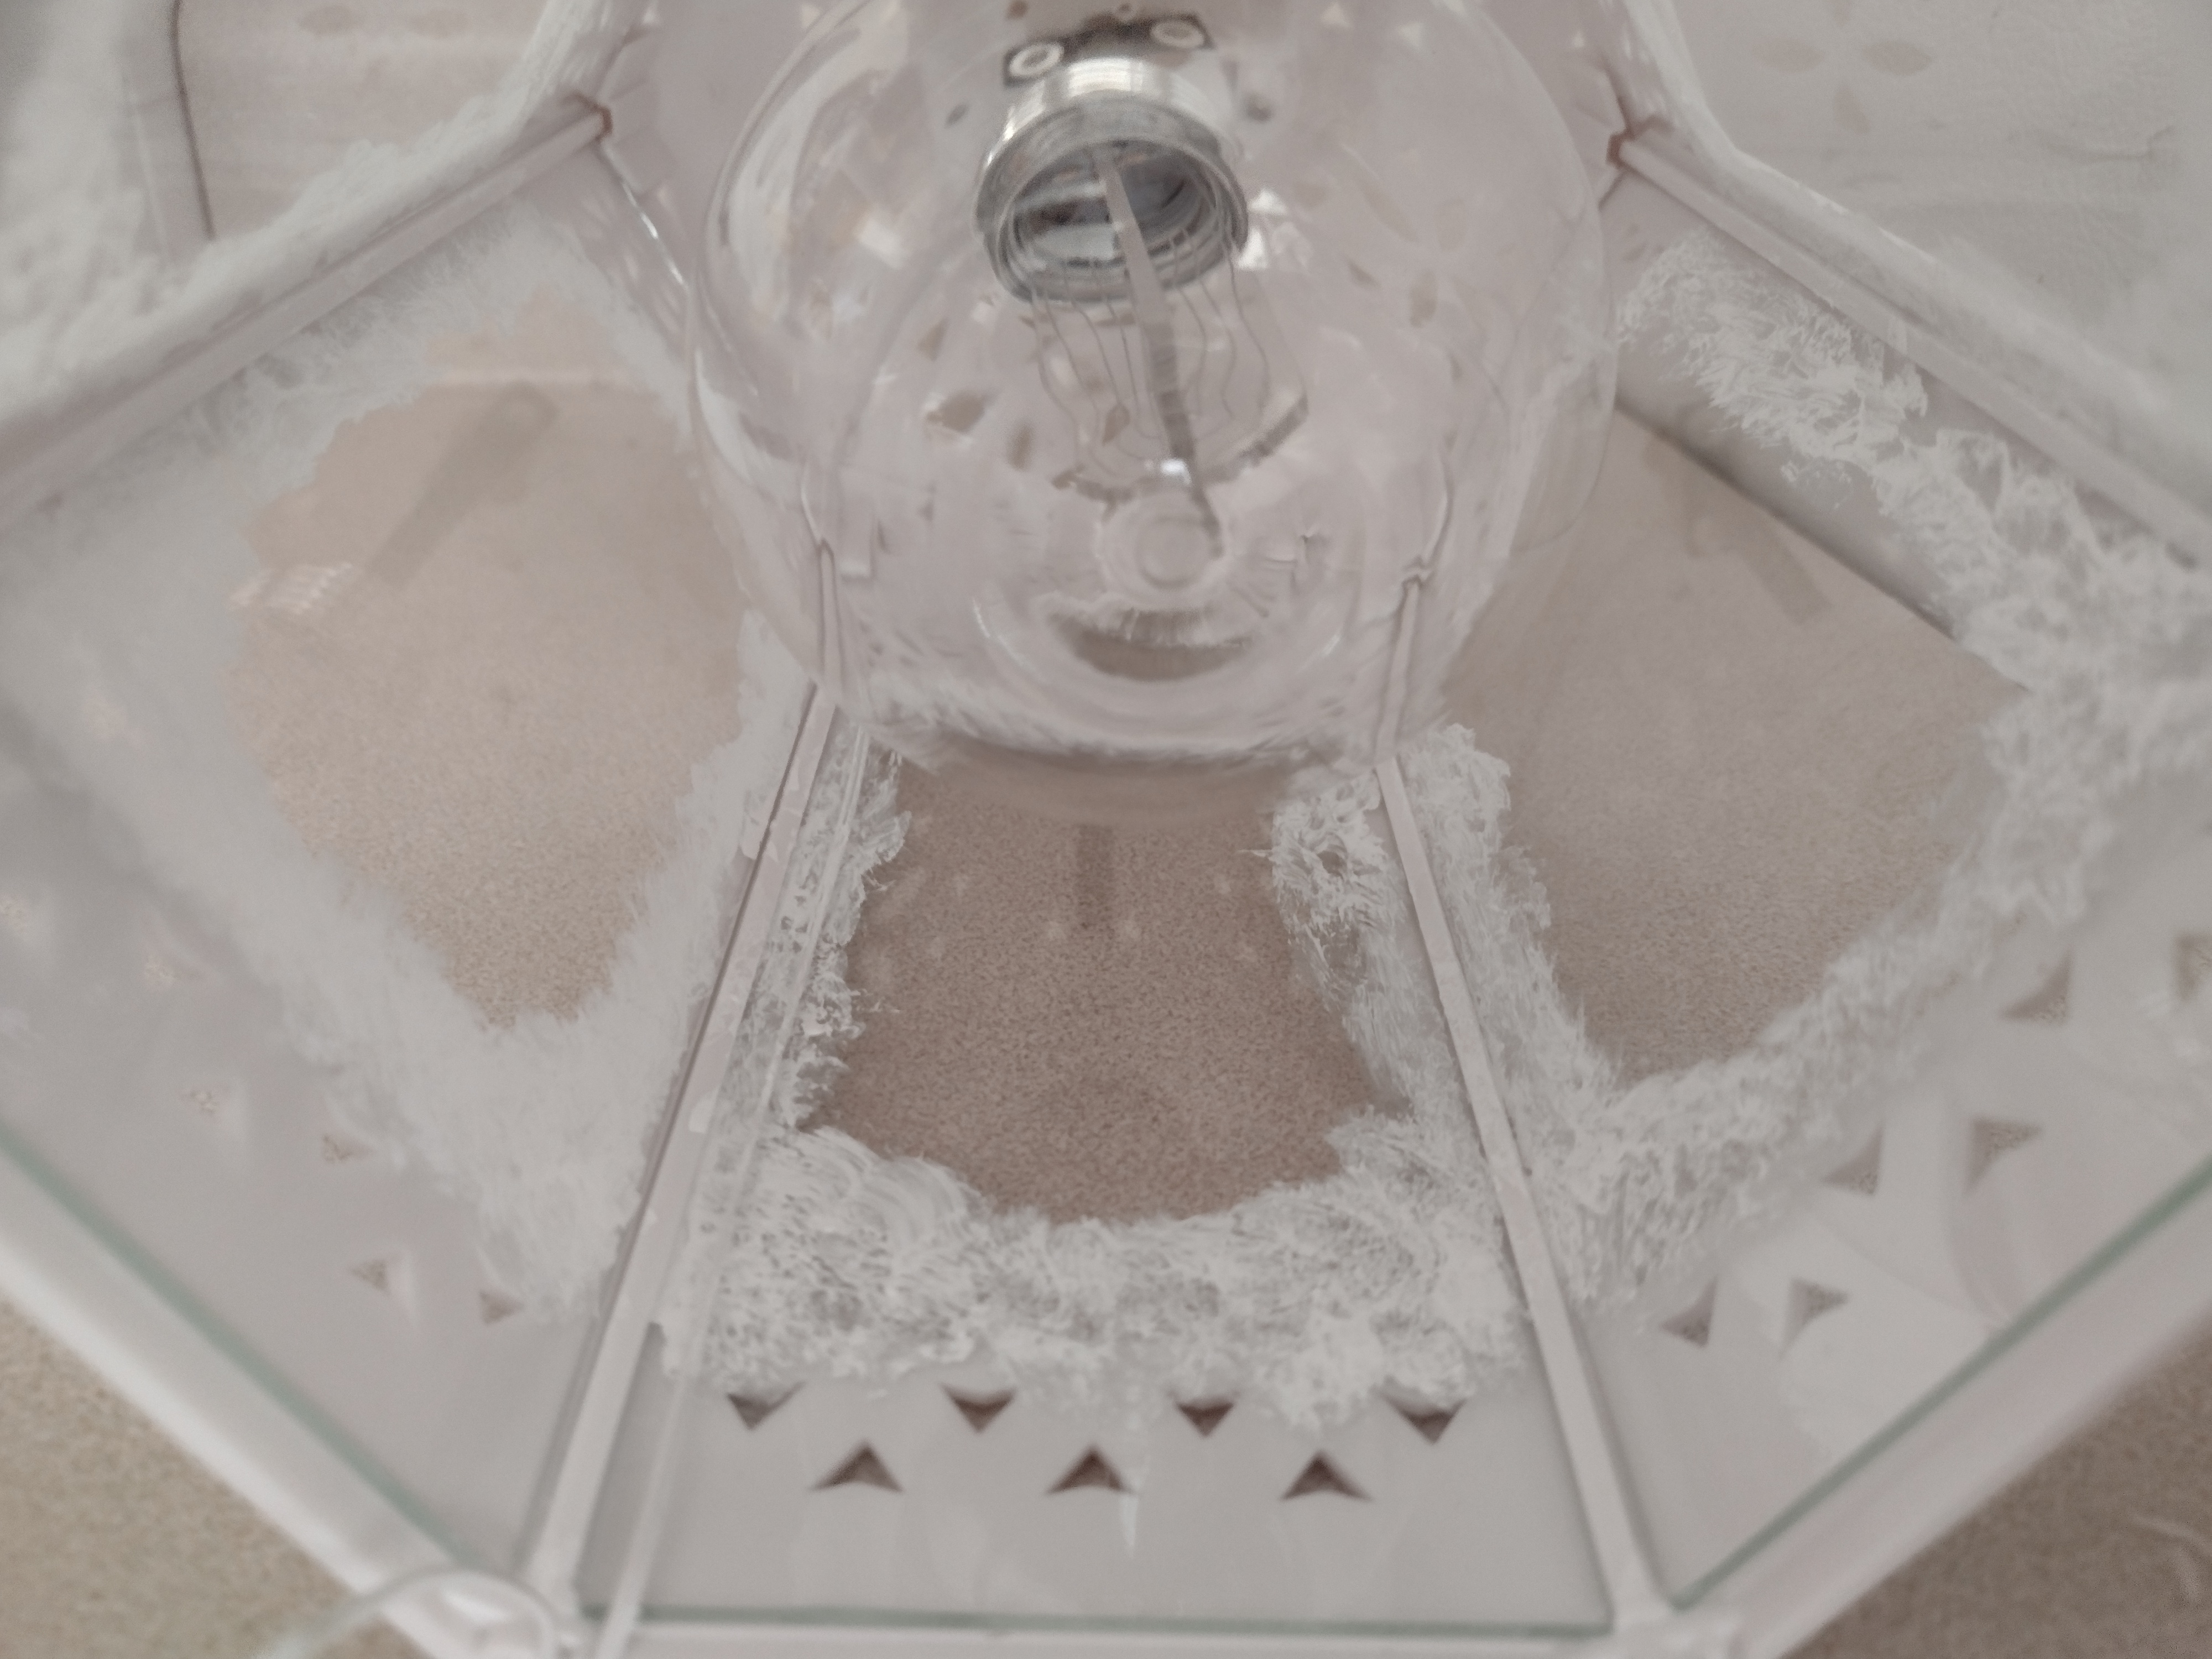
6. Gently reattached the base to the lantern. Although you can glue the two together, I would not recommend this, since you may need to access the content later. If any of the drape sticks out through the juncture (as seen in this image), use a pair of scissors to trim it.

7. Cut a twelve-inch section of plaid ribbon, wrap it around the top of the lantern, and glue it in place. Depending on the size of the lantern, you may need to decrease or increase this length.

8. Starting with the handle, wrap the evergreen garland around the lantern, gluing it in spots to hold it in place. Akin to step seven, you might need to adjust the measurements to fit the length of your lantern.

9. Accent the top of the lantern with bells, berries, and pinecones (or any other holiday-themed items like candy canes, holly, or poinsettias).

10. The lantern can be further detailed by gently brushing a coat of glue on its edges and sprinkling the large, white glittery snow over it; however, since this can be messy and continue to flake off throughout the season, I would only recommend it if you plan to display the lantern outdoors.

*You will not use the entire bottle’s content for this project.
No comments:
Post a Comment