
$15 - $20 (based on 2019 prices)
Makes three cones
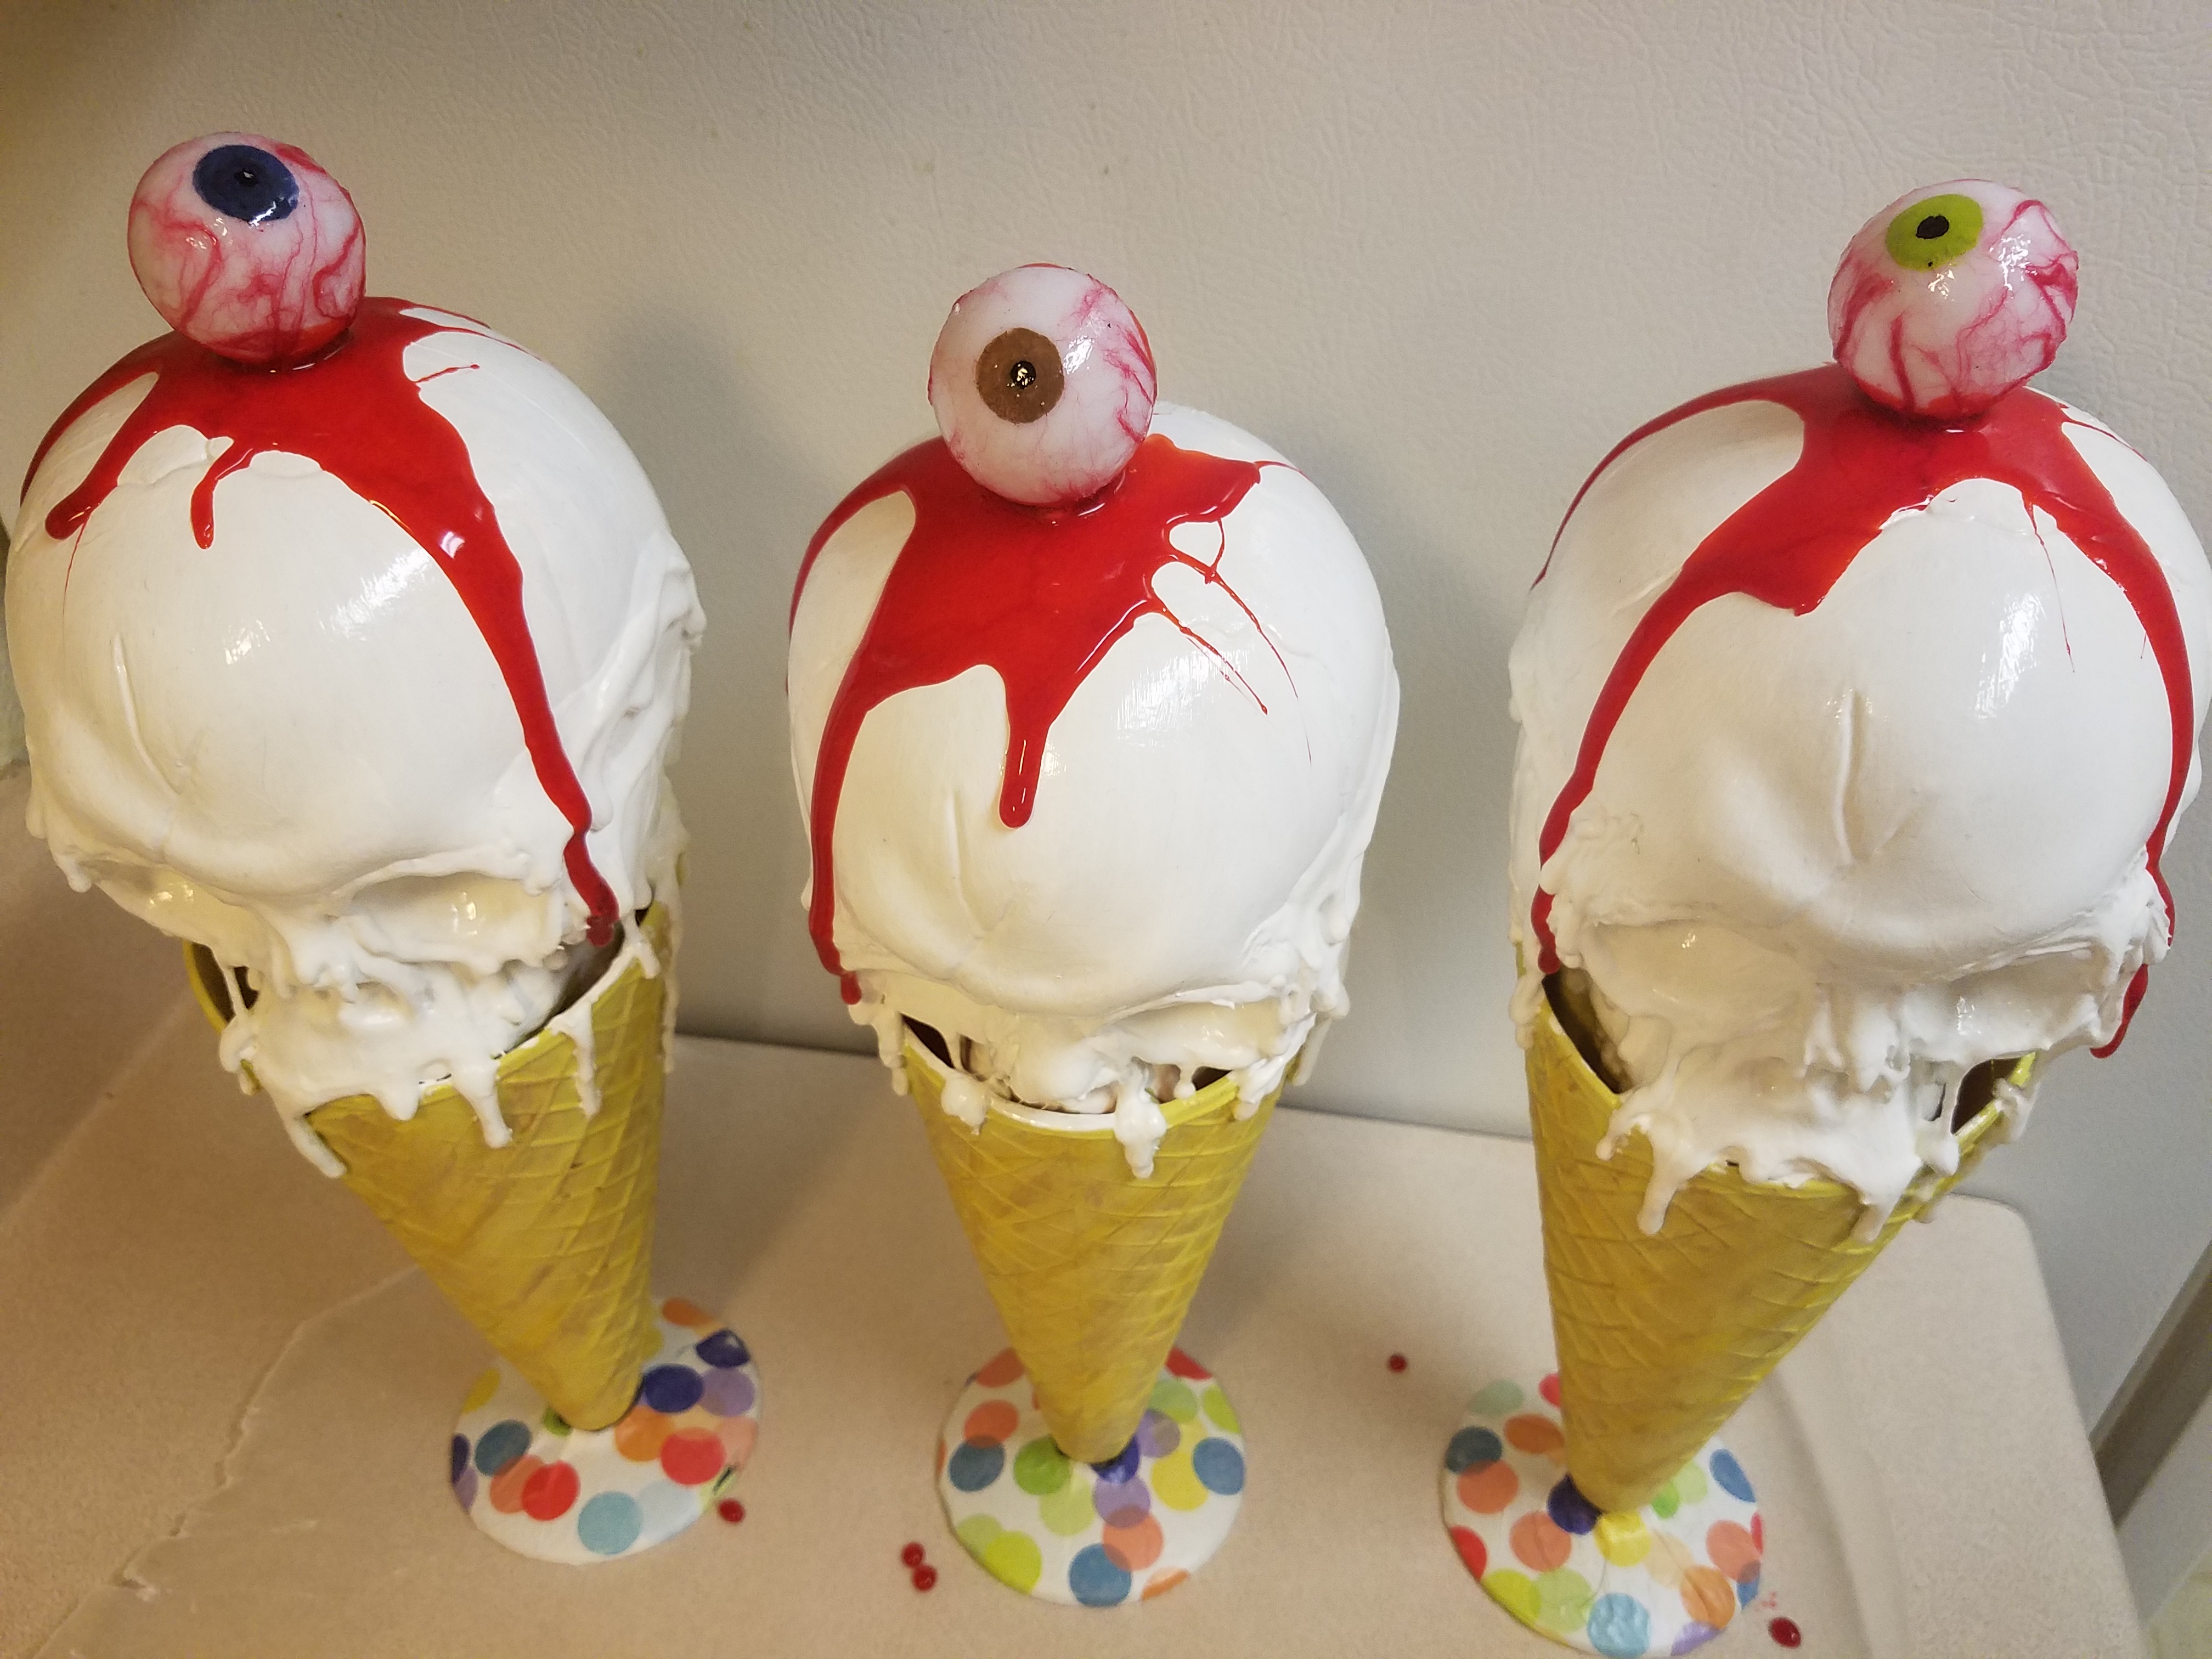
I wanted to fill the concessions stand for 2019’s creepy carnival with a bevy of gory snacks, including bloody snowcones and a lollipop skull. These ice cream cones were another addition and one of my favorite builds of the season. Although I went with a white vanilla for each scoop so the props would stand out, you could also use browns and pinks for a Neapolitan look.
- Three twelve-inch plastic ice cream bowls shaped as cones
- Three small plastic skulls large enough to fit inside the bowls
- Hot glue gun and glue sticks
- One 10 oz. can of interior/exterior, fast-drying spray paint in flat yellow*
- One 2 oz. bottle of acrylic paint in glossy white
- One 2 oz. bottle of acrylic paint in flat black*
- One 2 oz. bottle of acrylic paint in flat brown*
- One 2 oz. bottle of acrylic paint in flat mustard*
- One 15” x 18” square of circus-themed wrapping paper
- One 4 oz. bottle of all-purpose tacky glue*
- Three severed eyes (learn how to make them here)
- One 0.3 fluid ounce bottle of red food coloring*
- One 4 oz. bottle of clear, all-purpose tacky glue gel*
1. Nestle the skulls inside the cones and use hot glue to create a dripping effect. You will want to concentrate your application around the eyes and nose and along the juncture between the skulls and the cones. The process works best if you pipe small portions of glue and allow them to naturally run downward. Also, you want to ensure you do not completely obscure the facial features, since this will ruin the illusion.

2. Once the glue has dried, give the props two even coats of yellow spray paint. This will serve as the base coat for the cones and help give the ice cream scoops a uniform appearance.

3. Apply three coats of glossy white paint to the ice cream, covering their entire surfaces and carefully painting the drips down the sides of the cones. If you want to add further shine to the scoops, give them one or two coats of clear, glossy sealer.

4. Gently brush brown and mustard paint along the raised surfaces of the cones to give them a toasted appearance. You do not want to be too heavy handed in this process, since the effect needs to be subtle.

5. Paint the bowls’ bases black or an alternate color like silver. This will help distinguish them from the rest of the cone.

6. For additional detail, cut small swatches of wrapping paper (roughly 5” x 6”) and glue them to the bases, folding the paper underneath for a clean appearance.

7. Using a small dab of hot glue or superglue, affix the severed eyes to the tops of the ice cream scoops. If you make more than one cone, refrain from using the same position for each eye (a random arrangement will look more natural).

8. In a plastic container (because the food coloring will stain, use something disposable or that you won’t mind dying), pour in your desired amount of clear glue gel and slowly add red food coloring to the solution until it achieves the sanguine hue you desire. To give the blood further density, add blue food coloring and mix well.

9. On a newspaper-lined surface, apply the blood glue to the prop and allow it to fully dry. For visual interest, use an old spoon or plastic utensil to dribble the liquid around the eyeball and allow it to naturally run down the sides of the ice cream scoop and cone.
10. The props can be enhanced further with elements like worms crawling out of the ice cream or cockroaches crawling across the cones to elevate the creepiness.

*You will not use the entire bottle’s content for this project.
No comments:
Post a Comment