
$20 - $30 (based on 2019 prices)
Makes one sign
Makes one sign
Part of 2019’s twisted carnival theme included an assortment of poster-size signs meant to resemble the attraction advertisements customary in turn-of-the-century travelling shows. Although they had the same basic attributes to maintain a uniform appearance when they were hung on the sides of the tent, I wanted each to have their own unique look. For this one, I fashioned a gorier version of the traditional palmistry hand and third eye.
- One 20” x 30” foam board
- One deck of tarot cards
- One 4 oz. bottle of decoupage medium
- 10 oz. can of interior/exterior, fast-drying spray paint in nutmeg*
- One 10 oz. can of interior/exterior, fast-drying spray paint in flat black*
- One plastic severed hand
- One 2 oz. bottle of acrylic paint in beige*
- One 2 oz. bottle of acrylic paint in brown*
- One 2 oz. bottle of acrylic paint in coral*
- One 2 oz. bottle of acrylic paint in gray*
- One 2 oz. bottle of acrylic paint in maroon*
- One 2 oz. bottle of acrylic paint in red*
- One 2 oz. bottle of acrylic paint in white*
- One to two feet of brown twine
- One severed eye (learn how to make it here)
- One package of two-inch letterboard letters
- One 0.3 fluid ounce bottle of red food coloring*
- One 4 oz. bottle of clear, all-purpose tacky glue gel*


7. Position the hand on the board and glue it in place. Depending on how large you plan to make the sign’s lettering, you may need to play with its placement beforehand.

8. For added support and aesthetics, lash the hand to the board with twine. A large darning needle will be strong enough to feed the thread through the foam and cards. Try to focus on wrapping the twine around the wrist to prevent it from obscuring most of the palmistry symbols.

9. Center the severed eye onto the palm and glue it in place. You can elect to add the red yarn strands for the optic nerve or simply apply the eyeball itself.

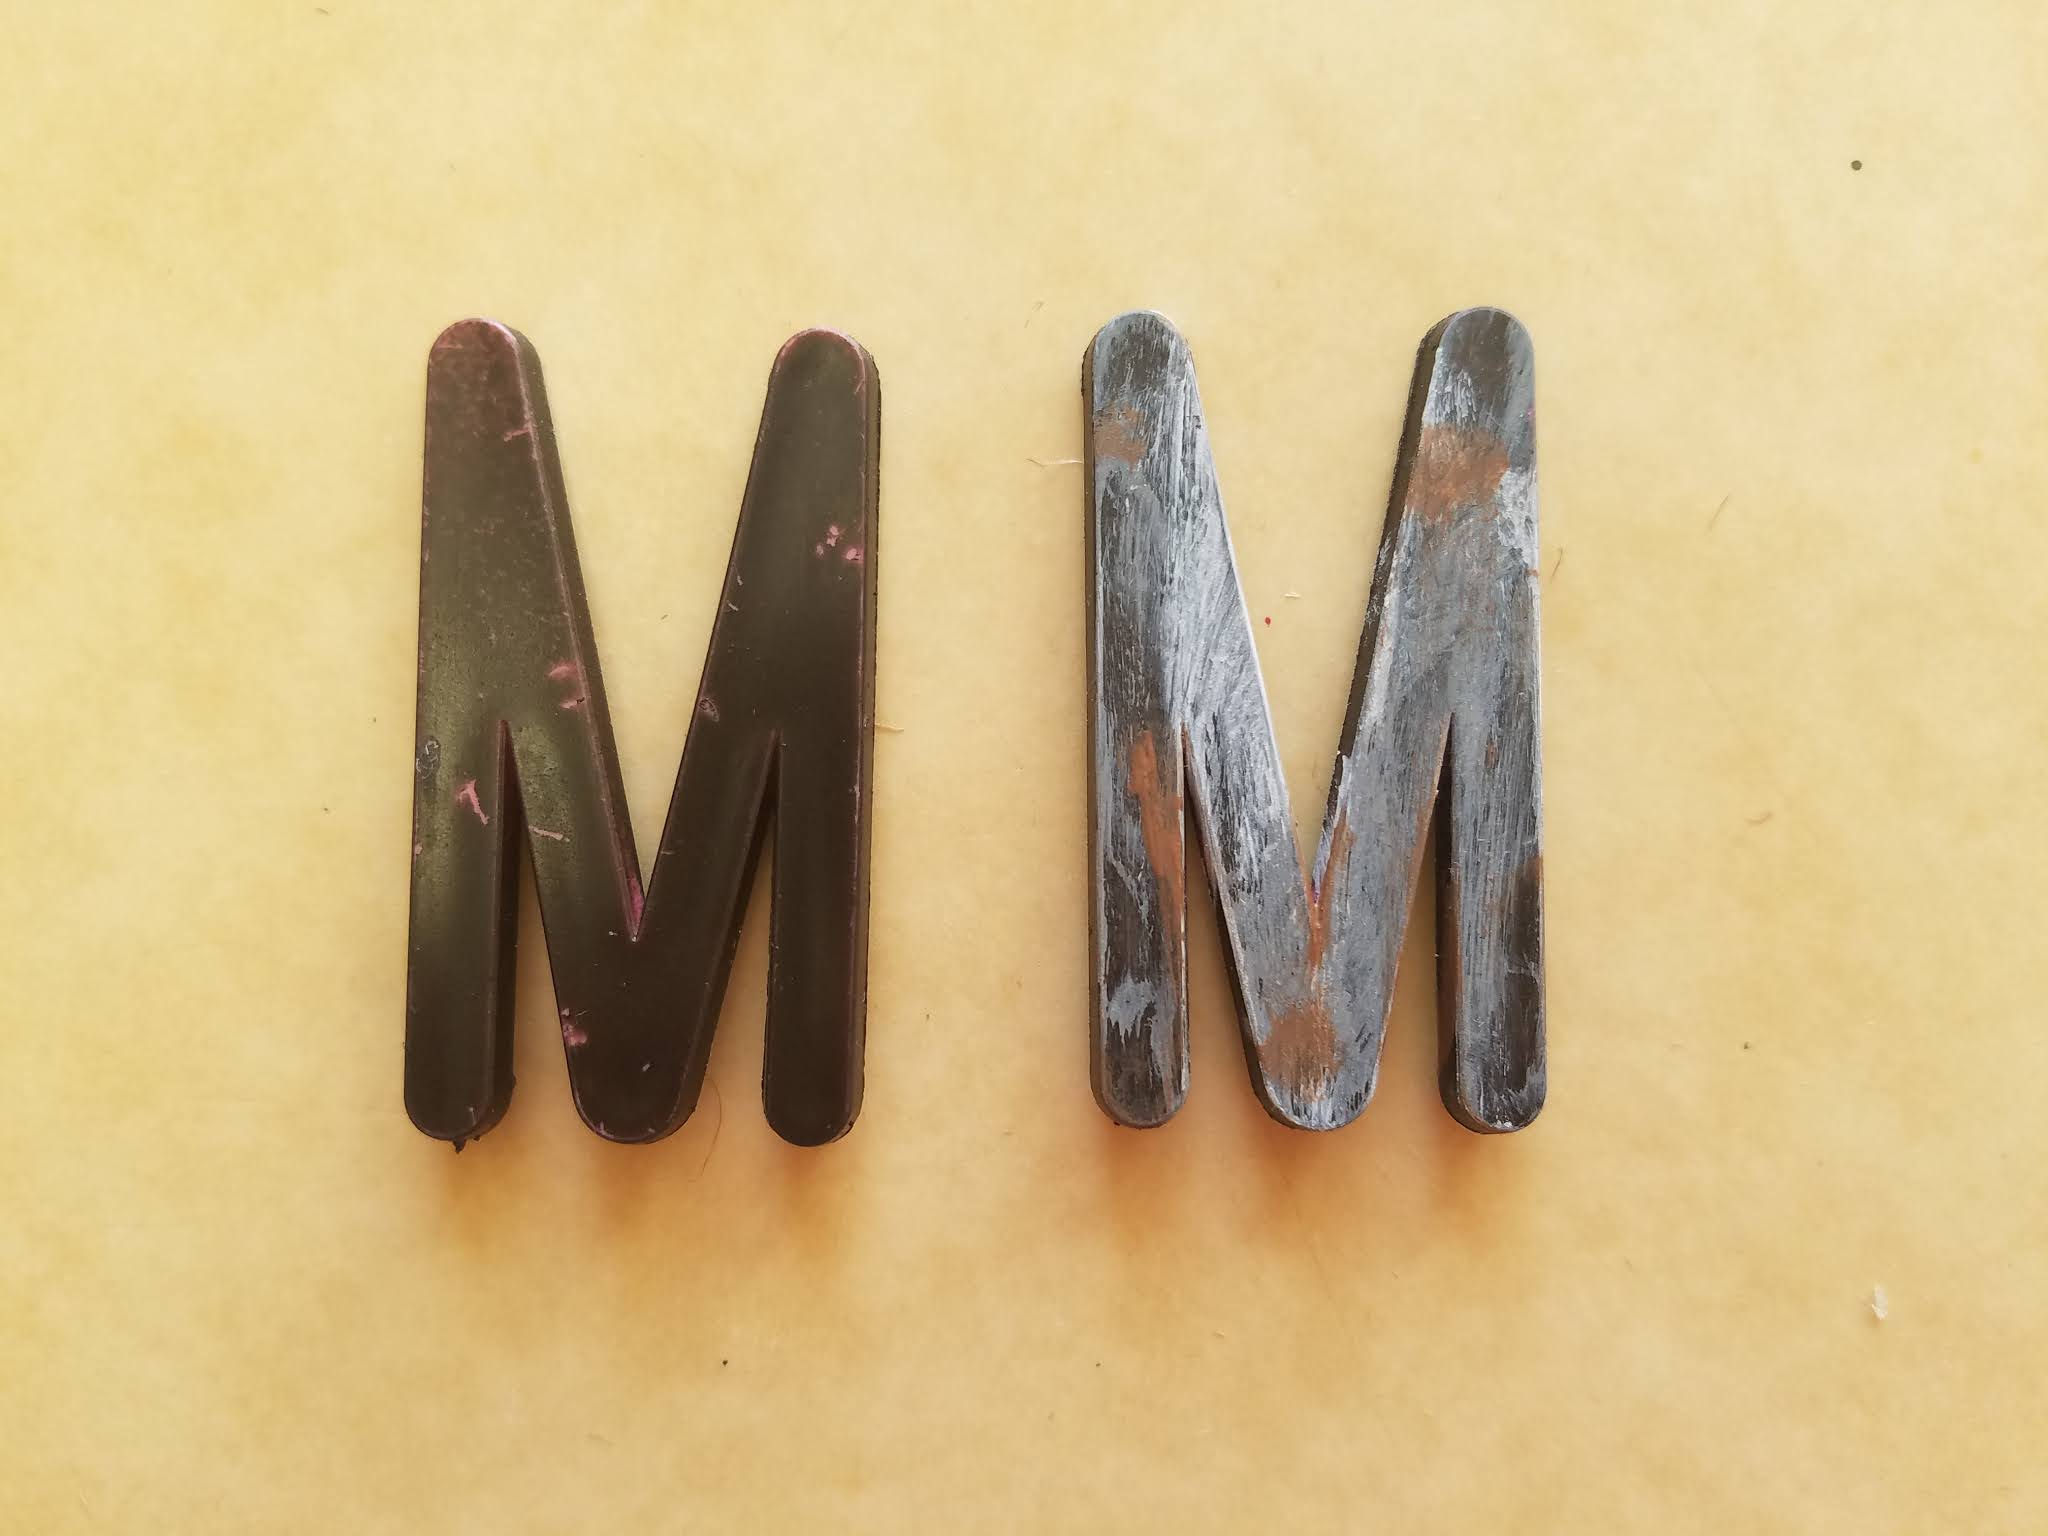
10. On a newspaper-lined surface in a well-ventilated area, give the letterboard letters and even coat of black spray paint. Although I only used one coat, you may want more depending on your desired coverage. Keep in mind, though, this is the base coat and much of the paint will be covered up by other colors. Once the paint has dried, give the letters an aged patina by gently brushing brown, gray, and white paint over their surfaces. Try not to overthink your application. A random pattern will produce the best result.
11. Arrange the letters on the board and glue them in place. Akin to step seven, it may prove beneficial to pre-position everything on the board to determine their desired placement before permanently affixing them.

12. In a plastic container (because the food coloring will stain, use something disposable or that you won’t mind dying), pour in your desired amount of clear glue gel and slowly add red food coloring to the solution until it achieves the sanguine hue you desire. To give the blood further density, add blue food coloring and mix well.

13. On a newspaper-lined surface, apply the blood glue to the prop and allow it to fully dry. You can use an old spoon or plastic utensil to strategically dripple the liquid along chosen areas or pour it haphazardly for a gory mess.

14. Use steel wire to create a hanging loop and attach it to the back of the sign. You can also embellish the prop further with clusters of insects crawling across its surface or strings of voodoo beads draped along its edges.

*You will not use the entire bottle’s content for this project.
No comments:
Post a Comment