$5 - $10 (based on 2018 prices)
Makes one bowl
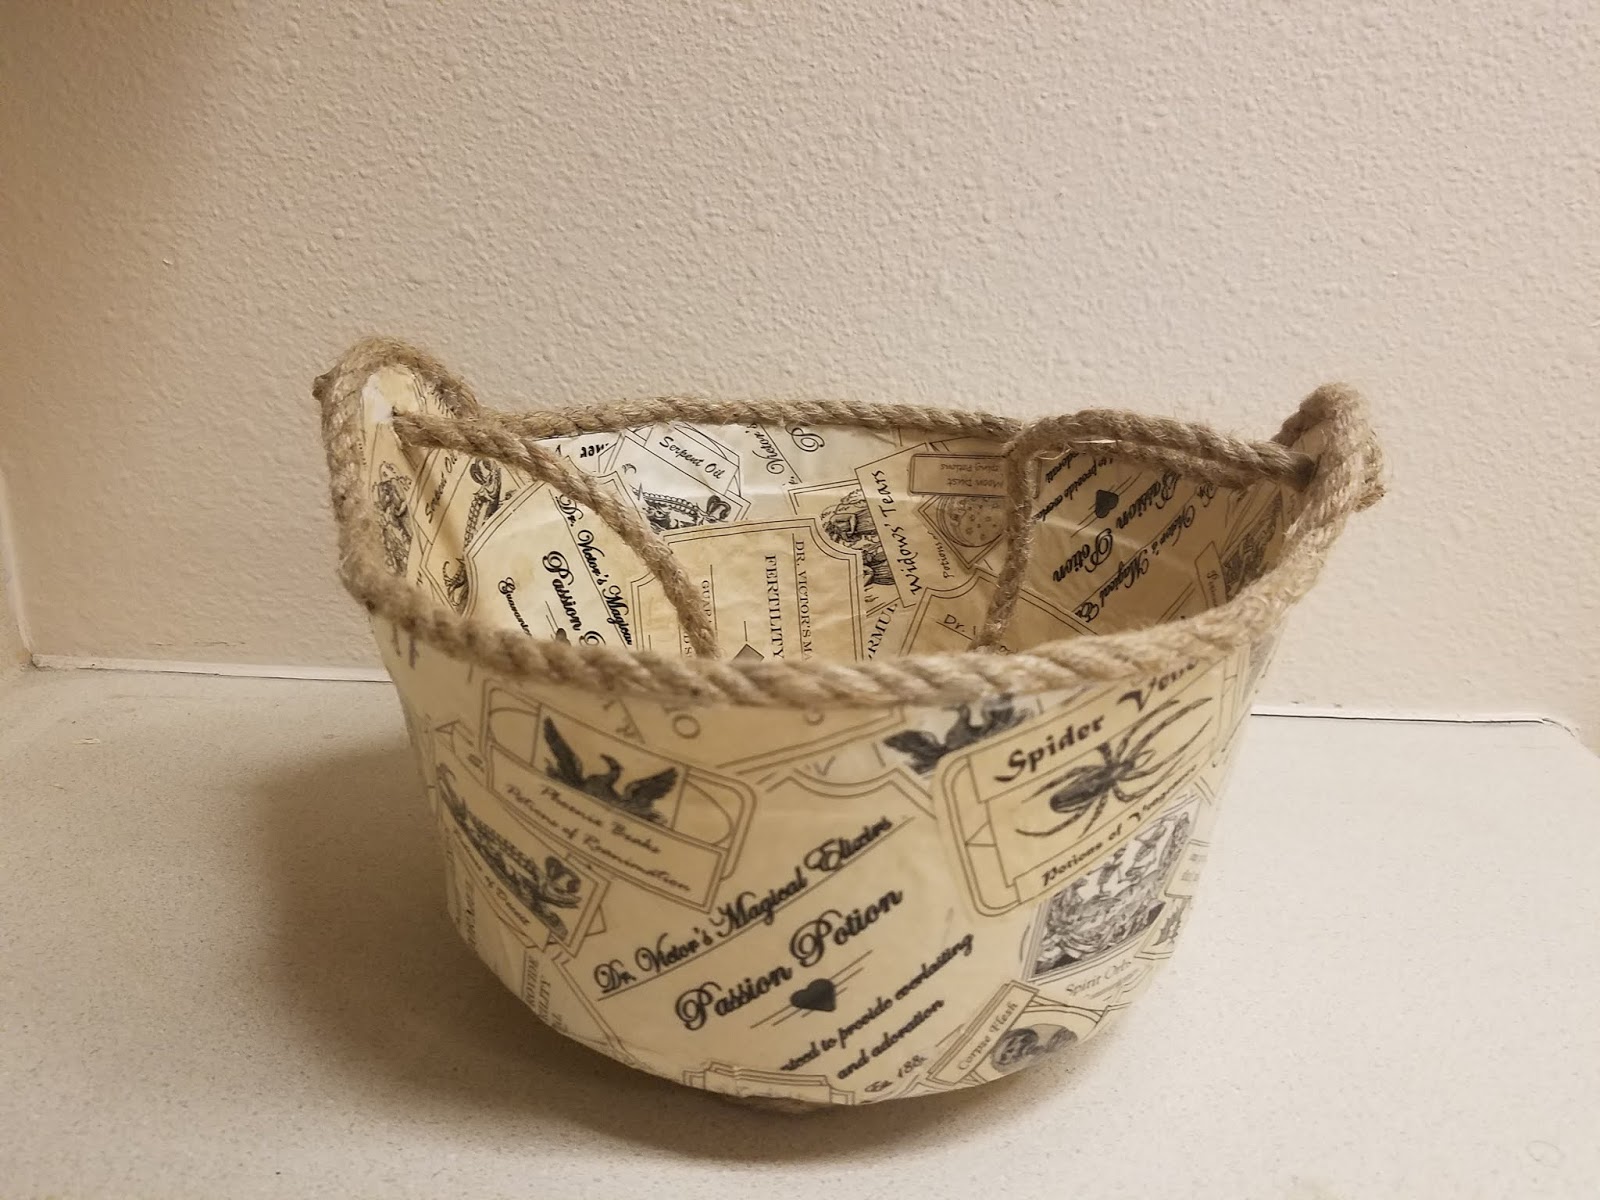
In 2018, I participated in my office’s secret pal gift exchange, where we anonymously sent monthly gifts to a colleague. For October’s present (see November’s and December’s presents here), I decided to create a decoupaged cauldron. Although I used my version as a candy pail, this prop can easily be modified to serve a variety of purposes. For example, a water-proof sealer in step four will allow for the prop to be paired with a mist maker or the length of the rope handle in step six can be lengthened to several feet to allow the prop to be hung from a tree with a fake flame nestled inside.
- One eight-inch-diameter plastic cauldron
- Six pieces of 8” x 11.5” copy paper with potion labels printed on them
- At least four tablespoons of black tea (e.g. Darjeeling, Earl Gary, English Breakfast, etc.)
- One pan large enough to soak the paper
- One 4 oz. bottle of decoupage medium
- One to two yards of seven-millimeter jute rope
1. Thoroughly wash and dry the cauldron. If there is any sticker residue, use rubbing alcohol to remove it (soak a paper towel in the solution, let it sit over the area for a few minutes, and wipe away the remaining glue). After cleaning the cauldron, roughen its surface with coarse sandpaper to help the decoupage medium adhere.
2. Boil enough water to completely submerge the copy paper and pour it into the pan. Add the tea. The longer you allow the tea to brew, the darker the stain will become. Likewise, greater amounts of tea will produce a richer stain. I found that a combination of English and Irish Breakfast brewed for over ten minutes produces a nice, deep brown. Submerge the paper into the tea mixture and soak it until it reaches the color you desire. I soaked mine for eight hours and scattered the loose-leaf tea over the top of the paper to add spots. Remove the paper from the water and allow it to dry.

3. After the paper has dried, cut out the labels, leaving a small boarder around their edges, and cover the entire exterior and interior surfaces of the cauldron with the items. This process works best if you move in stages: apply a layer of decoupage medium to one section, press the paper down until it sticks, and repeat the process. Depending on the size of your cauldron, you may need more labels than the eighty-four produced by the six sheets.
4. Once the decoupage medium has dried, apply an additional coat or two to serve as a sealer. As with step three, ensure your coverage is even and thin to achieve a smooth final surface.
5. Glue rope around the edges of the cauldron to serve as an ornamental accent. You can also repeat the process with the cauldron’s feet, wrapping the each one in the rope and gluing it in place.
6. Remove the cauldron’s handle, cut a piece of rope sixteen inches in length, and us it to make an alternate handle for the cauldron. Depending on how low you want the cauldron to hang, you can adjust the length of the rope.
7. The prop can be embellished in a variety of ways to correspond with your haunt’s theme. For instance, you can glue swarms of spiders along the side, age the cauldron with a dusting of black and brown spray paint, or drizzle green paint down the sides to make it appear as though potion has boiled over.


No comments:
Post a Comment