$30 - $40 (based on 2016 prices)
Makes ten pumpkins
I began this project with abundant ambition, planning to make several dozen pumpkins for 2016’s theme. Reality rapidly set in and these became my most detested build of the year. Because you must wait for layers to dry, the process can be excessively lengthy. Additionally, the repetitive procedure can prove tedious. If you plan to create multiple versions, give yourself sufficient time (it took me over two months to complete ten) and make it a team effort.
- Twelve standard-size newspapers
- Ten latex balloons in various sizes
- Five rolls of crepe paper streamer in black
- Four 8 oz. bottles of wood glue
- Four 8 oz. bottles of all-purpose tacky glue
- Ten paper towel/toilet paper rolls
- One roll of one-ply, white paper towels
- Three 10 oz. cans of interior/exterior, fast-drying spray paint in fire orange
- One 2 oz. bottle of acrylic paint in flat black
- One 2 oz. bottle of acrylic paint in flat brown
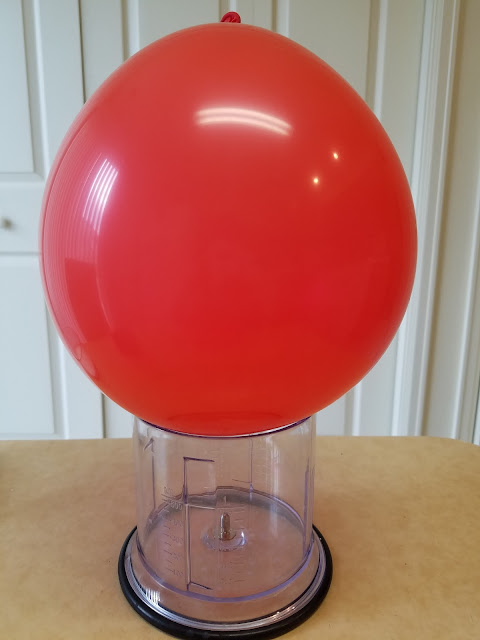
2. Inflate the balloons. If you are making multiple pumpkins, try to vary the sizes of each one. Likewise, only work on two or three at a time. Any more than this can be overwhelming.
3. Stand the balloons on sturdy bases and apply two layers of paste-soaked crepe paper to their surfaces. When the pumpkins are carved, this will create a blackened interior.
4. After the layers have dried, cut the newspapers into strips, soak them in the paste, and apply them to the balloons. To make the process more manageable, keep the strips at a reasonable size (mine were roughly six inches long and two inches wide). Similarly, only apply a few layers at a time and allow each layer to completely dry before adding more (I did two layers during each application and let them dry for twenty-four hours). Keep in mind that these props will be carved. So, you want them as sturdy as possible. A minimum of seven to eight layers will suffice; however, more is always better.
5. Once you have reached your desired thickness, cut the balloons and remove them from the papier mache shells. Be gentle during this process and gradually work the balloons out.
6. Unravel the paper towel/toilet paper rolls and cut them into the shapes of stems. Like the balloons, vary their shapes and sizes.
7. Hot glue the stems over the holes made by the balloons and give the shells one final layer of newspaper, blending the seams between the stems and the pumpkins.
8. Tear the paper towels into strips and, after soaking them in paste, cover the shells with one or two layers, creating wrinkles to make the pumpkins appear rotten. If you cannot find one-ply paper towels, simply separate the plies of multi-ply sheets. If you want the stems to have vines, soak sheets of toilet paper in the paste, twist them into strands, and wrap them around the stems.
9. After the layers have dried, transfer the pumpkins to a well-ventilated area and, on a newspaper-lined surface, give each one several even coats of fire orange. I used two coats; however, you may want more or less depending on your desired coverage.
10. Once the spray paint has dried, give the stems a few coats of brown acrylic paint (I used two).
11. To give the pumpkins a grimy appearance, water down the brown acrylic paint and brush it over their surfaces, ensuring the liquid settles into all the wrinkles (you can also use a spray bottle for the application). Allow the mixture to sit for a minute and then wipe it clean. Repeat this process with black acrylic paint on the stems. You may want to experiment with the consistency prior to doing this: the more water you add, the fainter/lighter the wash; the less water you add, the deeper/darker the wash.
12. Use a permanent marker to trace designs and faces onto your pumpkins and, with a sharp knife, cut them out. I found that a serrated blade works best. Don’t worry too much if your cuts leave part of the markings visible. The black paint in the following step will cover this up.
13. Use black paint to darken the eyes, mouths, and noses of the pumpkins. You want the areas around these openings to look singed. To achieve this, apply a heavy amount of paint along the edges and quickly swipe the brush outward. It may help to experiment with this technique on scrap paper first.


No comments:
Post a Comment