
$10 - $15 (based on 2020 prices)
Makes one beaker
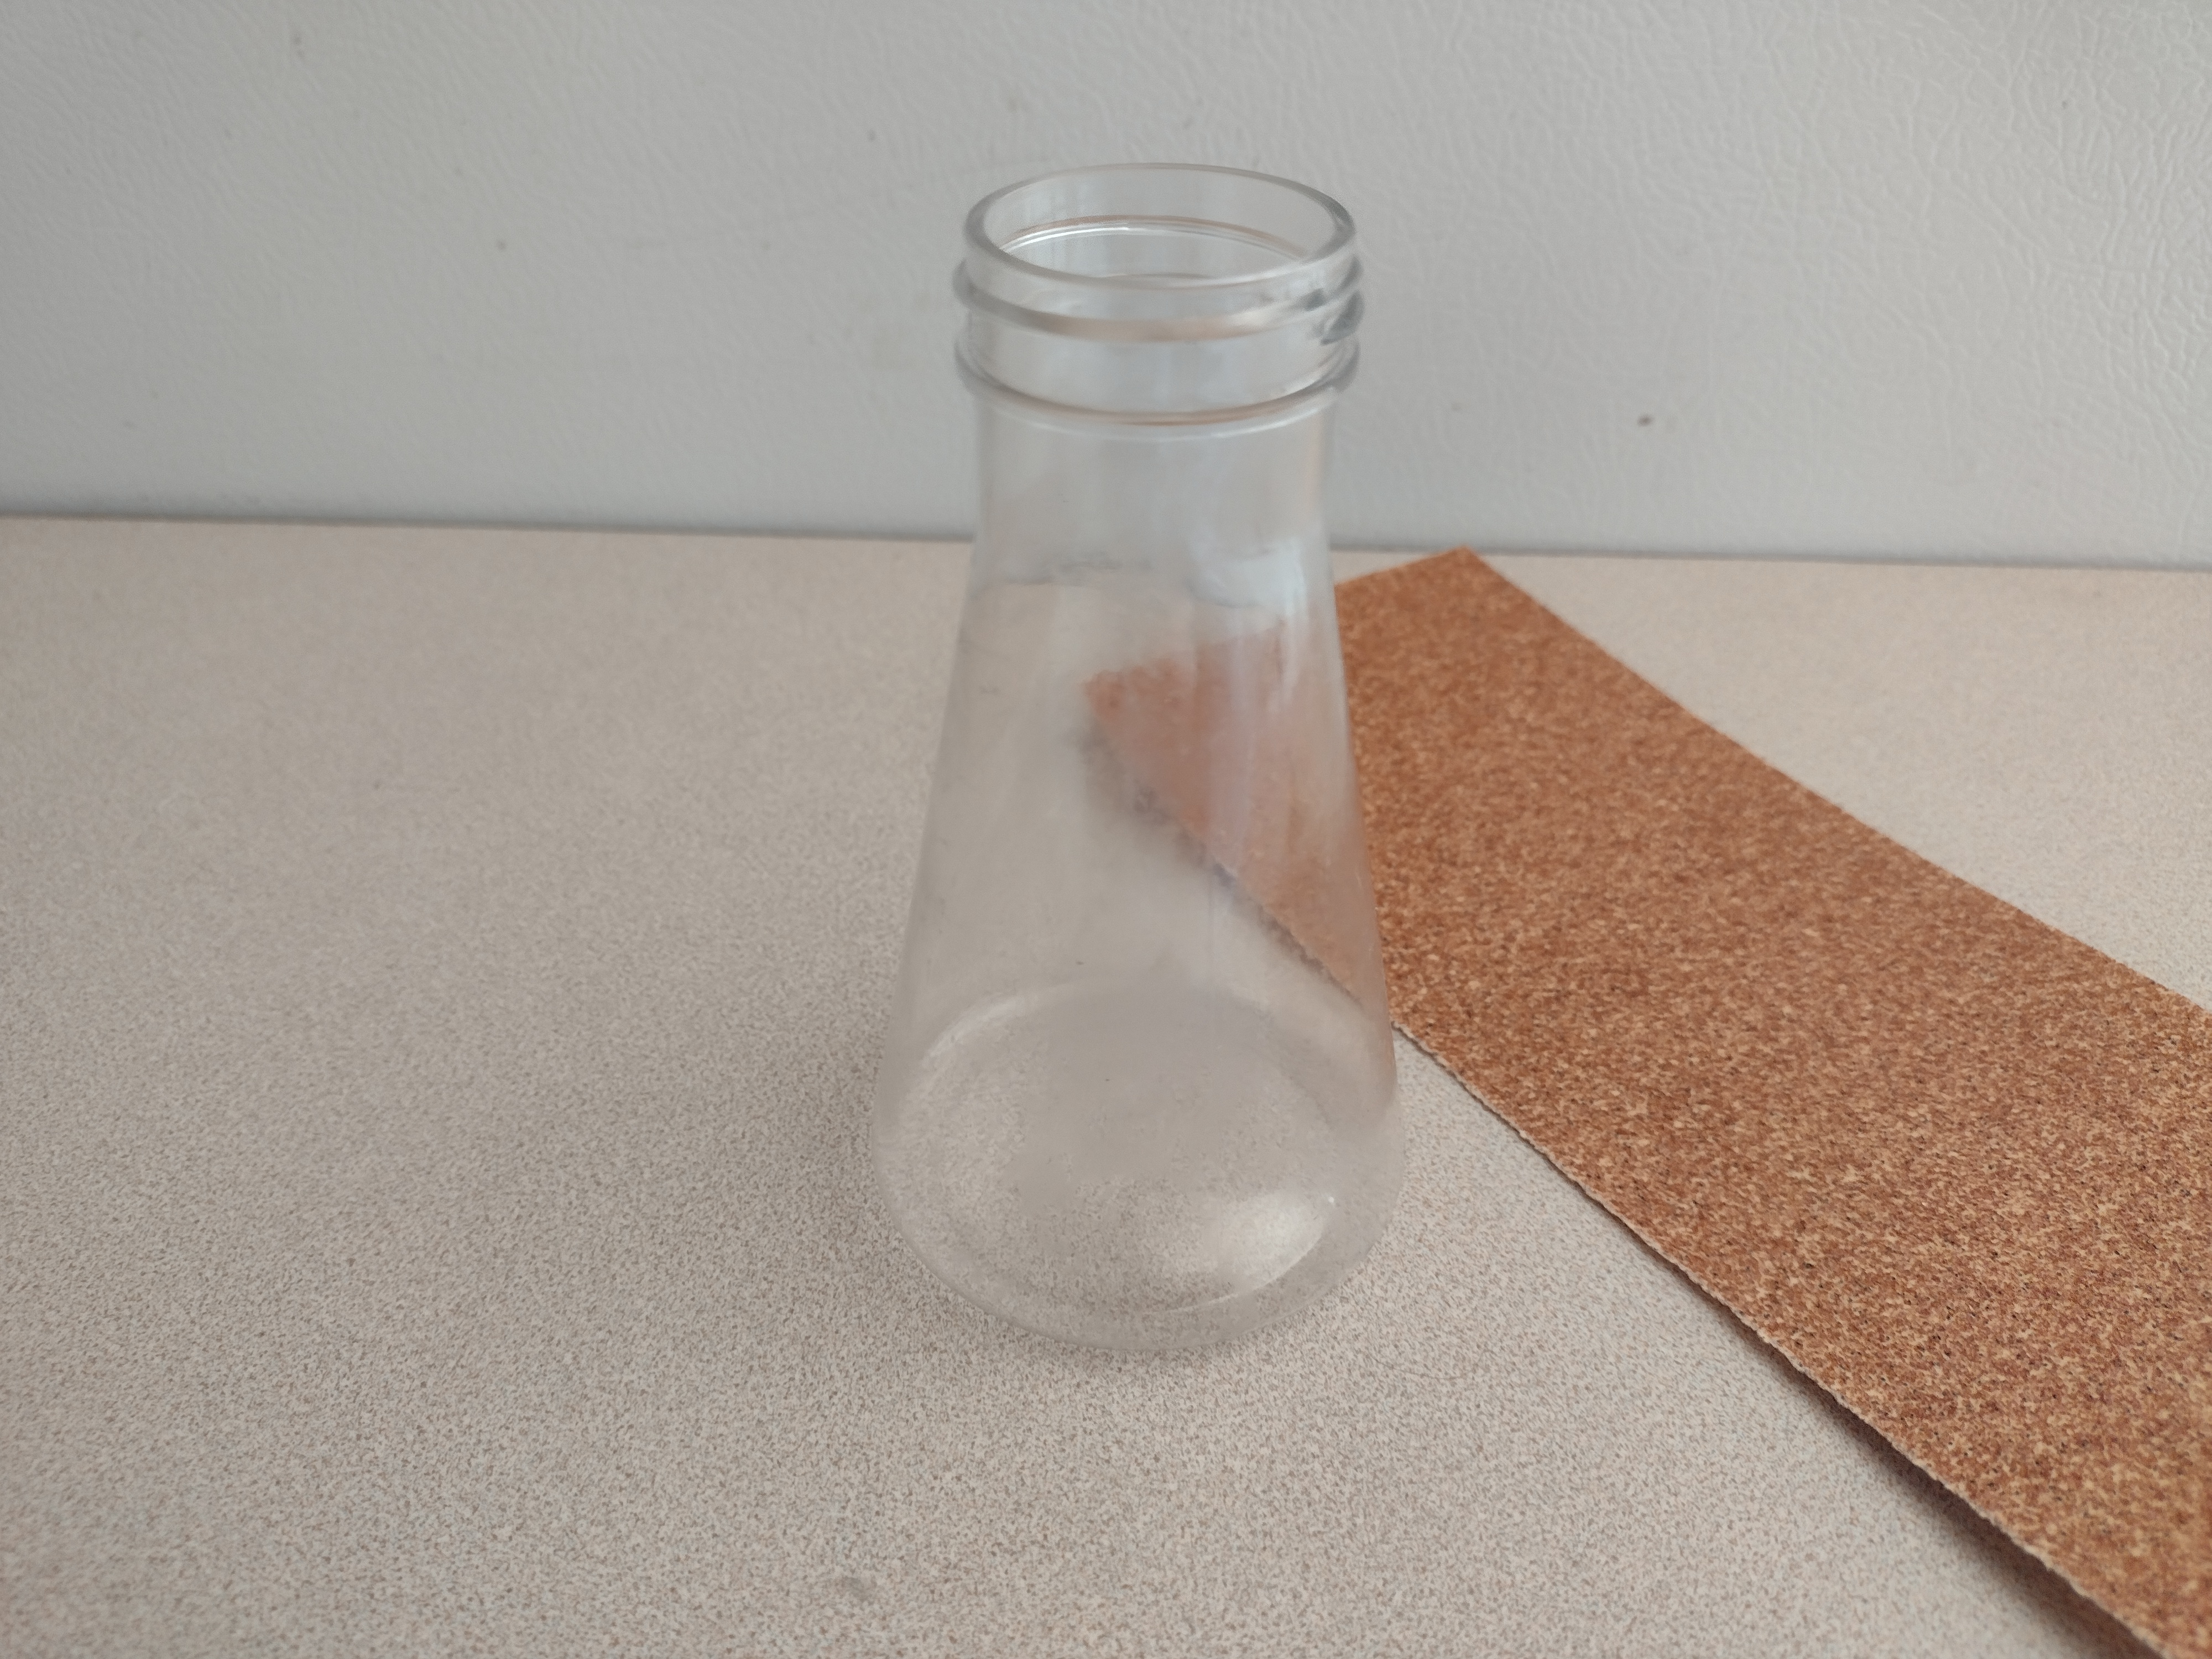
- One 4.75 oz. plastic beaker with lid
- One 8 oz. can of oil-based interior wood stain in Jacobean*
- One 8 oz. can of oil-based interior wood stain in red chestnut*
- One 4 oz. bottle of all-purpose tacky glue*
- One bag of maggots (roughly fifty insects per bag)
- One vinyl finger
- One 2 oz. bottle of acrylic paint in black*
- One 2 oz. bottle of acrylic paint in brown*
- One 2 oz. bottle of acrylic paint in gray*
- One 2 oz. bottle of acrylic paint in khaki*
- One 2 oz. bottle of acrylic paint in umber*
- One 2 oz. bottle of acrylic paint in white*
- One 10 oz. can of interior/exterior, fast-drying spray paint in flat black*
- One 10 oz. can of interior/exterior, fast-drying spray paint in metallic silver*
2. On a newspaper-lined surface in a well-ventilated area, paint the beaker with the Jacobean wood stain. I discovered that applying a thin coat and patting it with paper towels produces a hazed appearance. Then, dab the surface with the red chestnut wood stain to create spots of dried blood.

3. Cover the beaker’s bottom in a light layer of glue, roll the maggots in it, and the use the handle of a paint brush or other long instrument to arrange them. You do not want the coverage to be too dense because it will cover the finger.

4. On a newspaper-lined surface, apply three even coats of khaki paint to the finger. Although I used three, you may want more or less based on your desired coverage.

5. Give the finger a smudging of brown paint, focusing primarily on the tip and around the knuckles. Then, repeat the process with umber. During this application, be careful not to cover too much of the brown paint.

6. Begin detailing the nail with a coat of white paint and, after that dries, dab gray paint onto the nail, building up layers until it looks decrepit. To complete the process, smudge black around the tip of the finger and along its cuticle.

7. Cover the severed end of the finger with several even coats of black paint. Following this, apply a stippling of black paint along the finger’s surface. Do not overthink your application, since a random pattern will look more natural.

8. After the paint dries, attach additional maggots to the finger to make it appear they are crawling along its surface. Because the maggots I picked were made of a sticky gel, I had to use superglue to hold them in place.

9. Nestle the finger among the mound of maggots at the bottom of the beaker, being careful not to obscure it too much. Depending on how densely packed the maggots are, you may not need to glue the finger in place.

10. One a newspaper-lined surface in a well-ventilated area, build up layers of black and metallic silver spray paint to give the lid the look of steel. It works best to apply a base coat of black followed by sliver, working in quick bursts to allow parts of the black to remain visible. Once the spray paint dries, create a wash of brown paint and use it to add a level of grime to the lid, allowing the liquid to settle in the crevices.

11. Reattached the lid to the beaker and accent it with one or two maggots. As with step eight, you may need to use superglue gel to adhere the insects. If you want to add further embellishments, like a specimen tag or biohazard label, keep in mind that these items may cover the finger too much, so their placement will need to perfectly planned.

*You will not use the entire bottle’s content for this project.
No comments:
Post a Comment