
$40 - $50 (based on 2023)
Makes one mount
Makes one mount
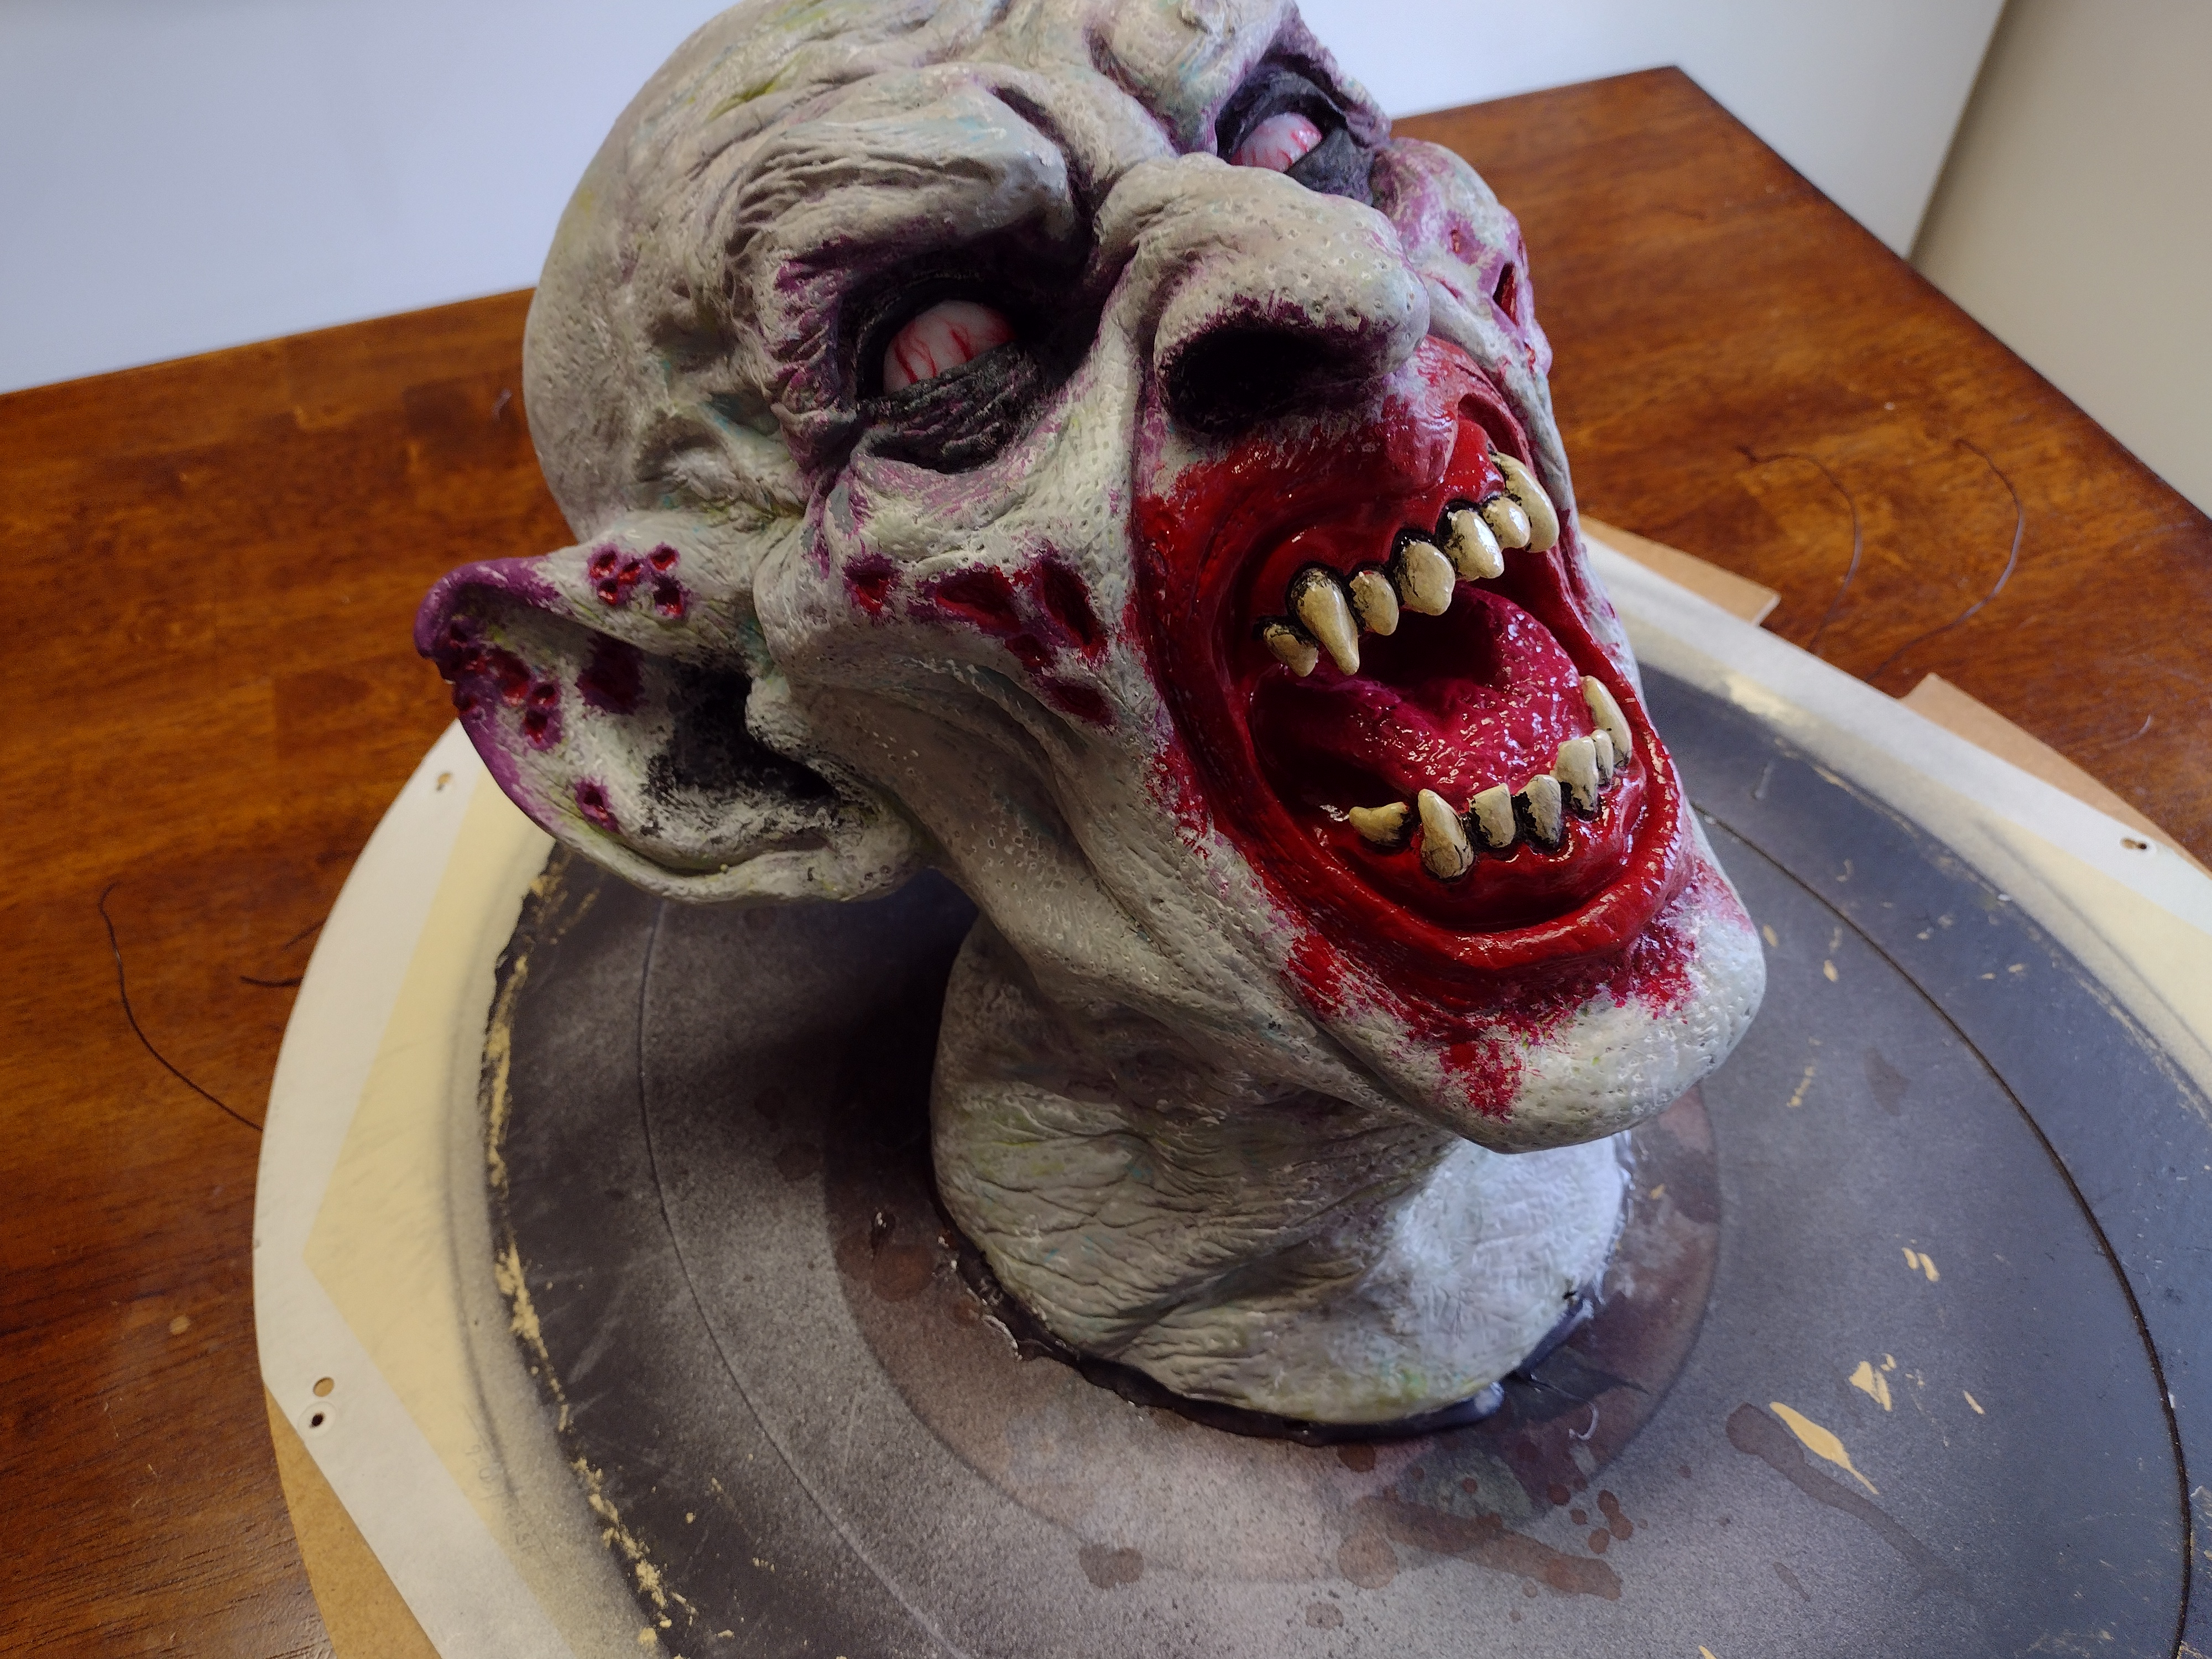
Back in 2012, my animatronic vampire – which never worked properly to begin with – died. I saved the blow-molded head in the hopes of transforming it into something the following Halloween; however, that never happened and it sat in the back of a closet for over a decade. In 2023, I tasked myself with finally using it. So, I decided to created a mounted vampire head similar to the mounted animal trophies seen in many cabins. To give the prop further character, I made the eyes glow a menacing green.
- One blow-molded vampire head
- One 2 oz. bottle of acrylic paint in flat black*
- One 2 oz. bottle of acrylic paint in flat gray*
- One 2 oz. bottle of acrylic paint in flat green*
- One 2 oz. bottle of acrylic paint in flat olive*
- One 2 oz. bottle of acrylic paint in flat purple*
- One 2 oz. bottle of acrylic paint in flat turquoise*
- One 2 oz. bottle of acrylic paint in flat white*
- One 2 oz. bottle of acrylic paint in flat yellow*
- One 2 oz. bottle of acrylic paint in glossy red*
- One 2 oz. bottle of acrylic paint in metallic gold*
- One 0.44 oz. bottle of clear nail polish*
- One 10 oz. can of interior/exterior, fast-drying spray paint in flat black*
- Two small, white ping pong balls (1 3/8” in diameter)
- Four to six inches of red yarn
- Nine to ten feet of black wire
- One string of green battery-powered LED lights
- Three small plastic skulls
- One twenty-inch oval frame
- Two yards of black fabric
- One decorative brooch

2. Apply two even coats of gray paint to the entire head, ensuring it covers every detail. Depending on how dark the head’s original paint was, you may need to apply additional coats to prevent it from showing through.

3. With a stippling brush, pat green, purple, and turquoise paint onto the head’s surface, concentrating the application along the creases and other features. If one of the colors becomes too overpowering, you can use the gray paint to dial it back.

4. Gently dry brush white across the head’s raised surfaces, trying not to cover too much of the other colors. As with step three, you can always use the gray, green, purple, and turquoise paint to reduce the white if it becomes excessive.

5. Stipple the edges of the ears, mouth, and nose with purple paint. Also, if the head has any wounds (like the one I used), fill them with purple.

6. Color the inside of the mouth and wounds with glossy red paint and smudge the hue around the lips. For visual interest, you can also paint the tongue an alternate hue, such as pink or a lighter red.

7. Detail the teeth with yellow paint and accent the spaces between them and any cracks with black paint. Then, use two coats of clear nail polish to make the mouth and teeth look moist.

8. Moving from dark to light, stipple layers of black and gray paint around the eyes and inside the ears and nose to darken their recesses.

9. Cover the eye openings with painter’s tape and, on a newspaper-lined surface in a well-ventilated area, coat the inside of the head with a layer or two of black spray paint. This will help darken the interior to improve the light’s reflection.

10. Cut a two-inch section of red yarn and fray the ends. Then, coat the ping pong ball in a light layer of glue and, using a needle or other finely tipped object, spread the yarn strands across it. After the glue dries, give the eyeballs one or two coats of clear nail polish.

11. Remove the painter’s tape and glue the eyes into the sockets. For visual interest, position them so a large portion of the veins are showing.

12. Use a 1/16 bit to drill two holes in the nape of the neck and feed the wire through them, creating a loop inside the head to insert the lights. Then, bundle the lights together and thread them through the loop, pulling it tight to secure them to the inside of the head and twisting the ends to keep it in place.

13. Remove the mandibles from the skulls and slowly trim the backs of their heads to fit the curvature of the picture frame. Once this is accomplished, glue them to the base of the frame and use hot glue to fill any gaps and create a smooth surface between the items.

14. On a newspaper-lined surface in a well-ventilated area, give the frame one or two even coats of black spray paint. As with step two, how many coats you apply is determined by how much of the original paint needs to be covered to prevent it from showing.

15. Moving in small sections, use a sponge or paper towels to pat gold paint onto the frame. Then, dull the sheen and add distress by randomly patting olive paint along the frame. You could also apply a wash of brown and flecks of black to create the illusion of dirt.

16. Remove the backing, center the head and battery box on it, and draw their outlines. Following this, cut out the hole for the battery box and, using a 1/16 bit, drill eight holes along the neckline.

17. Drill corresponding holes into the head’s neck and thread four two-foot sections of wire through them. Next, feed the battery box and wires through the holes in the backing and pull them taut to secure the head, twisting their ends and trimming the excess.

18. Glue the battery box in place and, for extra stability, run a line of hot glue along the edge of the neck to further bond it to the board.
19. Cut a square of fabric large enough to cover the backing (mine was 4’ x 4’) and make a slit in the center large enough for the head to pass through. To give the prop character, build up folds around the head before gluing the fabric to the backing and trimming the excess. You want a snug fit between the backing and the frame, so you may need to trim the fabric slightly smaller than the backing to achieve this.

20. Add the decorative brooch below the neck to accent the prop and break up the black. For additional detail, create a wash of black paint and use it to age the brooch and reduce its sheen.

21. Reattach the backing to the frame and, for added stability, glue it in place. Although the prop can be enhanced further with details like a nameplate, too many flourishes might be overwhelming.

*You will not use the entire bottle’s content for this project.
No comments:
Post a Comment