$80 - $100 (based on 2016 prices)
Makes one scarecrow
The crowning prop for 2016’s haunted farm was the massive scarecrow that dominated the display (to this day, it is the largest item I have made). Although I crafted a head for the piece, I was rather dissatisfied with the final result and ended up using a steer skull during the haunt, which gave the scarecrow a satanic tone. After each season, most of my builds are sold or given to friends; however, this prop has remained with me since the farm and, although I have no intentions of reusing it (it hasn’t fit in any other theme since 2016), I thoroughly enjoy its presence and the menacing gaze it gives from its corner in my home office.
- A whole or partial plastic skeleton
- One 8 oz. can of oil-based interior wood stain in Jacobean
- One 8 oz. bottle of wood glue
- Fifteen sturdy wood screws
- One 2” x 2” x 8’ wooden post
- One 1’ x 1’ square board
- One 1” x 4” x 8’ wooden board
- One 2’ x 2’ square board
- One 1” x 2” x 4’ wooden post
- One 8 oz. can of oil-based interior wood stain in Classic Gray
- One 10 oz. cans of interior/exterior, fast-drying spray paint in flat black
- Two sheets of black creepy cloth
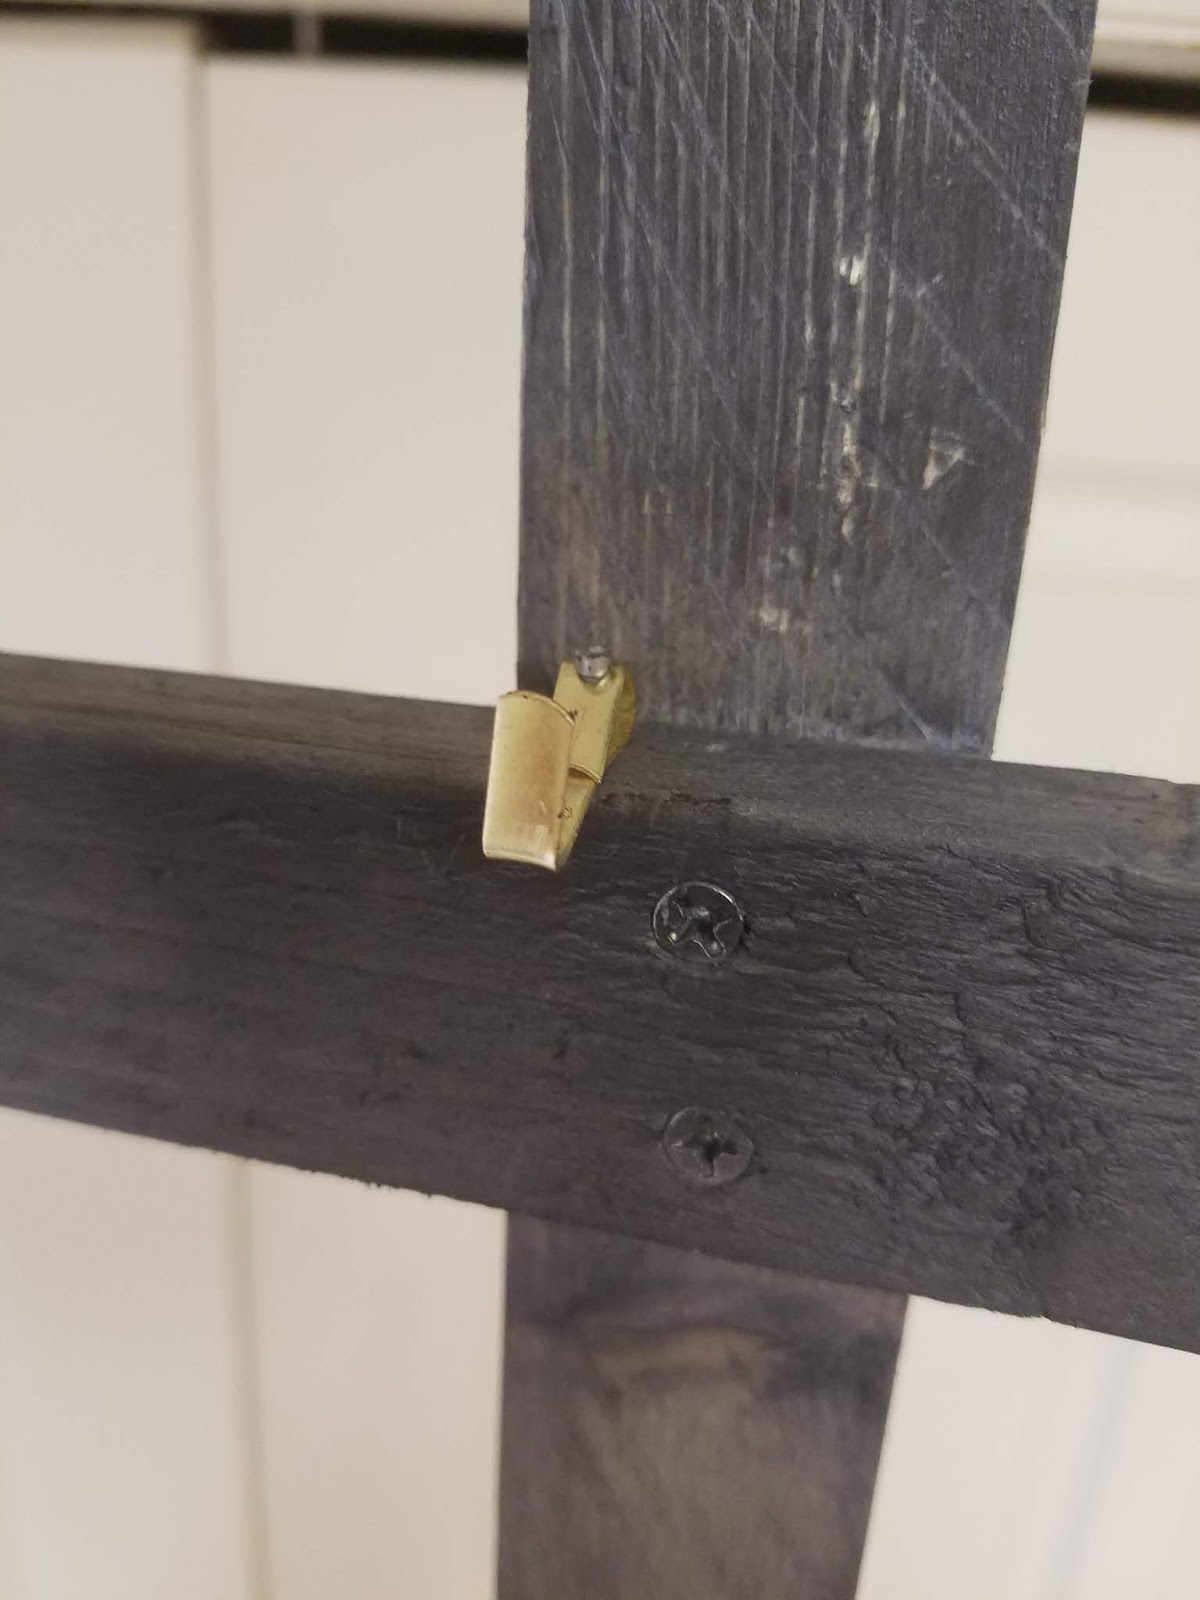
- Two picture hangers with nails
- Two to three yards of steel wire
- Two to three yards of jute rope
- One to two yards of dark brown twine
- One scarecrow skull (learn how to make it here)
1. On a newspaper-lined surface in a well-ventilated area, stain the bones with Jacobian wood stain. I began by giving each one a light, even coat with a foam brush. After that, I applied heavier amounts of stain to the ends and patted away the excess with paper towels. You want the color to build up in the cracks and fissures. Once you have achieved your intended look, allow the bones to completely dry. I let mine sit outside in the sun for three days.
2. Cut the 2” x 2” x 8’ post into a seven-foot section and smoothen its surface with sandpaper. This will form the portion of the T-shaped stand where the head and torso will rest. Depending on your chosen height for the prop, you may cut this post shorter or keep it the full eight feet. Since I wanted something rather imposing (yet still manageable), I elected for seven feet.
3. Measure, mark, and predrill a hole in the center of a 1’ x 1’ plywood sheet and do the same for one end of the seven-foot post. Once this is done, use a sturdy wood screw to join the pieces together. For added support, apply a modest coat of wood glue to the post before connecting it to the board.
4. Cut two six-inch sections from the 1” x 4” x 8’ wooden board and smoothen their surface with sandpaper. These will serve as braces to support the base and post. Measure, mark, and predrill two holes in the center of each board and perform the same task on both sides of the post, ensuring the holes match up. Repeat the process with the plywood base and the sides of the braces and, using wood screws, join all the pieces together. For added support, apply a modest coat of wood glue to the post and base before connecting the supports.
5. Center the 1’ x 1’ base on a 2’ x 2’ sheet of plywood. Measure, mark, and predrill four holes in each quadrant of the smaller board and perform the same task on the larger board, ensuring that the holes match up. Using wood screws, join the boards together. For added support, apply a modest coat of wood glue to the bottom of the smaller board before connecting it to its larger counterpart.

6. Center a 1” x 2” x 4” post on the seven-foot post six feet up from the base. This will form the portion of the T-shaped form where the shoulders and arms will rest. Akin to the seven-foot section, the length of this post will depend on your desired size of the prop. Once you have measured, marked, and predrilled two holes in the center of the post and performed the same task on the seven-foot post (ensuring the holes match up), use wood screws to join the posts together. For added support, apply a modest coat of wood glue to the back of the smaller post before connecting it to its larger counterpart.

7. On a newspaper-lined surface in a well-ventilated area, stain the wooden frame with Classic Gray wood stain. You want the prop to appear worn, so do not worry if your coverage is not entirely pristine. Once you have achieved your intended look, allow the frame to completely dry. I let mine sit outside in the sun for three days. After the stain dries, complete the weathering process by dusting the frame with a coat of black spray paint.
8. Hammer one of the picture hangers in the center of the cross section. This will provide a supporting hook for the skeleton to hang on. Since I used a skeleton made of light plastic, a strong hook was sufficient to hold the prop; however, if you use a heavier body, you will need a tougher item.
9. Glue the creepy cloth along the full length of the four-foot post. Do not aim for a uniform draping (there is nothing scary about that). Rather, vary its length and use a pair of scissors to shape the fabric for a ghastly look.
10. Use the picture hook to hang the spine and secure it to the post with steel wire. You want to do this in several places to ensure the item is properly lashed to the frame and entirely immobile, particularly if you plan to display the prop in windy conditions.
11. Once the spine is completely secured, cover the wires with rope. This will give the illusion the body is primitively lashed to the frame (the wire will hold it in place). Trim the excess and glue the knots to reinforce them.
12. Position the arms along the four-foot post and, once their placement is to your liking, repeat steps ten and eleven to fasten them to the frame and hide the wire with rope.
13. Connect the femurs to the pelvis, gluing the ball into the socket (for a sturdier hold, consider superglue), and situate the bones along the sides of the seven-foot post. As with the arms and spine, use the wire to firmly tie the items in place and mask the steel with rope.
14. Wrap twine around the clavicle of the ribcage and string it up by binding it to the four-foot post. I elected to use twine rather than the rope to give the impression the figure had been piecemealed together. For a more unified look, you can employ the rope for this step.
15. Hammer the second picture hanger into the top of the T-shaped frame. This will provide a supporting hook for the skull to hang on. Here, as well, you may want an industrial version if your head is rather heavy.
16. For further detail, you can affix strands of weathered fabric to the bones, perch disheveled crows on the frame and ribs, wrap razor wire around the legs and torso, or randomly superglue plastic insects along the surface of the entire prop.


No comments:
Post a Comment