Friday, August 30, 2024

The Athabascan Chindi: A Mini-Essay

     For the Athabascans, an indigenous tribe in Alaska, the fear of malicious spirits prompts them to take several precautions to avoid vengeful ghosts. One process involves removing the sick from their homes to prevent them from dying within their abode. As the Athabascans believe, those who die of illness within their house return as a chindi, an evil spirit who haunts their former dwelling. If this occurs, the homestead and all of its belongings have to be burned to the ground. In fact, nothing from the cursed house should be used, even for firewood, out of fear the chindi will torment its user.[1]

Works Referenced

Marriott, Alice, and Carol Rachlin. American Epic: The Story of the American Indian. New York: G.P. Putnam’s Sons, 1969.
____________________
[1] Marriott and Rachlin, 75.

Friday, August 23, 2024

Mummified Fairy

$20 - $25 (based on 2024 prices)
Makes one fairy

Like the monster teeth, this mummified fairy was a project I had intended to make for the oddity display in 2019’s creepy carnival but I ran out of time. So, to kickstart 2024’s building season, I decided to finally check this prop off my to-do list. While I decided to make the prop more colorful with butterflies and flowers, you can go darker with aged bones or strings of voodoo beads.
  • One seven-inch plastic skeleton
  • One 7” x 10” oval picture frame
  • One 4 oz. bottle of all-purpose tacky glue
  • One sheet of white tissue paper (20” x 20” per sheet)
  • One 2 oz. bottle of acrylic paint in flat black*
  • One 2 oz. bottle of acrylic paint in flat brown*
  • One 2 oz. bottle of acrylic paint in metallic gold*
  • One 8 oz. can of oil-based interior wood stain in Jacobean*
  • Three antique metal keys
  • One set of small wings
  • One heart pendant
  • One quilting pin
  • One sheet of copy paper with von Goethe’s poem “Der Erlkonig” printed on it
  • At least four tablespoons of dark roasted coffee grounds
  • One pan large enough to soak the copy paper
  • An assortment of artificial flowers (e.g. hydrangeas and pansies)
  • Two fake butterflies
1. Remove any accessories from the skeleton and cut its joints. Then, position it into your chosen pose and glue the limbs in place, saving the right hand for step five.
2. Make the papier mache paste by mixing ½ cup of glue and ½ cup of water in a bowl. Once the paste is made, tear the tissue paper into small sections, soak them in the paste, and cover the skeleton, creating wrinkles to make the flesh appear dried. The number of layers you apply depends on how mummified you want the corpse to appear: you can apply one or two layers to just a few spots for a highly decrepit look or several thick coverings for a more withered appearance.
3. After the layers have dried, color the skin with three washes of brown paint and a wash of black. You may want to test the consistency prior to doing this: the more water you add, the fainter/lighter the wash; the less water you add, the deeper/darker the wash.
4. To give the skin fuller depth and make it appear mummified, paint it with the wood stain, applying a small amount to a paper towel or sponge and patting it onto the skeleton.
5. Glue the wings to the back of the skeleton and then accent the fairy with a variety of items, like a heart pendant with a pin sticking out of it. You can also nestle one of the keys against its body and position the right hand saved from step one to make it appear the fairy is holding the object.
6. Add the coffee to twelve cups of boiling water. The longer you allow the coffee to brew, the darker the stain. Likewise, greater amounts of coffee will produce a richer stain. Since I wanted irregular spots rather than a unified discoloration, I placed the copy paper on a baking sheet, splashed coffee and grounds onto its surface, allowed the liquid to sit for a few minutes, and then moved it to a space to dry.
7. Apply a light layer of glue to the frame’s backing and adhere the copy paper to it. Although I pressed it as smooth as possible, you can create folds and wrinkles for further distress. Then, trim the excess paper to conform it to the backing’s shape.
8. Center the fairy on the backing and glue it in place. It may be beneficial to temporarily reattached the frame to the backing to ensure the figure is actually centered before permanently adhering it.
9. Beginning with a base coat of black, gently dry brush gold paint onto the frame’s surface, focusing on the raised areas. How heavy you apply the paint depends on how aged you want the frame to appear.
10. Reattach the frame to the backing and then decorate it with the butterflies, flowers, and two remaining keys. As always, these items can be modified to cater the proper to your haunt’s theme.
*You will not use the entire bottle’s content for this project.

Friday, August 16, 2024

Floral Piñata

$10 - $15 (based on 2016 prices)
Makes one piñata
 
In 2016, a friend asked me to make a piñata for her daughter’s birthday. Her request was perfectly timed because I was working on the rotten pumpkins for 2016’s haunted farm at the time. So, I was able to easily transform one of the papier mache shells into a floral-themed piñata with two large paper flowers: one to decorate the piñata and the other to adorn the birthday card. As with all of my builds, you can use these steps as a basic recipe to modify the final product from something pretty to something wicked, like an egg sack covered in spiders. 
  • One standard-size newspaper
  • One medium-size latex balloon
  • One 8 oz. bottle of all-purpose tacky glue
  • An assortment of candy and toys (e.g. glow sticks, rubber dinosaurs, squirt guns)
  • Four yards of heavy twine or rope
  • One roll of crepe paper streamer in blue
  • One roll of crepe paper streamer in purple
  • One 2 oz. bottle of acrylic paint in flat white*
  • Three sheets of pink copy paper with flower outlines printed on them
1. Make the papier mache paste by mixing ½ cup of glue and ½ cup of water in a bowl. Try to use a sealable container. This gives you the ability to store the mixture for a day or two between applications.
2. Inflate the balloon and stand it on a sturdy base to make the application of newspaper in step three easier.  
3. Cut the newspaper into strips, soak them in the paste, and apply them to the balloon. To make this process manageable, keep the strips at a sensible size (mine were roughly six inches long and two inches wide). Similarly, only apply a few layers at a time and allow each layer to completely dry before adding more (I did two layers during each application and let them dry for twenty-four hours).
4. After you reach your desired thickness, cut the balloon and remove it from the papier mache shell. Be gentle during this process and gradually work the balloon out.
5. Toward the top of the piñata, cut a hole large enough to accommodate the prizes and fill the cavity with them. Try to pick items that are lightweight and refrain from overfilling the piñata because this will make it too heavy. Once you are done, close the hole and seal it with a few strips of paste-soaked newspaper.
6. Starting at the base of the piñata, wrap heavy twine up the entire length, leaving several feet of excess at the top to form the cord. You want a small cage around the shell which is sturdy enough to support the weight of the piñata when suspended but not too intricate that it makes it hard to break.
7. Repeating the process in step three, cover the piñata with two layers of blue crepe paper. This will cover the twine and give the object a base coat for the decorations. I used blue because it was requested by the birthday girl, but you can use whatever color you like.
8. After the layers dry, use white paint to accent the piñata with filigree patterns or any design of your choosing.
9. Wrap a ribbon of purple crepe paper around the middle of the piñata, gluing the juncture where it crosses and allowing the two strands to dangle down for a foot or two. Don’t worry too much if the glue can be seen at the juncture because this will be covered by the flower.  
10. Cut out the flower outlines and glue them together. You want to stagger the petal placement and work from largest to smallest for a graduated design which gives the object depth. Then, use a small piece of yellow paper or paint to put a circle in the center.
11. Glue the flower to the center of the piñata, covering the spot where the purple ribbon overlaps. If you want, you can add further embellishments, like floral stickers or glittery decals.
*You will not use the entire bottle’s content for this project.

Friday, August 9, 2024

"Widecombe Fair" (A Poem)

From the headless horseman of Sleepy Hollow to the fifteenth-century soldier of Prestbury, folklore and literature are filled with spectral horses and their riders. Music, too, contains its own roster of equine phantoms, including the grey mare of Tom Pearce that returns on moonlit nights after dying while taking travelers to Widecombe Fair. With the earliest publications appearing in 1889 within Songs and Ballads of the West, the song, based on a Devon folktale which may have been inspired by real-life events at the beginning of the nineteenth century, has seen many renditions but its basic premise remains the same: Tom Pearce (sometimes called Tam Peirce) lends his horse to take a group of people to the country fair in Widecombe only to have the animal die during the trek and return as a ghost.[1]

Tom Pearce, Tom Pearce, lend me your grey mare.
All along, down along, out along lea.
For I want for to go to Widecombe Fair,
With Bill Brewer, Jan Stewer, Peter Gurney,
Peter Davy, Danl Whiddon, Harry Hawke,
Old Uncle Tom Cobley and all,
Old Uncle Tom Cobley and all.

And when shall I see again my grey mare?
All along, down along, out along lea.
By Friday soon, or Saturday noon,
With Bill Brewer, Jan Stewer, Peter Gurney,
Peter Davy, Danl Whiddon, Harry Hawke,
Old Uncle Tom Cobley and all,
Old Uncle Tom Cobley and all.

So they harnessed and bridled the old grey mare.
All along, down along, out along lea.
And off they drove to Widecombe fair,
With Bill Brewer, Jan Stewer, Peter Gurney,
Peter Davy, Danl Whiddon, Harry Hawke,
Old Uncle Tom Cobley and all,
Old Uncle Tom Cobley and all.

Then Friday came, and Saturday noon.
All along, down along, out along lea.
But Tom Pearces old mare hath not trotted home,
With Bill Brewer, Jan Stewer, Peter Gurney,
Peter Davy, Danl Whiddon, Harry Hawke,
Old Uncle Tom Cobley and all,
Old Uncle Tom Cobley and all.

So Tom Pearce, he got up to the top o the hill.
All along, down along, out along lea.
And he seed his old mare down a-making her will,
With Bill Brewer, Jan Stewer, Peter Gurney,
Peter Davy, Danl Whiddon, Harry Hawke,
Old Uncle Tom Cobley and all,
Old Uncle Tom Cobley and all.

So Tom Pearce’s old mare, her took sick and died.
All along, down along, out along lea.
And Tom he sat down on a stone, and he cried
With Bill Brewer, Jan Stewer, Peter Gurney,
Peter Davy, Danl Whiddon, Harry Hawke,
Old Uncle Tom Cobley and all,
Old Uncle Tom Cobley and all.

But this isnt the end o this shocking affair.
All along, down along, out along lea.
Nor, though they be dead, of the horrid career
Of Bill Brewer, Jan Stewer, Peter Gurney,
Peter Davy, Danl Whiddon, Harry Hawke,
Old Uncle Tom Cobley and all,
Old Uncle Tom Cobley and all.

When the wind whistles cold on the moor of the night.
All along, down along, out along lea.
Tom Pearces old mare doth appear ghastly white,
With Bill Brewer, Jan Stewer, Peter Gurney,
Peter Davy, Danl Whiddon, Harry Hawke,
Old Uncle Tom Cobley and all,
Old Uncle Tom Cobley and all.

And all the long night be heard skirling and groans.
All along, down along, out along lea.
From Tom Pearce’s old mare in her rattling bones,
With Bill Brewer, Jan Stewer, Peter Gurney,
Peter Davy, Danl Whiddon, Harry Hawke,
Old Uncle Tom Cobley and all,
Old Uncle Tom Cobley and all.[2]

Works Referenced

“Uncle Tom Cobley and All…” BBC, 27 June 2008, https://www.bbc.co.uk/devon/content/articles/2008/05/22/widecombe_fair_song_feature.shtml

“Widdecombe Fair.” Songs of the West: Folk Sings of Devon and Cornwall Collected from the Mouths of the People. 7th ed. Eds. S. Baring-Gould, H. Fleetwood Sheppard, and F.W. Bussell. London: Methuen and Company, 1928. 33.
____________________
[1]”Uncle Tom Colbey and All…”
[2] “Widdecombe Fair,” 33.

Friday, August 2, 2024

Jarred Teeth

 $10 - $15 (based on 2020 prices)
 Makes one jar
 
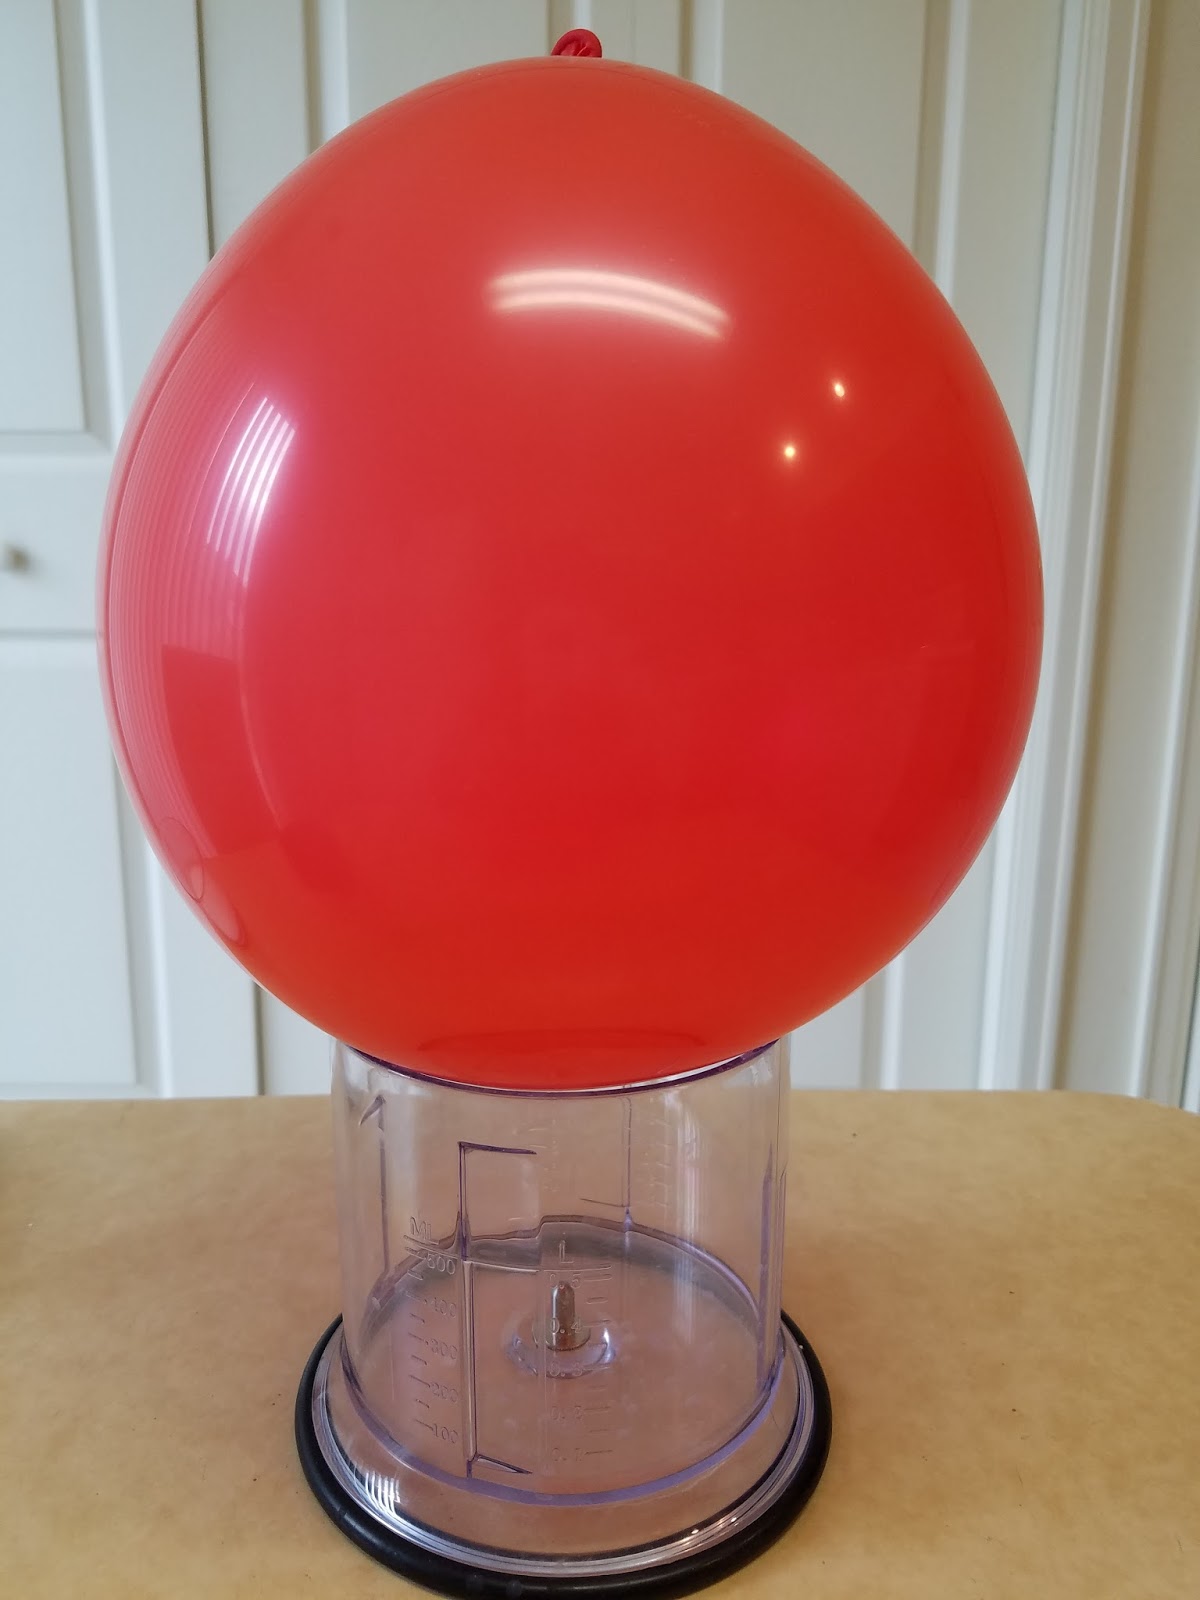
Little details can have the biggest impact in a haunt, reinforcing the theme and keeping guests intrigued. This is why I spend part of the building process creating small items, like this jar of rotten teeth to nestle next to the medical cabinets of severed limbs and organs in 2020’s laboratory.
  • One 6 oz. container of soft modeling compound*
  • One 2 oz. bottle of acrylic paint in flat black*
  • One 2 oz. bottle of acrylic paint in flat brown*
  • One 2 oz. bottle of acrylic paint in flat white*
  • One 0.44 oz. bottle of clear nail polish*
  • One 8 oz. can of oil-based interior wood stain in red chestnut*
  • One 10 oz. can of interior/exterior, fast-drying spray paint in flat black*
  • One 10 oz. can of interior/exterior, fast-drying spray paint in metallic silver*
  • One 1.25 oz. glass jar
  • One 0.3 fluid ounce bottle of red food coloring*
  • One 4 oz. bottle of clear, all-purpose tacky glue gel*
  • One piece of 8” x 11.5” copy paper with biohazard labels printed on it
  • At least one tablespoon of dark roasted coffee grounds
  • One pan large enough to soak the copy paper
  • One 4 oz. bottle of all-purpose tacky glue*
1. Form the modeling compound into the shape of teeth. It may help to keep a medical book nearby for quick reference. Since human teeth are rather small, you may want to make your versions slightly larger than their real-life counterparts. This ensures that they are easier to see, especially when inside the jar.  
2. After the compound has dried, apply two even coats of white paint to the teeth. Do not worry too much if the drying process produced small cracks in the dough. They will be covered up by the paint (or you can use the cracks to make the teeth appear extremely old and worn).
3. Give the teeth a smudging of brown paint. You do not want an even coat. Rather, you want a series of lighter and darker hues with areas of white still showing. I found that apply a small amount of paint to your thumb and index finger and rubbing it onto the prop works well.  
4. To give the teeth a little more definition and additional rot, use black paint to fill in fissures along the crowns and darken the area around the roots. If you chose not to cover the cracks formed by the drying process, you can enhance their appearance too.  
5. Brush the teeth with one or two coats of clear nail polish to give them a glossy finish that simulates enamel.
6. On a newspaper-lined surface in a well-ventilated area, paint the jar with the wood stain. Apply a thin coat and pat it with paper towels to produce a hazed appearance. Likewise, brush the opening to create the illusion of grime buildup. You do not want the coverage to be too thick, though, because it will obscure the teeth.
7. In a plastic container, pour in your desired amount of clear glue gel and slowly add red food coloring to the solution until it achieves the sanguine hue you desire. To give the blood further density, add blue food coloring and mix well. Then, coat the bottom of the jar with the blood and use a pair of tweezers to arrange the teeth. You want them as visible as possible, so try not to cover them too much with the blood.
8. As the blood glue dries, build up layers of black and metallic silver spray paint to give the jar’s lid the look of steel. It works best to apply a base coat of black followed by sliver, working in quick bursts to allow parts of the black to remain visible. Once the spray paint dries, create a wash of brown paint and use it to add a level of grime to the lid, allowing the liquid to settle in the crevices.  
9. Add the coffee to a cup of boiling water. The longer you allow the coffee to brew, the darker the stain. Likewise, greater amounts of coffee will produce a richer stain. Since I wanted irregular spots rather than a unified discoloration, I placed the copy paper on a baking sheet, splashed coffee and grounds onto its surface, allowed the liquid to sit for a few minutes, and then moved it to a space to dry.
10. Reattach the lid to the jar, cut out one of the biohazard labels, and use it to make a seal. For an alternate look, you can tie a specimen tag to the prop with a strand of twine.  
11. Use the remaining blood glue to accent the prop, building up a pool on the lid and allowing it to run downward along the sides.  
*You will not use the entire bottle’s content for this project.