
$10 - $15 (based on 2016 prices)
Makes one piñata
Makes one piñata
In 2016, a friend asked me to make a piñata for her daughter’s birthday. Her request was perfectly timed because I was working on the rotten pumpkins for 2016’s haunted farm at the time. So, I was able to easily transform one of the papier mache shells into a floral-themed piñata with two large paper flowers: one to decorate the piñata and the other to adorn the birthday card. As with all of my builds, you can use these steps as a basic recipe to modify the final product from something pretty to something wicked, like an egg sack covered in spiders.
- One standard-size newspaper
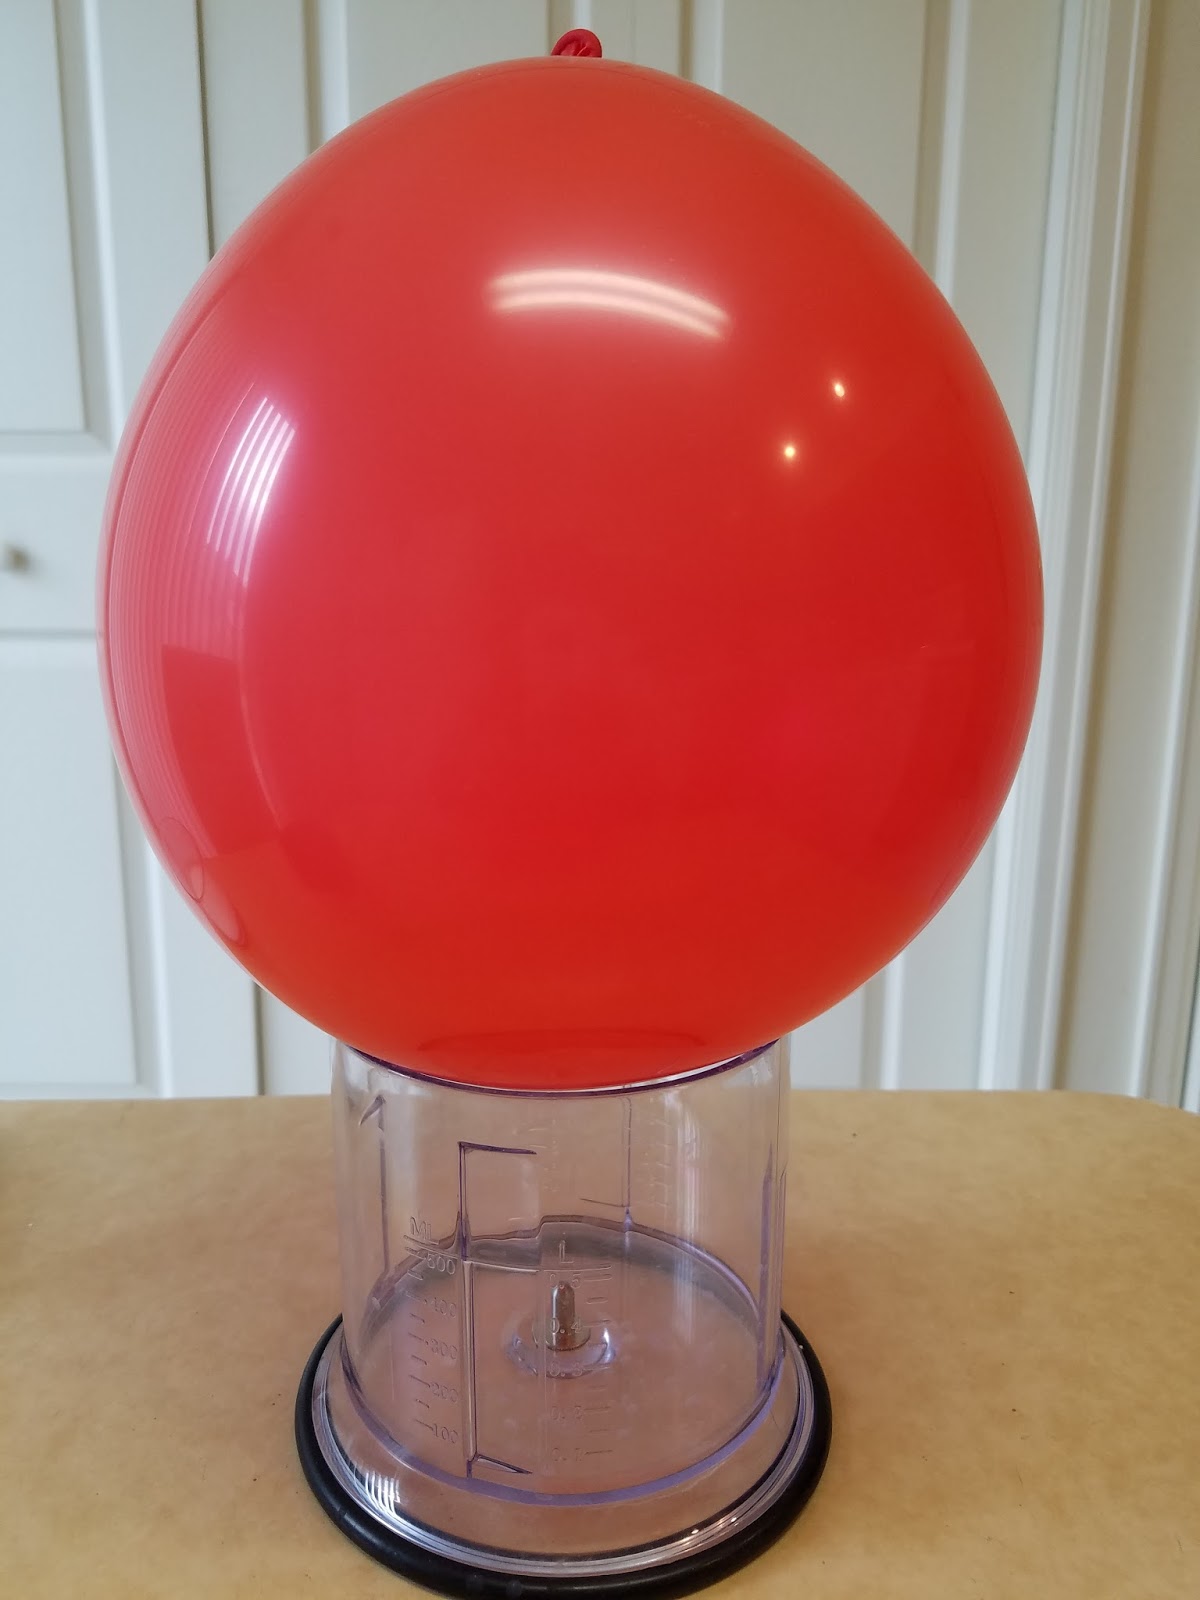
- One medium-size latex balloon
- One 8 oz. bottle of all-purpose tacky glue
- An assortment of candy and toys (e.g. glow sticks, rubber dinosaurs, squirt guns)
- Four yards of heavy twine or rope
- One roll of crepe paper streamer in blue
- One roll of crepe paper streamer in purple
- One 2 oz. bottle of acrylic paint in flat white*
- Three sheets of pink copy paper with flower outlines printed on them

2. Inflate the balloon and stand it on a sturdy base to make the application of newspaper in step three easier.
3. Cut the newspaper into strips, soak them in the paste, and apply them to the balloon. To make this process manageable, keep the strips at a sensible size (mine were roughly six inches long and two inches wide). Similarly, only apply a few layers at a time and allow each layer to completely dry before adding more (I did two layers during each application and let them dry for twenty-four hours).

4. After you reach your desired thickness, cut the balloon and remove it from the papier mache shell. Be gentle during this process and gradually work the balloon out.

5. Toward the top of the piñata, cut a hole large enough to accommodate the prizes and fill the cavity with them. Try to pick items that are lightweight and refrain from overfilling the piñata because this will make it too heavy. Once you are done, close the hole and seal it with a few strips of paste-soaked newspaper.

6. Starting at the base of the piñata, wrap heavy twine up the entire length, leaving several feet of excess at the top to form the cord. You want a small cage around the shell which is sturdy enough to support the weight of the piñata when suspended but not too intricate that it makes it hard to break.

7. Repeating the process in step three, cover the piñata with two layers of blue crepe paper. This will cover the twine and give the object a base coat for the decorations. I used blue because it was requested by the birthday girl, but you can use whatever color you like.

8. After the layers dry, use white paint to accent the piñata with filigree patterns or any design of your choosing.

9. Wrap a ribbon of purple crepe paper around the middle of the piñata, gluing the juncture where it crosses and allowing the two strands to dangle down for a foot or two. Don’t worry too much if the glue can be seen at the juncture because this will be covered by the flower.

10. Cut out the flower outlines and glue them together. You want to stagger the petal placement and work from largest to smallest for a graduated design which gives the object depth. Then, use a small piece of yellow paper or paint to put a circle in the center.

11. Glue the flower to the center of the piñata, covering the spot where the purple ribbon overlaps. If you want, you can add further embellishments, like floral stickers or glittery decals.

*You will not use the entire bottle’s content for this project.
No comments:
Post a Comment