$50 - $60 (based on 2020 prices)
Makes one device
2020’s mad scientist haunt was a massive undertaking, with the laboratory needing several large pieces of equipment to truly sell the theme. To create a unified set, I decided to use similar elements in all of the pieces: copper and silver pipes and joints, lights fashioned out of Christmas ornaments, and steel-colored bases. For this version, I used a strand of micro-lights and clear gelatin molds to create a fun, light-up prop.
- One 24” x 24” board of foam insulation
- One large plastic container (11” x 15” x 6”)
- One small plastic container (6” x 8” x 6”)
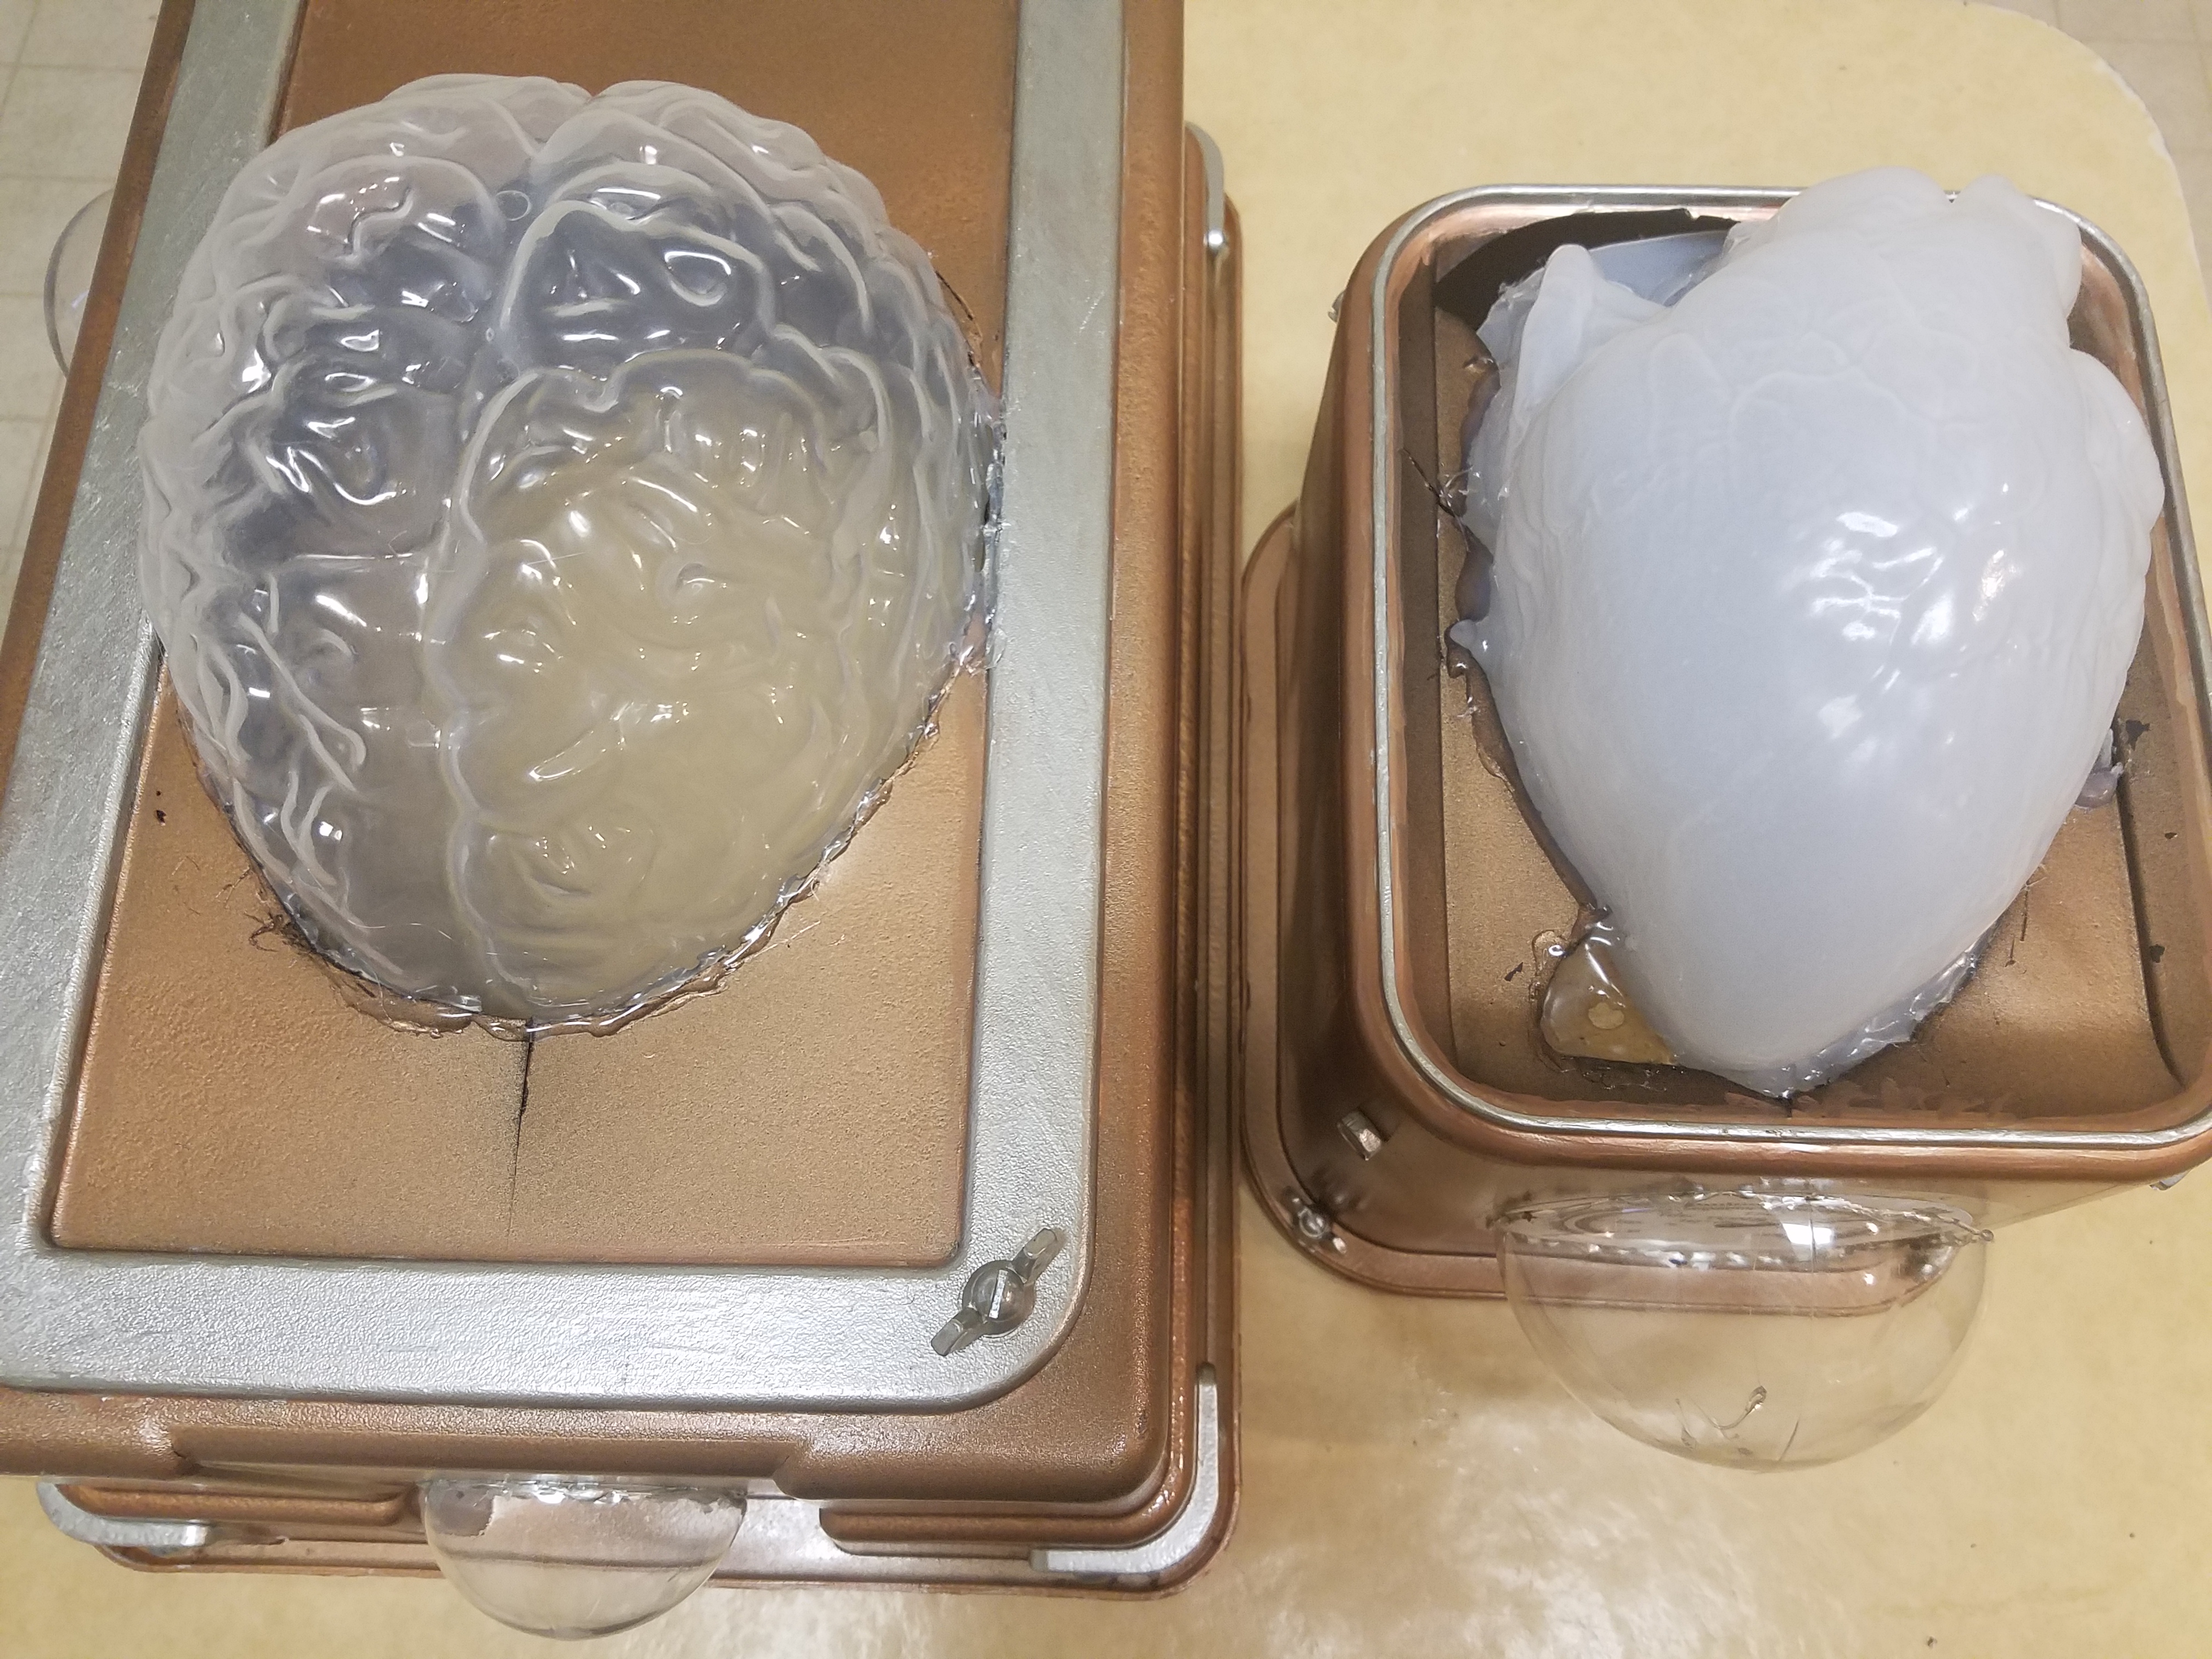
- One plastic brain gelatin mold
- One plastic heart gelatin mold
- One 10 oz. can of interior/exterior, fast-drying spray paint in flat black
- One 10 oz. can of interior/exterior, fast-drying spray paint in metallic copper
- One 10 oz. can of interior/exterior, fast-drying spray paint in metallic silver
- One 2 oz. bottle of acrylic paint in metallic copper*
- One 2 oz. bottle of acrylic paint in metallic silver*
- A random assortment of bolts, caps, screws, and wing nuts
- One sheet of off-white copy paper with dial images printed on it
- One sheet of yellow copy paper with electrical warning labels printed in it
- One 4 oz. bottle of clear, all-purpose tacky glue gel*
- Two clear plastic Christmas ornaments (two inches in diameter)
- Three clear plastic Christmas ornament (four inches in diameter)
- One 2” x 5’ PVC pipe
- Four two-inch PVC tee joints
- Two two-inch PVC coupling joints
- One set of LED white micro-lights (roughly fifteen feet long)
- Two sheets of black cardstock
- One 0.3 fluid ounce bottle of green food coloring*
- One 4 oz. bottle of clear, all-purpose tacky glue gel*
- Five feet of 1/2” clear plastic tubing
- One plastic syringe
- One 8 oz. can of oil-based interior wood stain in red chestnut*
- One 8 oz. can of oil-based interior wood stain in Jacobean*
1. Center the brain mold on the large container and the heart mold on the small container, trace their outlines, and then cut them out. To aid in this process, purchase containers made of a lightweight plastic which is thin enough to cut into but still sturdy enough to support the weight of the mold and other items once the prop has been assembled.

2. On a newspaper-lined surface in a well-ventilated area, give the inside of the containers a coat of black spray paint and the outside a coat of metallic copper. The black will help darken the interior to improve the light’s reflection. The copper, on the other hand, can always be substituted for an alternate color to cater the prop to your haunt’s distinct color scheme.

3. Once the paint has dried, use metallic silver paint to accent any details on the containers. Then, drill small holes into their surfaces and insert screws and wing nuts to give the items additional intricacy. How and where you decide to apply these elements are entirely up to you and your chosen aesthetic for the prop.

4. Cut out the dial images from the copy paper, center them on the sides of the containers which will become the front of the prop, and glue them in place. If you are going for an aged look, you can stain the paper with coffee or tea prior to this step.

5. Remove the hanging loops from the two small Christmas ornaments and one of the three large and then cut them in half (reserve the tops for step seven). Glue the bottoms over the dials to create covers and outline their circumferences with silver paint. Here, too, if you want a derelict look for the prop, paint the ornaments with wood stain for an aged patina prior to gluing them in place.

6. Cut out the electrical labels and use them to accent the prop, placing them near the dials. As with step four, you can stain the items with coffee or tea prior to this stage for an aged look.

7. On a newspaper-lined surface in a well-ventilated area, give the tops of the Christmas ornaments a coat of metallic copper spray paint. Once this has dried, accent their tips with metallic silver paint, cut two small holes on either side, and insert screws into the openings.

8. On a newspaper-lined surface in a well-ventilated area, build up layers of black and metallic silver spray paint to give the foam board the look of steel. I found it works best to apply a base coat of black to the entire prop and then add the sliver, working in quick bursts to allow parts of the black to remain visible. You can also touch up portions with additional blasts of black if the silver becomes too heavy.

9. Detail the board with the assortment of bolts and screws, applying a small dab of glue to the bottoms of their heads and pushing them into the foam. Your arrangement is entirely based on your chosen aesthetic, so you can apply as many or as little as you like.

10. Measure, mark, and cut the PVC pipe into three three-inch sections, two nine-inch sections, and three ten-inch sections.

11. On a newspaper-lined surface in a well-ventilated area, give the pipe sections two even coats of silver spray paint and the joints two coats of copper. Akin to step two, you can always vary the colors.

12. Nestle the molds into their corresponding openings and glue them in place. If the molds have large rims, you may need to trim these in order for them to fit within the containers.
13. Position the battery pack for the LED micro-lights on the back of the large container for the brain and superglue it in place. Then, use a 9/64 bit to drill a hole directly above the spot where the cord meets the battery pack and feed the lights into the container. Also, to help the batter pack blend in with the prop, paint it will metallic copper.

14. Line the inner circumference of the brain mold with part of the micro-light strand and glue it down with small dabs of hot glue. You do not want the strand to be seen when the prop is assembled.

15. To help contain the light, glue one of the sheets of black cardstock below the mold. This will concentrate its glow to this one space, making the brain glow brighter.

16. Drill holes in the same location on the sides of both containers. Since it is important for them to line up, you may want to measure their positions first before making the openings.

17. Join the containers with one of the three-inch pipes, gluing all three items together. Then, feed the micro-light strand through the hole in the brain container, along the length of the PVC pipe, and into the opening in the heart container.

18. Repeat the processes in steps fourteen and fifteen with the heart mold, ensuring the micro-light strand is not visible once the prop is assembled.

19. Drill a hole in the back of the heart container large enough for the micro-light strand and feed the remaining potion through the opening.

20. Position the two containers onto the foam board and glue them down. It might help to temporarily potion them and the light tower on the base to determine their appropriate locations before permanently affixing them.

21. Assemble the joints and pipes as shown in the picture to create the frame for the light tower and then, using hot glue, attach it to the foam board. You may need to use a collection of sturdy objects to help support the framework while the glue fully dries.

22. Working from the tower closest to the heart container, feed the micro-light strand through the pipes. You want it to run upward to the top of the first tower. Then, bend it and feed it downward to the juncture, running it along the entire length and then upward to the top of the second tower. It might work well to bypass step twenty-one and assemble the tower as you progress during this step.

23. Remove the hanging loops from the two remaining large Christmas ornaments. Feed the two portions of the micro-light strand sticking out of the towers’ tops into their interiors and then glue them to the coupling joints to form lightbulbs. As with step five, you can age these with wood stain prior to gluing them in place for a more decrepit appearance.

24. Position the three caps made in step seven on the board (two by the light tower and one next to the heart container) and glue them in place. You want to leave enough room between them and the containers to accommodate the tubing, so do not place them too close.

25. In a plastic container (because the food coloring will stain, use something disposable or that you won’t mind dying), pour in your desired amount of clear glue gel and slowly add green food coloring to the solution until it achieves the greenish hue you desire. To give the slim further luminosity, add yellow food coloring and mix well.

26. Cut the tubing into three sections (two eighteen-inch pieces and one twenty-four-inch piece), fill the tubing with the slime glue, and allow it to dry. Based on the space between the caps and containers, you may need to adjust the measurements of the sections.

27. Once the slime glue dries, run the tubes between the containers and the tops of the caps. You may need to trim the tubing if it is too long to prevent the excess from bunching up inside the prop.

28. On a newspaper-lined surface in a well-ventilated area, paint the syringe with the Jacobean wood stain. I discovered that applying a thin coat and patting it with paper towels produces a hazed appearance. Then, dab the surface with the red chestnut wood stain to create spots of dried blood.
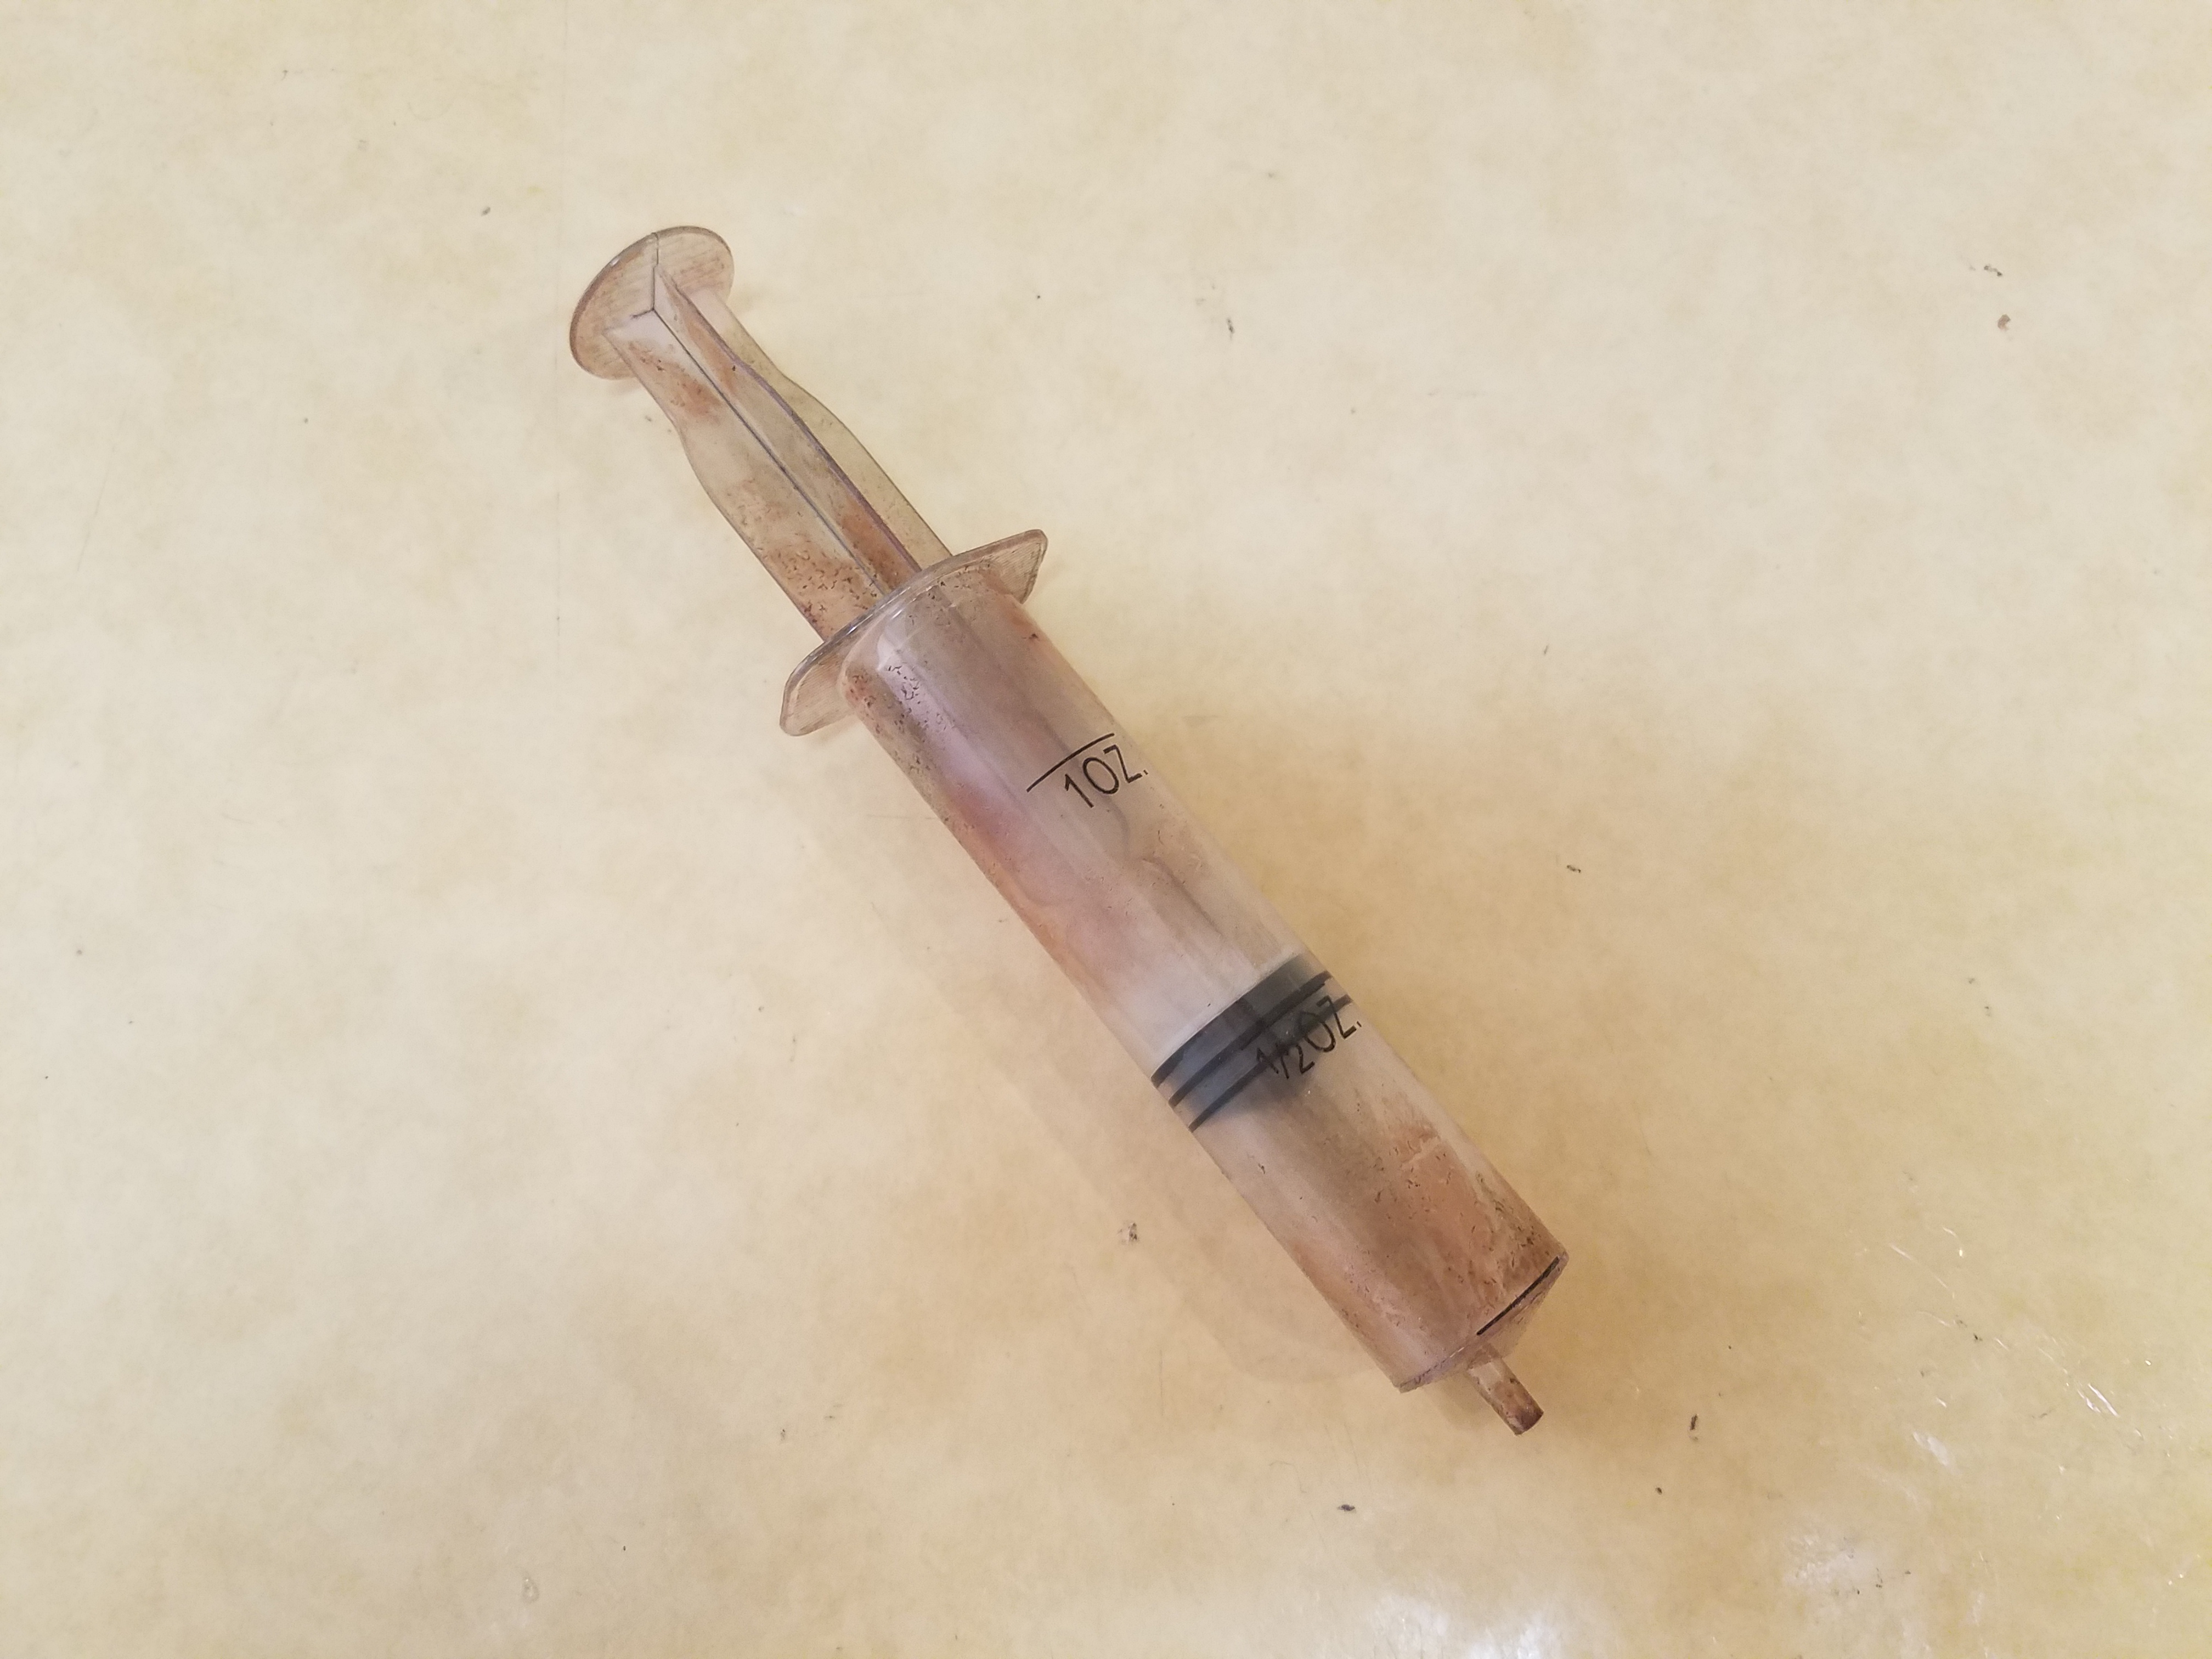
29. Fill the syringe with the slime glue, tape its end to prevent the liquid from spilling out, and allow the glue to dry. For the time-pressed haunted, you can fill the syringe and hot glue its opening closed to create a seal.

30. Position the syringe between the cap and heart container and then, using the remaining slime glue, detail the prop, dribbling the liquid around the junctures where the tubing enters the caps and containers, pouring it down the sides of the tower, and creating a puddle around the syringe.

31. The prop can be enhanced further with additional details to cater it toward your haunt’s needs, like swarms of cockroaches crawling across the equipment. Also, the green food coloring can be substituted for red to make blood rather than slime.

*You will not use the entire bottle’s content for this project.
No comments:
Post a Comment