$25 - $30 (based on 2020 prices)
Makes one tray
Makes one tray
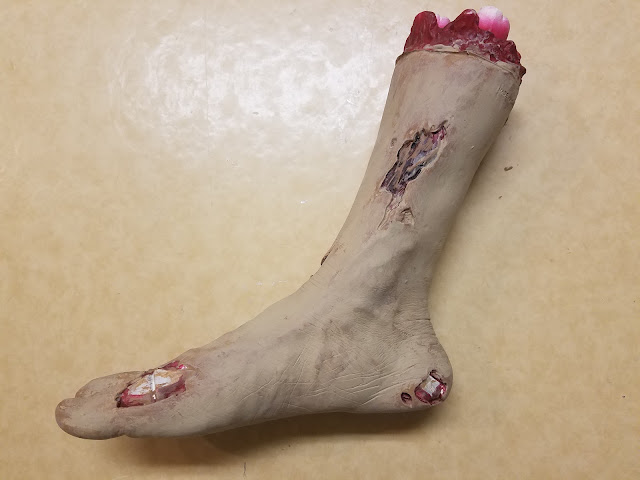
I was impressed with the rotten patina of the decomposing fingers, so I decided to apply the paint job to larger items, specifically severed limbs. To achieve this goal, I created two props: one with a decomposing leg (featured here) and one with a rotting arm. To further enhance their ickiness, I covered the limbs in maggots, just as I did the maggot doll for 2017’s haunt.
- One vinyl severed leg
- One 2 oz. bottle of acrylic paint in black*
- One 2 oz. bottle of acrylic paint in brown*
- One 2 oz. bottle of acrylic paint in dark gray*
- One 2 oz. bottle of acrylic paint in light gray*
- One 2 oz. bottle of acrylic paint in khaki*
- One 2 oz. bottle of acrylic paint in olive*
- One bag of maggots (roughly one-hundred insects per bag)
- One 0.14 oz. bottle of superglue gel
- One 9” x 13” metal baking sheet
- Two pairs of plastic tweezers
- One pair of plastic forceps
- One small tray
- One 10 oz. can of interior/exterior, fast-drying spray paint in flat black*
- One 10 oz. can of interior/exterior, fast-drying spray paint in metallic silver*
2. Lightly brush brown paint on the fingertips, knuckles, and other raised areas. I discovered that applying a small amount of paint to your thumb and index finger and rubbing it onto the prop works well.
3. Once the brown paint has dried, repeat the process with black. During this step, be careful not to cover too much of the brown paint.
4. Begin detailing the nails with a coat of dark gray paint then, after that dries, dab light gray onto the nails, building up layers until they look decrepit. To complete the process, smudge black around the tips of the toes and along their cuticles.
5. Color the stump and the wounds black and, using a brush with splayed bristles, stipple black paint around their edges.
6. Glue the maggots to the leg. For believability, you want to select one or two of the wounds where they will swarm the body. I elected to do this with one of the wounds near the ankle, building up a large mass and gradually spreading the insects outward. Because the specific maggots I used were made of a sticky gel, I had to use superglue to hold them in place. Although it took several hours to adhere each insect individually, the final product was well worth the effort and time.
7. Thoroughly wash and dry the baking sheet. If there is any sticker residue, use rubbing alcohol to remove it. After cleaning the sheet, roughen its surface with coarse sandpaper to help the paint adhere, especially if it has a non-stick coating. Then, on a newspaper-lined surface in a well-ventilated area, build up layers of black and metallic silver spray paint to give the forceps, sheet, tray, and tweezers the look of steel. It works best to apply a base coat of black followed by sliver, working in quick bursts to allow parts of the black to remain visible. You can also touch up portions with additional blasts of black if the silver becomes too heavy.
8. Create washes of brown and olive paint and use them to add a level of grime to the prop, allowing the liquids to settle in the crevices. Depending on your chosen aesthetic, this process can be skipped for a cleaner look.
9. Position the forceps, leg, tray, and tweezers on the sheet and glue them in place. You can arrange the items however you like and can substitute the forceps or tweezers for other medical-looking instruments. For the best hold, I highly recommend using superglue for all of these elements.
10. Accent the prop with the remaining maggots. For cohesion, cluster them below the wounds where the insects are pouring out of the leg, making it appear they are spilling onto the sheet.
11. Depending on your haunt’s theme, you can embellish the prop further with items like a specimen tag tied to one of the toes or biohazard labels adhered to the sheet.
*You will not use the entire bottle’s content for this project.


No comments:
Post a Comment