
$15 - $20 (based on 2020 prices)
Makes one skull
A mad scientist needs lots of hapless victims for experiments and I was eager to fill the laboratory for 2020’s haunt with as many human specimens as the doctor required. For this version, I fashioned an unlucky patient impaled with several dirty syringes to nestle among the towers of equipment and jars of spare parts.
- One cheap, plastic skull
- One 10 oz. can of interior/exterior, fast-drying spray paint in flat black
- Six yards of white cheesecloth
- At least four tablespoons of dark roasted coffee grounds
- One pan large enough to soak the cloth
- One 4 oz. bottle of all-purpose tacky glue*
- Four plastic syringes
- One 8 oz. can of oil-based interior wood stain in Jacobean*
- One 8 oz. can of oil-based interior wood stain in red chestnut*
- One 0.3 fluid ounce bottle of red food coloring*
- One 4 oz. bottle of clear, all-purpose tacky glue gel*
1. Remove the mandible from the skull and hot glue it agape to create a screaming face. To aid the process, use a sturdy object – a glass jar or tin can – to support the skull as the glue dries. You may need to apply multiple coats to ensure a firm hold.

2. On a newspaper-lined surface in a well-ventilated area, give the skull two even coats of black spray paint. This will give the prop a uniform color in case portions of it show through the cheese cloth applied in step four.

3. Boil enough water to completely submerge the cheesecloth and pour it into the pan. Add the coffee. The longer you allow the coffee to brew, the darker the stain will become. Likewise, greater amounts of coffee will produce a richer stain. Submerge the fabric in the coffee mixture and soak it until it reaches the color you desire. I soaked mine for eight hours (long enough to give it a slight tint) and scattered the coffee grounds over the top to add spots. Remove the cloth from the water and allow it to dry.

4. Starting at the front of the skull, glue the cheesecloth to the prop. I found that this step works best if you move in stages: apply a layer of glue to one section, hold the fabric down until it sticks, and then repeat the process. You want to ensure the entire piece is adequately covered and that the holes for the eyes and nose are still visible.

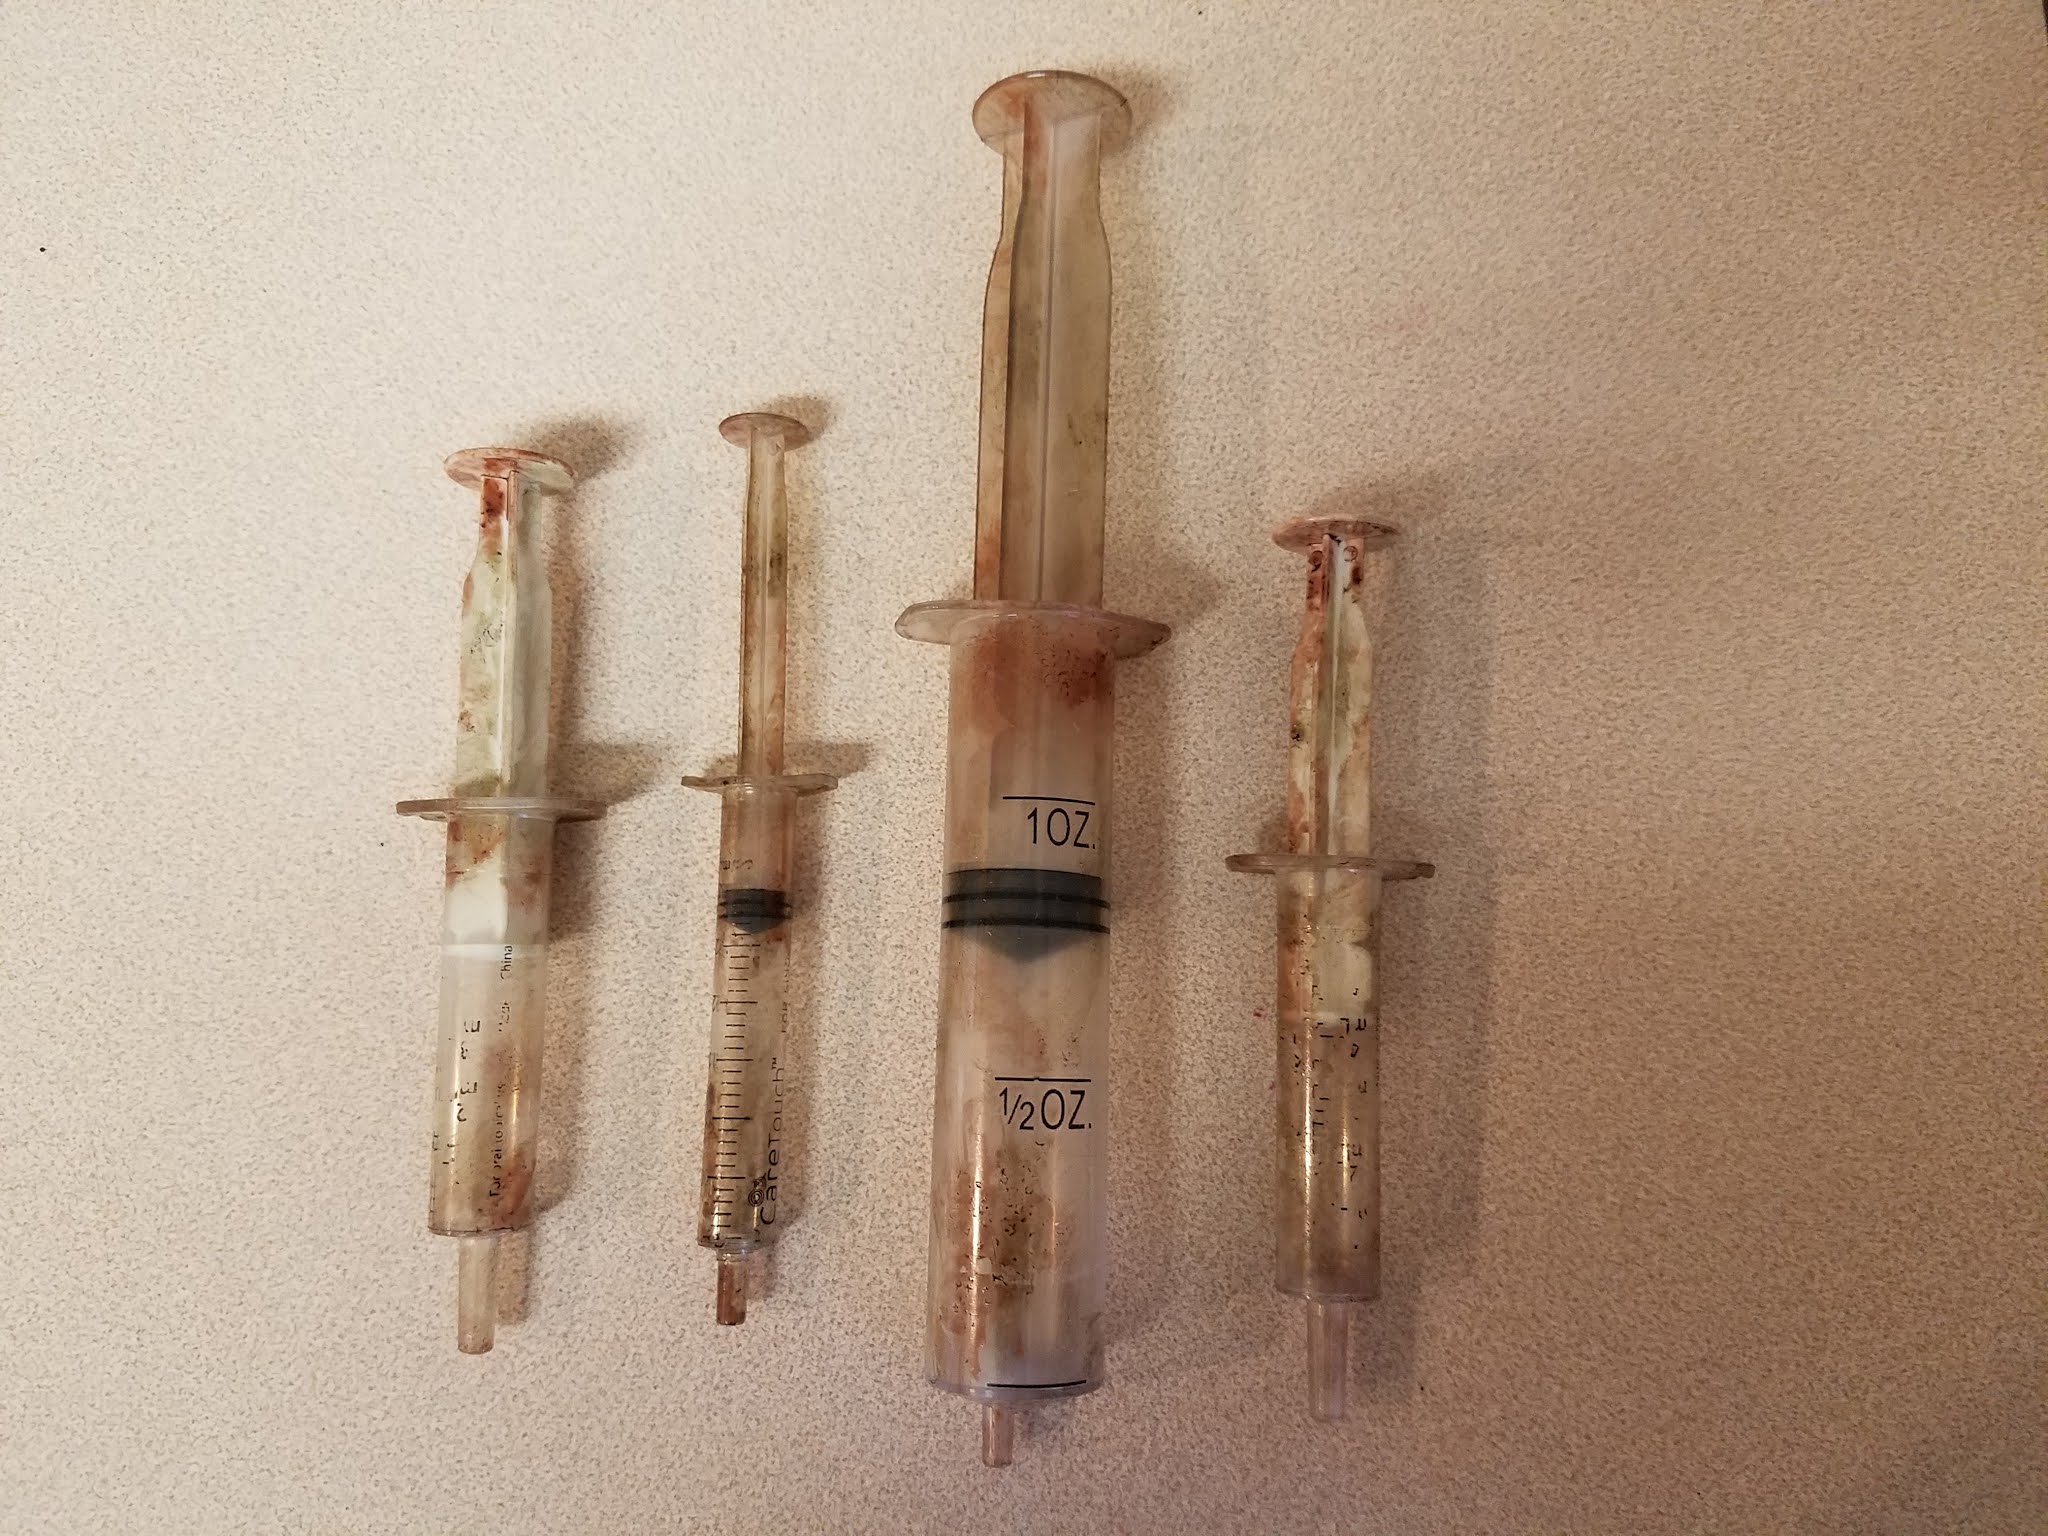
5. On a newspaper-lined surface in a well ventilated area, paint the syringes with the Jacobean wood stain. I discovered that applying a thin coat and patting it with paper towels produces a hazed appearance. Then, dab the surfaces with the red chestnut wood stain to create spots of dried blood.

6. In a plastic container (because the food coloring will stain, use something disposable or that you won’t mind dying), pour in your desired amount of clear glue gel and slowly add red food coloring to the solution until it achieves the sanguine hue you desire. To give the blood further density, add blue food coloring and mix well.

7. Fill the syringes with the blood glue, tape their ends to prevent the liquid from spilling out, and allow the glue to dry. For the time-pressed haunted, you can fill the syringes and hot glue their openings closed to create a seal.

8. Once the blood has dried, drill holes into the top of the skull and glue the syringes in place. For a sturdier hold, use superglue. Depending on the weight of your syringes, you may need to play with their positions and how deeply they enter the skull to prevent the prop from being top heavy.

9. On a newspaper-lined surface, apply the blood glue to the prop and allow it to fully dry. You can use an old spoon or plastic utensil to strategically dripple the liquid along chosen areas or pour it haphazardly for a gory mess.

10. Depending on your haunt’s theme, you can embellish the prop further with swarms of maggots crawling across its surface or attach a specimen tag.

*You will not use the entire bottle’s content for this project.
No comments:
Post a Comment