$20 - $25 (based on 2017 prices)
Makes two signs
To complement the carnival signs, I crafted “Fun House” and “Tickets” signs to include into my office’s demented circus theme. Using similar techniques, I embellished these versions with skull accents and fake light bulbs made from Christmas ornaments.
- Two 20” x 30” foam boards
- Two rolls of colorful wrapping paper (roughly seventeen square feet per roll)
- One 4 oz. bottle of all-purpose tacky glue*
- Ten clear plastic Christmas ornaments (two inches in diameter)
- One small plastic skull
- One 2 oz. bottle of acrylic paint in flat black*
- One 2 oz. bottle of acrylic paint in flat blue*
- One 2 oz. bottle of acrylic paint in flat brown*
- One 2 oz. bottle of acrylic paint in cherry cobbler*
- One 2 oz. bottle of acrylic paint in flat green*
- One 2 oz. bottle of acrylic paint in flat red*
- One 2 oz. bottle of acrylic paint in flat white*
- One 10 oz. can of interior/exterior, fast-drying spray paint in nutmeg*
- One deck of large playing cards (roughly 3.5” x 6” in size)
- At least four tablespoons of dark roasted coffee grounds
- One pan large enough to soak the cards
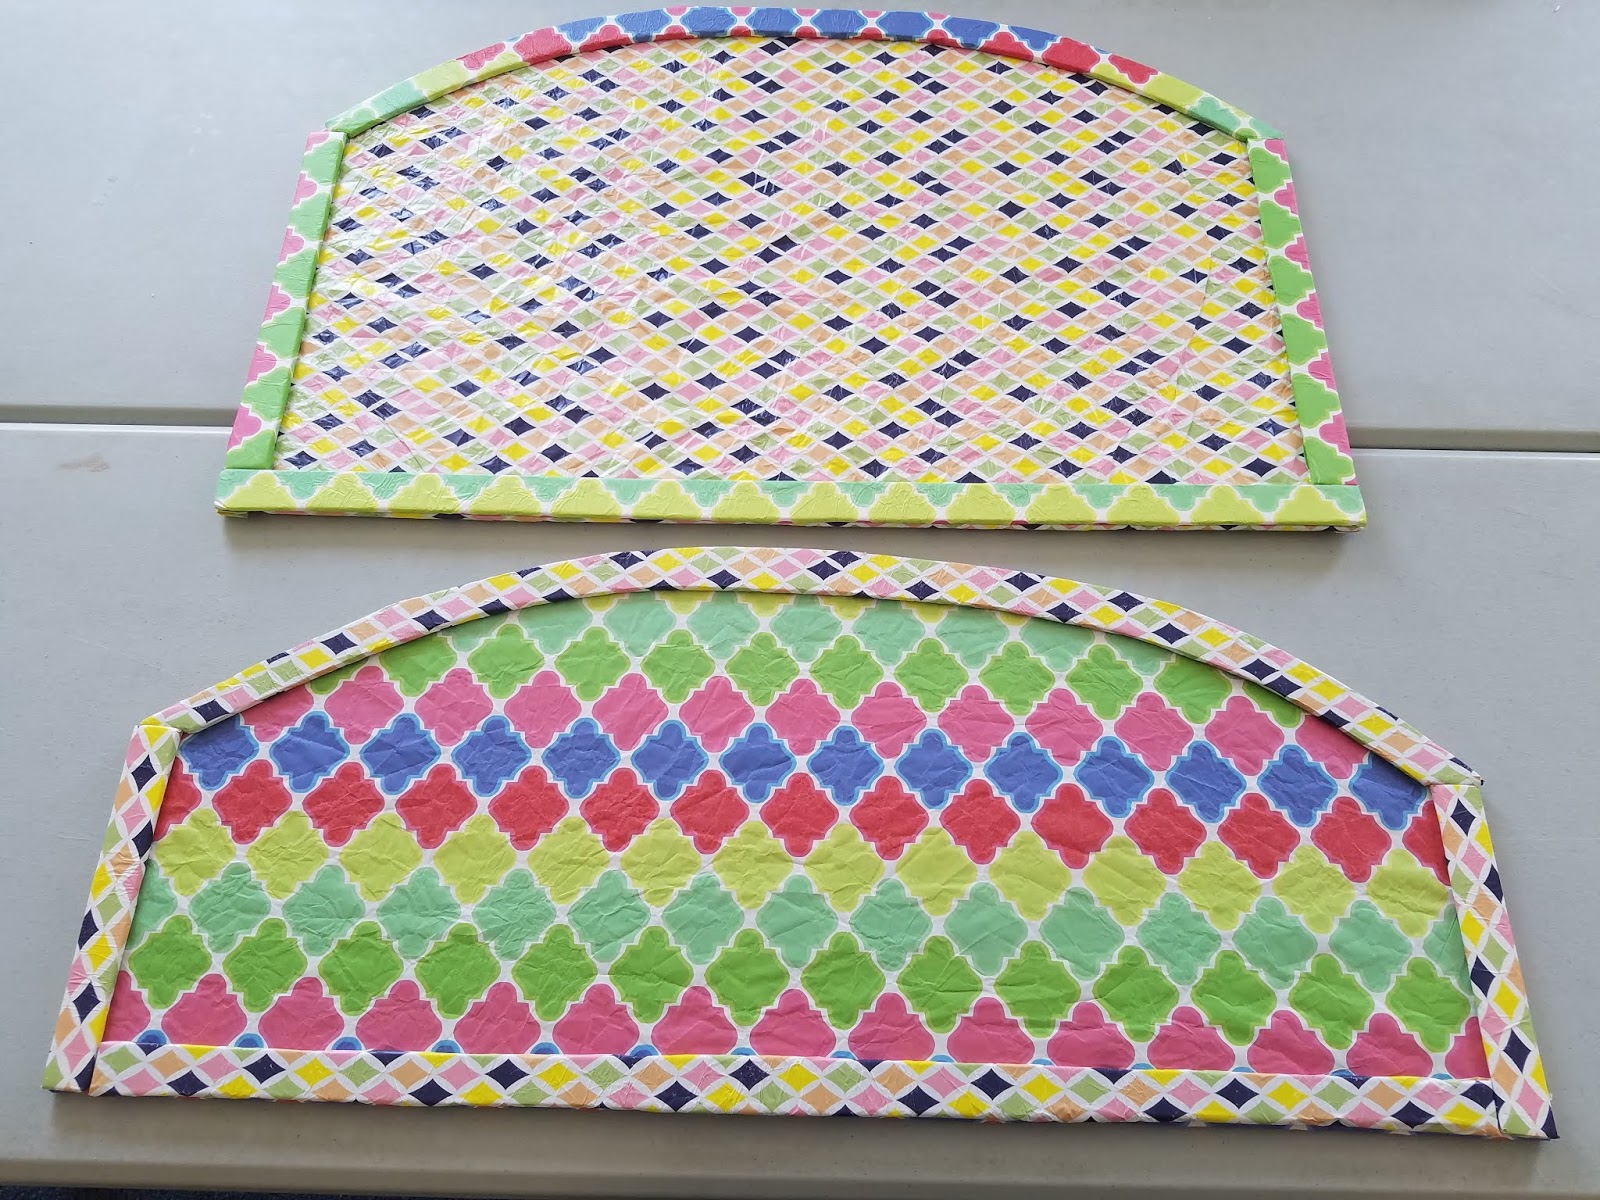
1. Cut the signs’ shapes out of the foam boards. You can give them a simple arch or engineer more elaborate patterns. If you want the signs to have boarders, reserve the excess trimmings and use them to fabricate this.
2. Brush a light layer of glue onto each sign and cover them with wrapping paper. For visual interest, I decided to use two different patterns. You, though, are free to use one or many based on your preferences. To make the paper appear worn, crumple it up prior to adhering it to the boards and tear holes into it.
3. Remove the hanging hoops from the backs of the ornaments and glue them to the boarders of the signs to imitate light bulbs. Their positioning depends entirely on your chosen appearance for the props. You can also use smaller bulbs for an alternate look.
4. Cut the mandible and back off the skull. You want the item to sit flat against the sign. To make this process easier, purchase a skull made from thin plastic. If it helps, trace the outline of your cut with a marker first.
5. Detail the skull with polychromatic paints. Your face can be as fanciful of frightening as you choose. If you struggle with drawing, find templates online and use a pencil to lightly sketch their patterns. Once the paint has dried, adhere the skull to the sign.
6. To add additional age and distress, dust the signs with a light coat of nutmeg spray paint. To give the appearance of dirt, hold the can over twelve inches away from the sign’s surface and make quick flicking motions. You can also apply a flecking of black paint and smears of brown paint to enhance the weathered appearance.
7. Begin the distressing process for the cards by roughening their surfaces and removing parts of the print with sandpaper. Once this is done, boil enough water to completely submerge them and pour it into the pan. Add the coffee. The longer you allow the coffee to brew, the darker the stain will become. Likewise, greater amounts of coffee will produce a richer stain. Submerge the cards in the coffee mixture and soak them until they reach the color you desire. I soaked mine for one day and scattered the coffee grounds over the tops to add spots. You may have to work in small batches if you cannot find a container large enough to hold all the cards at once.
8. Once the cards have dried, glue them to the signs. You will want each card to represent one letter in the words you would like displayed. It helps to plan this out ahead of time and play with the positioning beforehand. For visual interest, do not center each card on the sign and switch between using the fronts and backs.
9. Use cherry cobbler paint to write the letters onto the cards. You want the wording to be haphazard. To achieve this, exaggerate curves, create sharp points, and elongate certain aspects. You could also write letters backwards and deliberately misspell words. Keep in mind, though, that the signs need to be readable, so try not to overdo your artistic flairs.
10. If you plan to display these props on a wall or other surface, consider making hanging loops with steel wire on the backs. Also, to amplify the creepiness, you could smatter bloody handprints onto the signs, dangle severed ears or fingers from their edges, or adhere clusters of crawling insects.
*You will not use the entire bottle’s content for this project.


No comments:
Post a Comment